Linux servers don’t come with a desktop environment installed by default, and in most cases it’s not needed. However there are cases when you do require a graphical user interface on your Linux server to get your work done.
In this tutorial we’ll install some of the most popular desktop environments on a server running Ubuntu 22.04 or 20.04.
These may work on other Debian based distros as well, but that’s not guaranteed.
I’ll focus on some of the most popular desktop environments available, however there are other ones that you can install, that are not listed here.
A desktop environment is a collection of components that make up the graphical user interface (GUI) – it’s made out of widgets, icons, toolbars, wallpapers, and more. I think of it as a theme, but going even further than that. A desktop environment changes the look and feel of your system much more than a theme.
What’s more, you have quite few great options to choose from.
In case you’re not familiar with any of these, my favorite is X2Go, and I’ve been using it with my VPS M from Contabo.com for years, that for general use.
Table of Contents
- Prerequisites
- Install GNOME Desktop Environment
- Install XFCE Desktop Environment
- Install LXQt Desktop Environment
- Install LXDE Desktop Environment
- Install MATE Desktop Environment
- Install Budgie Desktop Environment
- Install KDE Plasma Desktop Environment
- Install Cinnamon Desktop Environment
- Switching Between Desktop Environments
- Conclusion
Prerequisites
- Access to a remote server running Ubuntu 22.04 or 20.04, with a recommended minimum of 2GB RAM. (The server I use daily for development and as a remote desktop is from Contabo. I’ve written a review on their VPS in case you’re interested)
- Acting as a
non-root sudo user, as acting as root, you run the risk of harming your system if you’re not careful.
Install GNOME Desktop Environment
GNOME (an acronym for GNU Network Object Model Environment) is a desktop environment for the X Window System.
It is designed to be simple and easy to use. It uses natural metaphors to communicate with the user and uses a desktop layout that is similar to that of other popular operating systems. It is developed by the GNOME Project, which is a community of individuals and organizations. GNOME was originally developed to run on top of the X Window System and its development environment.
It grew a large number of features and became a desktop environment. It is now developed by the GNOME Project and a large community of third-party developers. It is currently the most popular desktop environment for GNU/Linux systems.
To install a minimal GNOME, without many software packages, run:
sudo apt install gnome-session gnome-terminal
To install the full GNOME Desktop, run:
sudo apt install ubuntu-desktop
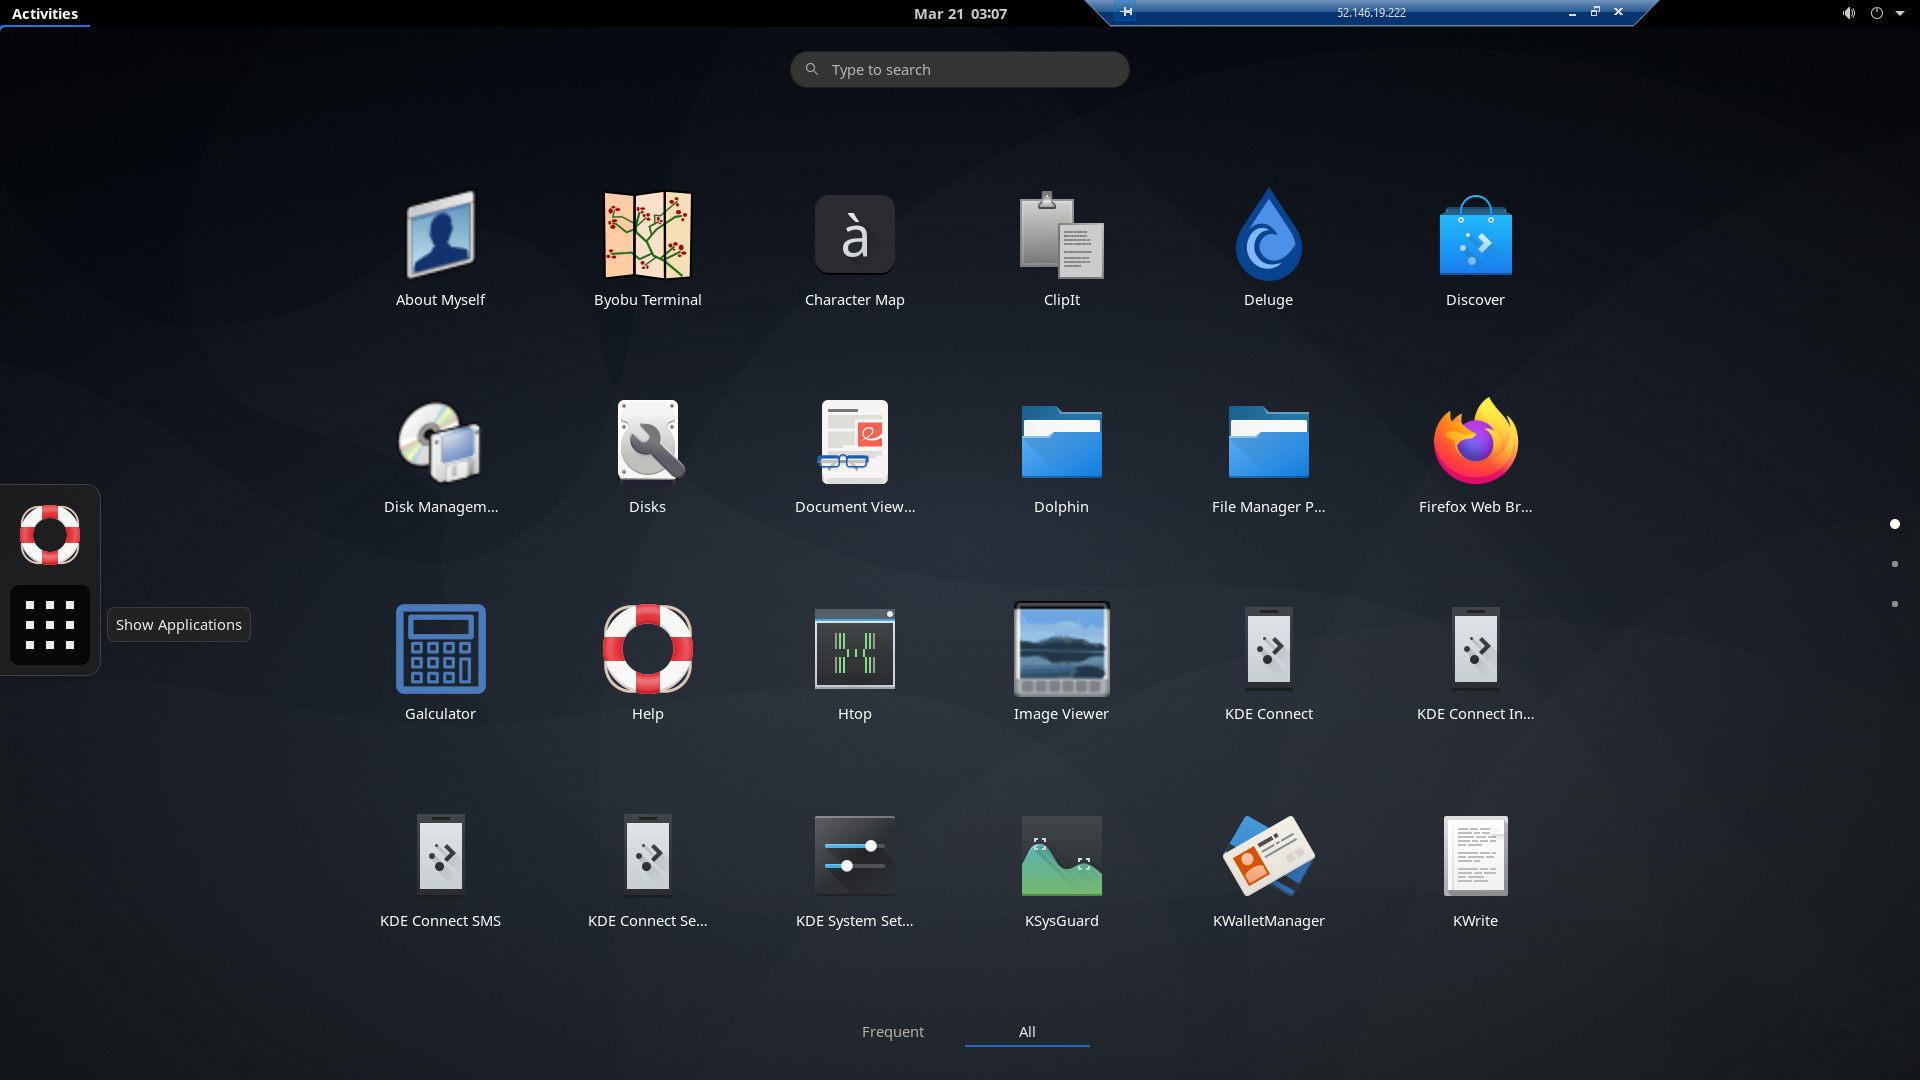
This is what GNOME looks like:
Install XFCE Desktop Environment
XFCE (originally an acronym for XForms Common Environment, later changed to mean XFCE Environment) is a lightweight desktop environment originally developed for Linux distributions based on the older Red Hat Linux distribution, though now it has been ported to many other systems as well.
It aims to be fast and lightweight, while still being visually appealing and easy to use. It is designed to have a traditional desktop layout, similar to the one found in Windows XP and GNOME 2.
To install XFCE, which is just the desktop environment for XFCE and a few other packages, run:
sudo apt install xfce4
To install Xubuntu Desktop, which includes all the packages in XFCE4 and additional packages provided by the Xubuntu distro, run:
sudo apt install xubuntu-desktop
This is what XFCE looks like:

Install LXQt Desktop Environment
LXQt is a lightweight desktop environment, and is the Qt port of LXDE, the Lightweight Desktop Environment, and is the default desktop environment for Lubuntu as of October 2018. It is a desktop environment with a classic desktop layout, similar to that of GNOME 2.
It is based on the Qt toolkit, and is designed to be lightweight, resource efficient and less dependent on hardware than other desktop environments.
To install LXQt, run:
sudo apt install lxqt
When you switch to LXQt for the first time it’ll ask you to select a window manager from a list. I typically select OpenBox but you can select any.
This is what LXQt looks like:

Install LXDE Desktop Environment
LXDE (The Lightweight X11 Desktop Environment) is a fast and energy-saving desktop environment. It used to be the default desktop environment in Lubuntu, until they moved to LXQt, in October 2018, due to the slow development of LXDE. The desktop layout is similar to that of GNOME 2. It uses the Openbox Display Manager (OBDM).
Its aim is to provide users with a desktop environment that is very fast and low on system resources, while still being visually appealing and user friendly.
To install LXDE, run:
sudo apt install lxde
This is what LXDE looks like:

Install MATE Desktop Environment
MATE Desktop, which stands for the “MATE Desktop Environment”, is a fork of GNOME 2. It is a stable, easy to use desktop environment developed with the aim of preserving the best parts of GNOME 2. MATE Desktop is the continuation of the GNOME 2 environment with support for modern hardware and free software drivers.
It is compatible with other desktop environments and window managers, features a more traditional desktop layout and is optimized for multi-monitor setups, laptops, netbooks and small form factor computers.
To install MATE Desktop, run:
sudo apt install ubuntu-mate-desktop
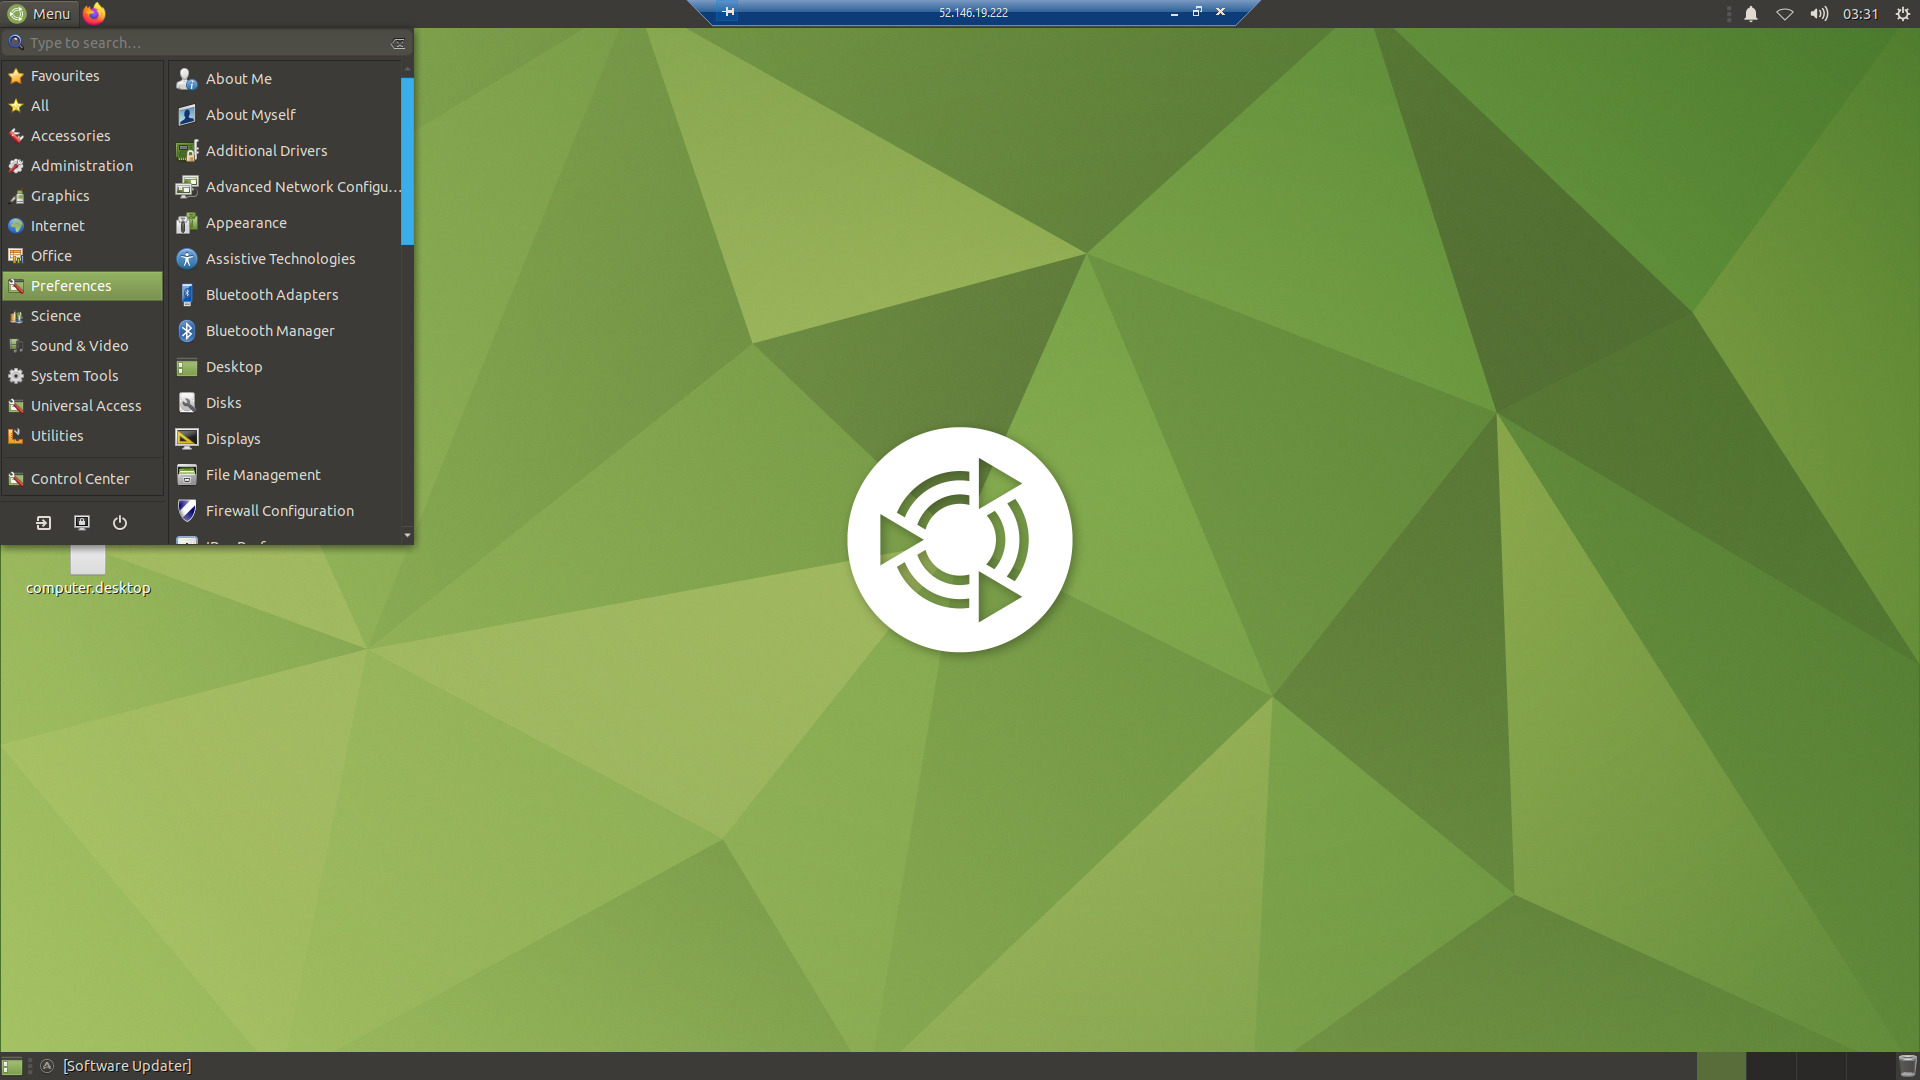
This is what MATE Desktop looks like:
Install Budgie Desktop Environment
Budgie is a desktop environment developed by the Solus Project and is based on GNOME. It is also used in the Manjaro and Ubuntu Budgie desktop editions. It is written using the GTK+3 toolkit and is compatible with the GNOME stack. The development of Budgie is independent of Solus and its first version was released on July 5, 2014
Its aim is to provide a simple, attractive, and functional desktop.
To install Budgie, run:
sudo apt install ubuntu-budgie-desktop
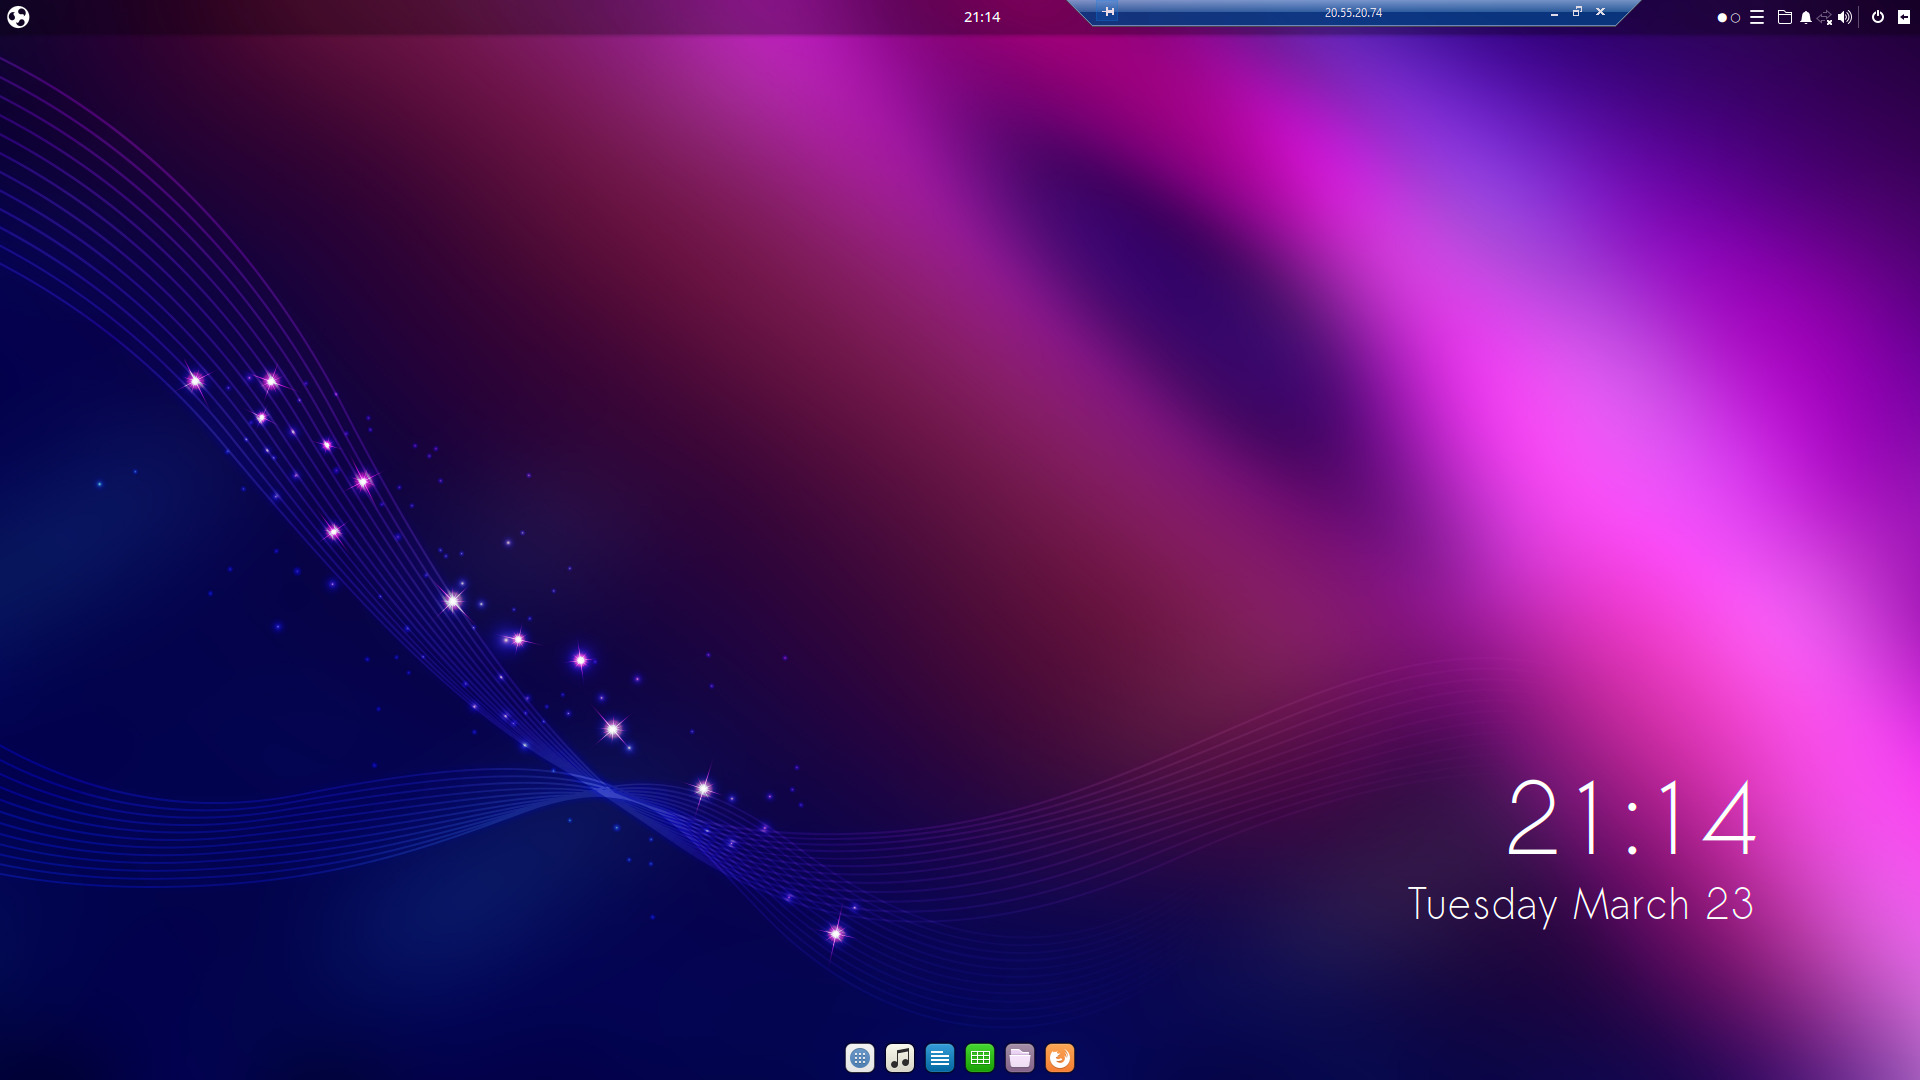
This is what Budgie looks like:
Install KDE Plasma Desktop Environment
The KDE Plasma is the default desktop environment for Kubuntu, created by KDE. It is a modular and powerful desktop environment, and designed to integrate many different applications within a desktop workspace. It is a very powerful and feature-rich desktop environment, and it is recommended for users that understand Linux and are interested in configuring their desktop.
To install KDE Plasma Desktop, which is a minimal installation including the Plasma desktop and a minimal set of applications:
sudo apt install kde-plasma-desktop
To install KDE Standard, which is includes the Plasma desktop with a standard/recommended set of applications, run:
sudo apt install kde-standard
To install KDE Full, which is the complete package, run:
sudo apt install kde-full
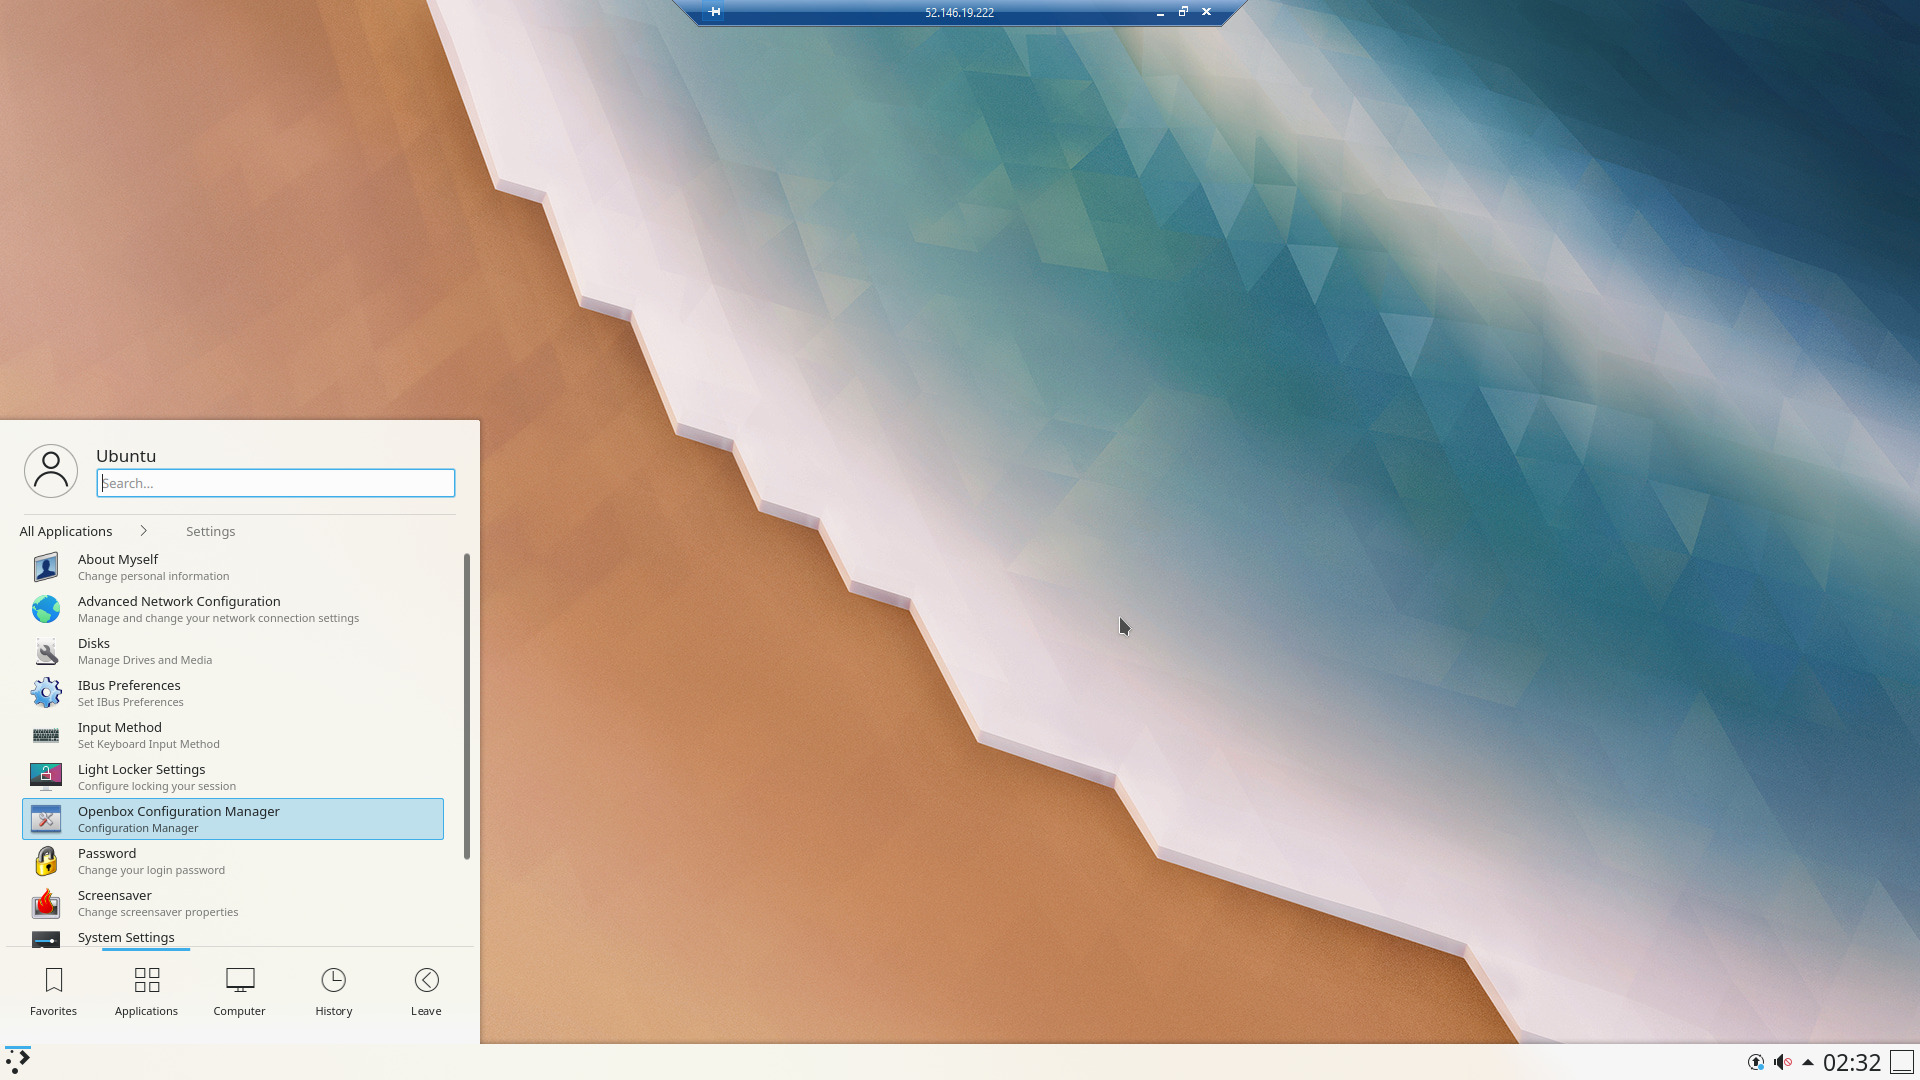
This is what KDE Plasma looks like:
Install Cinnamon Desktop Environment
Cinnamon is a desktop environment developed for the GNOME desktop environment. It is primarily designed to be a fork of the GNOME 3 stack. It is developed by the Linux Mint development team, which is responsible for the Linux Mint distribution. The desktop layout is similar to GNOME 2.
It uses its own layout manager, the Muffin Display Manager. It features a more traditional desktop layout and is optimized for multi-monitor setups, laptops, netbooks and small form factor computers.
To install Cinnamon Desktop, run:
sudo apt install cinnamon-desktop-environment
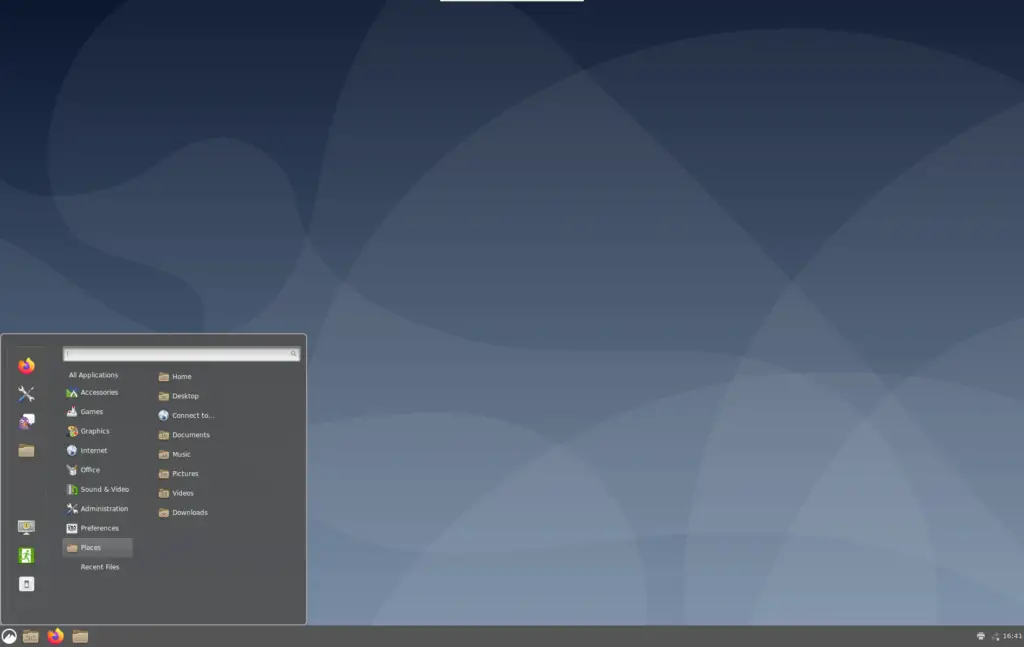
This is what Cinnamon looks like:
Switching Between Desktop Environments
If you’ve installed multiple desktop environments and want to switch between them then you can follow this guide How to Switch Desktop Environments in Ubuntu/Debian From the Command Line.
It may work with multiple remote desktop solutions, but so far, in the above link, we cover methods how to switch between remote desktops for xRDP , Chrome Remote Desktop, and VNC.
Conclusion
Well done. Hopefully this tutorial helped you install your preferred desktop environment on Ubuntu 22.04/20.04. If you encountered any issues then please feel free to leave a comment or contact us and we’ll get back to you as soon as we can.



The non-professional Linux community would be regressing to the sorry state of Microsoft Windows server admin ecosystem by rationalizing the “requirement” or preference of a GUI on a Server installation.
The UNIX and Linux (*NIX) environments have long known that not only is a Server GUI a terrible idea – given need for several graphics libraries and other non-essential tools to support the GUI desktop, but that such configuration presents an additional serious Cyber attack vector.
Until recently, most all Windows Server admins were completely ignorant about and/or incompetent with any Command Line Interface (CLI) tools, which the Nix admins have used for decades to very effectively manage even groups of Servers, which is one of the reasons that Microsoft introduced it’s clumsy Powershell tool.
There are also available excellent remote client admin or browser based “Control Panel” applications that would allow aspiring Linux admins from Windows mindset to better administer their systems. Users of Distributions like SUSE Linux Enterprise or non-commercial openSUSE havethe exceptional (built into server) YAST2 (Yet Another System Tool) ‘curses based’ tool that goes significantly beyond any admin capabilities of a desktop GUI interface.
Linux server admins should not follow the insecure retro Microsoft graphical server model for efficient and productive work.
Awesome, I just try it, and it works
Nice! Glad you found it useful!