Windows Subsystem for Linux (WSL) is an amazing feature that was introduced in Windows 10 in 2016. This feature enables users to run Linux commands and command-line utilities directly from their Windows machine.
That is possible as WSL allows you to install a Linux distribution like Ubuntu, Debian, OpenSUSE, Kali, Arch Linux, and more.
Unfortunately, installing multiple instances of distribution using WSL is not that easy. For example, if you already have Ubuntu installed and try to install another instance of Ubuntu, WSL will most likely raise an error saying the distribution is already installed.
This post will give you a comprehensive step-by-step guide on how to install multiple instances of WSL.
Table of Contents
Pre-Requisites
If you don’t have WSL or WSL2 already installed on your Windows system, please check out our posts below.
- How to Install WSL (Windows Subsystem for Linux) on Windows 10
- How to Install WSL 2 (Windows Subsystem for Linux) on Windows 10
This post will use WSL2, which offers better system performance and 100% system call compatibility.
Installing the First Instance
Assuming you already have WSL installed and enabled on your system, follow the steps below to install the first instance of Ubuntu.
Tip: You can use this method to install any other Linux distribution supported by WSL and not necessarily Ubuntu.
WSL provides you with two ways which you can use to install a Linux distribution on your system.
- Graphical method
- Command line method
Graphical Method
This method allows you to install a Linux distribution quickly and easily on your Windows 10 system. Follow the steps below.
- Launch the Microsoft Store application and sign in with Microsoft account details.
- Click the search button and type the name of the Linux distribution you want to install. This post will install Ubuntu.
- Click the “Get” button to download and install the OS.
- After a successful install, type the name of the distribution installed on the Windows search bar to launch it.
Command-line Method
This method is relatively easy and fast if you are a person who loves interacting with the Linux Terminal or Windows CMD. Launch Powershell in administrator mode and follow the steps below.
- If you want to install Ubuntu, execute the command below, which installs Ubuntu (by default).
wsl --install
- Alternatively, if you want to install a different distribution, use the command below.
wsl --install -d [distribution-name]
E.g
wsl --install -d debian
- After a successful install, type the name of your distribution on the Windows search bar to launch the OS.
Install the Second Instance of WSL
This step can be somehow technical. However, don’t worry. Just follow all the steps and commands described in this section. There are two ways you can use to install the second instance of WSL.
- Download and import the tarball of the distribution you wish to install.
- Export and import the already installed distribution
This post will look at all the methods and will use Ubuntu as the distribution of choice.
[Method 1] Download and Import Ubuntu Tarball File
Use this method if the distribution you want to install has the WSL tarball file available for download. For example, you can download the Ubuntu WSL tarball file from their official website. After a successful download, copy the file to your desired location and launch Powershell. Follow the steps below to install the second instance of WSL.
Tip: If you are using a limited internet plan, use method 2, as this method will require you to download at least a 450 MB file.
- Navigate to the folder where you download the Ubuntu tarball file using the cd command.
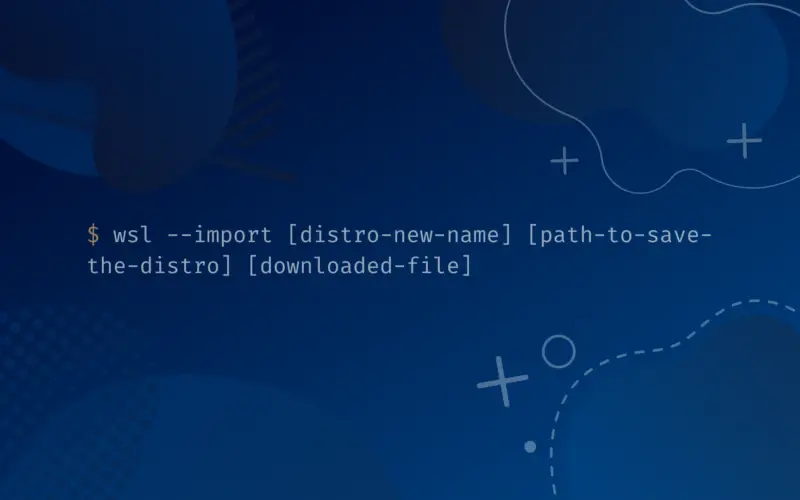
- Use the command syntax below to install the second instance of Ubuntu.
wsl --import [Distro-New-Name] [Path-to-Save-the-Distro] [Downloaded-File]
E.g.,
wsl --import Ubuntu_2_Copied "C:\Users\phinix\" ubuntu-21.04-server-cloudimg-amd64-wsl.rootfs.tar.gz
This command will create a new instance of Ubuntu with the name Ubuntu_2_Copied.
- To verify whether the new instance was successfully installed, execute the command below.
wsl -l -v

[Method 2] Export the Pre-Installed Distribution
Follow the steps below to export a WSL Linux image.
- Use the command below to list all the installed distributions.
wsl -l -v
- Use the command syntax below to export the distribution of your choice. For this post, we will export the Ubuntu image.
wsl --export [name-of-distribution-to-export] [Exported-Image-Name.tar]
E.g
wsl --export Ubuntu-20.04 ExportedUbuntuImage.tar
Tip: Don’t forget to add thetarextension at the end of the exported image file name.
If the export completes successfully without any errors, you should see the exported file in your current working directory when you run the ls command.

After verifying that the image was successfully exported, you can now start the import process. Run the command below to install the second instance of Ubuntu using the exported image.
wsl --import [Name-For-the-new-Instance] [Folder-To-Store-The-Image] [Path-To-The-Exported-Image.tar]
E.g
wsl --import Ubuntu_3_Imported C:\Users\phinix ExportedUbuntuImage.tar
If the import completes successfully, execute the command below to verify the second instance was successfully installed on your system.
wsl -l -v
You should see the new instance listed below.

Launch WSL Instances
Normally, if you install a Linux distribution the standard way using WSL, you can easily launch it by searching for it in the Windows start menu. However, you will realize additional instances of the same distribution will not appear when you type the name in the search box.
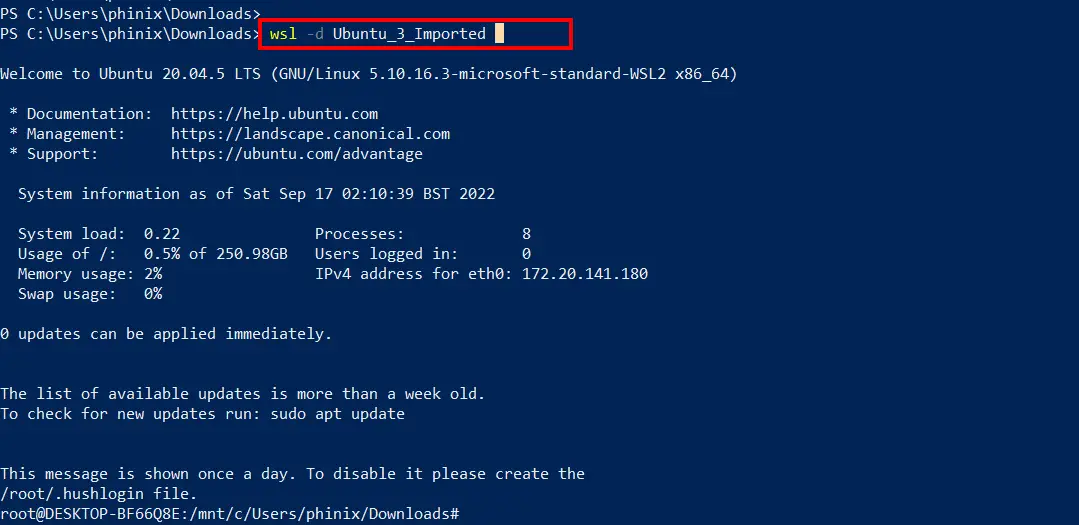
To overcome that issue, you will need to launch them from Powershell. Use the command below.
wsl -d [distribution-name]
E.g.
wsl -d Ubuntu_3_Copied

Conclusion
This post has given you a comprehensive guide on installing multiple instances of WSL on your Windows 10. If you encounter any issues, please don’t hesitate to let us know in the comments below.


