Remote desktop (or screen sharing) is an operating system feature that allows users to connect to another computer in a distant physical location and interact with that computer as if it were local to them. A remote desktop is generally operated using a graphical user interface.
The remote desktop feature is useful if you need to access your Ubuntu desktop computer with a graphical user interface from a remote location, if you want to provide remote support to someone else, for certain work requirements, etc.
In this article we’ll go step-by-step in enabling the remote desktop feature (or screen sharing) on a remote Ubuntu computer running either 22.04 or 20.04, and we’ll look at how to connect to them.
We will look at other remote desktop methods and technologies that work for Ubuntu. We have already written detailed tutorials on these methods, so we’ll provide an overview of each one, and link to their corresponding article.
Table of Contents
How to Use Ubuntu as a Remote Desktop: Prerequisites
To get started with using an Ubuntu remote desktop, you’ll need to have the following things:
- An Ubuntu computer that you want to use as a remote desktop (this can be another computer or laptop, a server, or a virtual machine).
- A second computer from which you will access the remote desktop (this can be another computer or laptop, a tablet, or a smartphone, with any popular operating system like Windows, macOS, Linux, Android, iOS).
- An Internet connection or just a local network connection between the two computers/devices.
- The IP (or hostname) of your remote computer. All the methods listed in this article require you know your remote computer’s IP address or hostname.
We’ll start by making sure we know our remote computer’s IP address.
Get the IP Address of Your Remote Computer
To connect to a remote computer, users need to enter the IP address (or hostname) of the remote computer into the Remote Desktop Connection client.
- A hostname is a human-readable form of an IP address. For example, the hostname for Google’s website is
www.google.com, while the IP address for Google’s website is142.251.33.100. - A client is a program that connects to a server. The server is the program that is being connected to. In this case, the server is the remote computer and the client is the Remote Desktop Connection program.
There are multiple ways to find your remote computer’s IP address. A very simple way is by using Ubuntu’s command-line.
To find our remote computer’s IP launch a terminal and run the command:
hostname -I
106.87.156.59 10.0.0.1 10.1.0.1
So in our example, 106.97.156.59 is our remote computer’s primary IP address that we’ll use to connect to it.
hostname -I displays all of the IP addresses assigned to the computer. The first IP address in the list is typically the primary IP address. The other IP addresses are typically assigned to secondary network interfaces or used for other purposes (e.g., 10.0.1.1 might be the address of a network printer).
Enable Native Ubuntu Remote Desktop
This method is the most common way to set up a remote desktop on Ubuntu. By default, Ubuntu comes with a very easy way of enabling remote desktop functionality. You’ll just have to click a few buttons to enable the remote desktop functionality, reboot the Ubuntu computer, and it’s ready to be connected to.
This method also assumes you’re using the GNOME desktop environment, which is the default Ubuntu desktop environment. A desktop environment is a collection of software that provides a graphical user interface and makes your computer look and feel a certain way. GNOME is one of the most popular Ubuntu desktop environments.
Ubuntu 22.04’s native method differs a little from Ubuntu 20.04. We will cover both versions.
Enable Native Remote Desktop in Ubuntu 22.04 (RDP and VNC)
Ubuntu 22.04’s native remote desktop functionality uses Remote Desktop Protocol (RDP) by default, but Ubuntu 22.04 also allows Virtual Network Computing (VNC). VNC is a popular remote desktop system, that uses a different protocol, called Remote Framebuffer (RFB).
VNC is considered a legacy method – it is still supported, but RDP is preferred in this case.
A difference between RDP and VNC is that VNC uses a different protocol. RDP used by Ubuntu is an open-source implementation of the Microsoft Remote Desktop Protocol (RDP) while VNC uses RFB (Remote Framebuffer). RDP is more efficient than VNC because it uses a different compression algorithm that is optimized for video and audio streaming.
We will mention both methods.
To enable native remote desktop connection on Ubuntu 22.04:
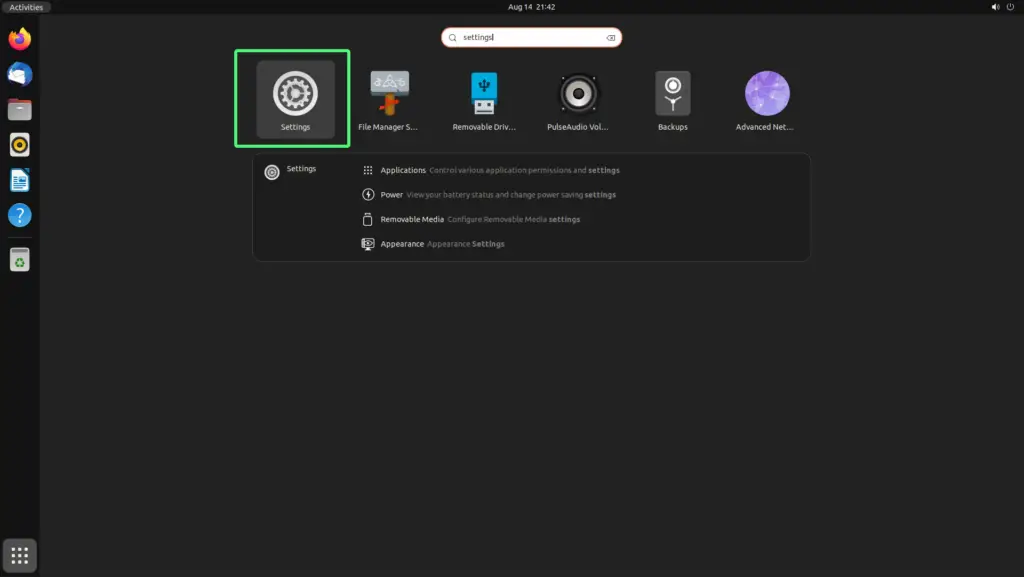
- Launch the Settings application and open it.

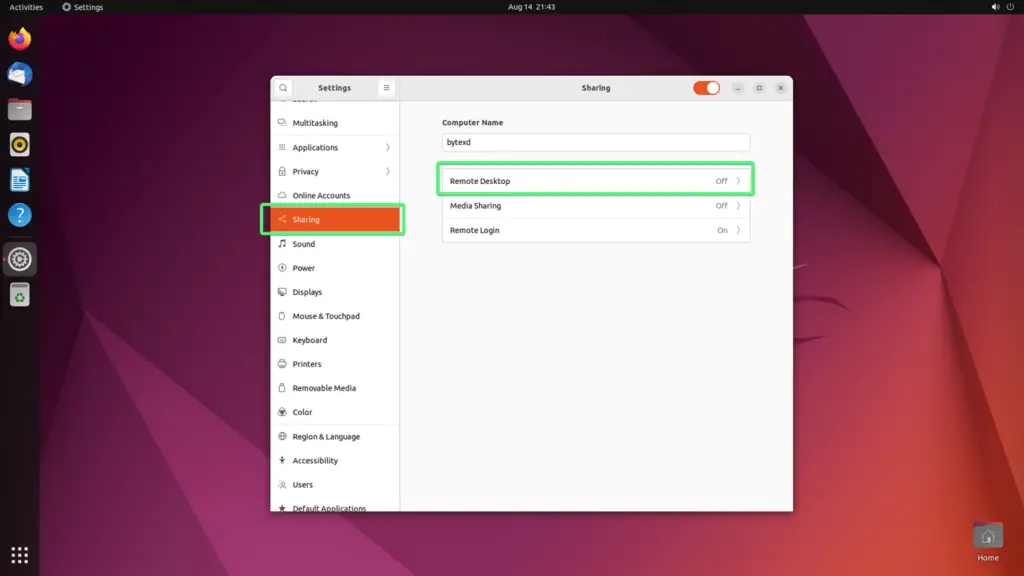
Open the Settings application. - In the left sidebar click on Sharing. After clicking it you should see a button for Remote Desktop. Click it and it will take us to our configuration screen.

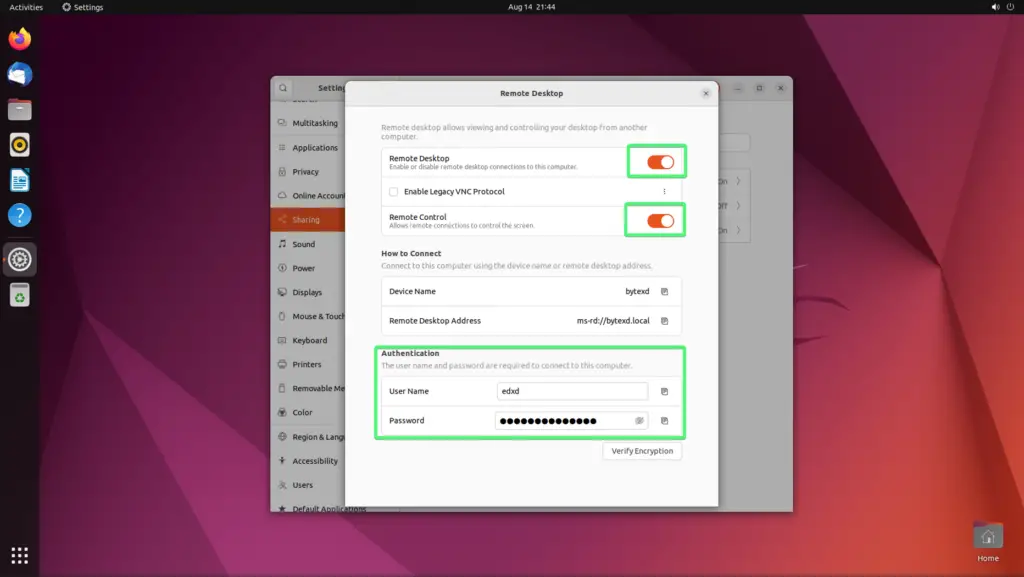
Got to Sharing > Remote Desktop - Where it says Remote Desktop flick the switch at its’ right. By default you can only view the screen. To also control it click on the switch next to Remote Control.

Enable Remote Desktop and Remote Control. You can also change your authentication user name and password. - Optional: You can set a different user and/or password. We’ll use this to log into the remote desktop.
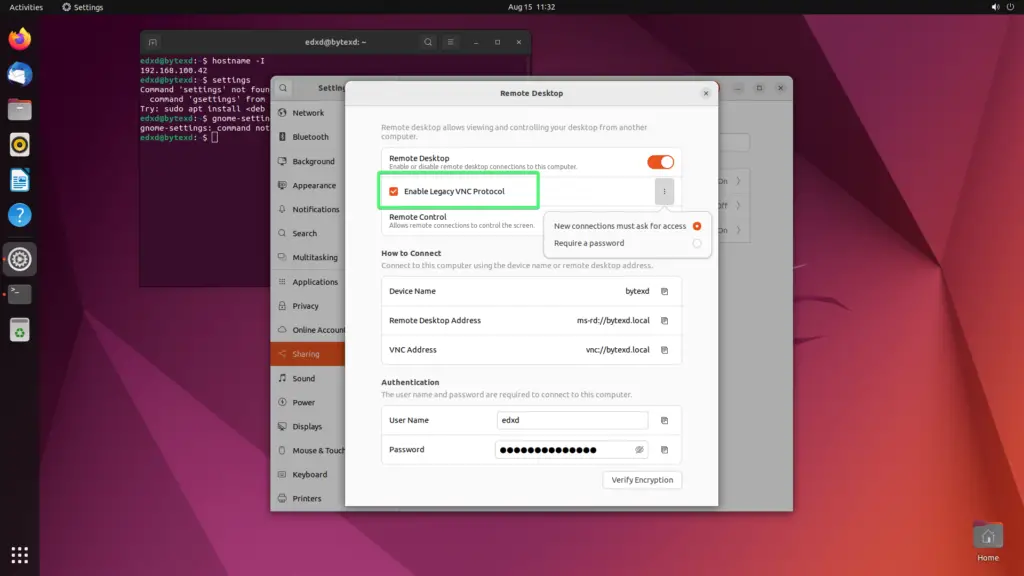
- Optional: If you’d like to also enable VNC as a remote desktop method, check the Enable Legacy VNC Protocol box. You can also click on the three dots
⋮and there you can select whether you want to authenticate by requiring new remote desktop connections to ask for access or by using a user name/password. If you choose for new connections to ask for access, this means that the remote Ubuntu desktop will show you a prompt when someone tries to connect, and someone has to click that they approve this connection.
Enabling Legacy VNC Protocol and selecting the type of authentication. - Close all windows (the settings will stay saved) and reboot the computer. After rebooting, the remote desktop should be enabled.
Enable Native Remote Desktop in Ubuntu 20.04 (VNC)
Ubuntu 20.04 uses VNC (Virtual Network Computing) as its native remote desktop system.
We can very easily enable it from Ubuntu’s settings. This method assumes that you’re using GNOME as your remote Ubuntu computer’s desktop environment.
To enable the remote desktop feature via VNC in Ubuntu 20.04:
- Launch your Settings application.
- In the left sidebar click on Sharing. At the top right of the window you should see a small switch you can click to enable sharing.
- In the new screen you should have a button called Screen Sharing. Click on it and a small window should pop up.
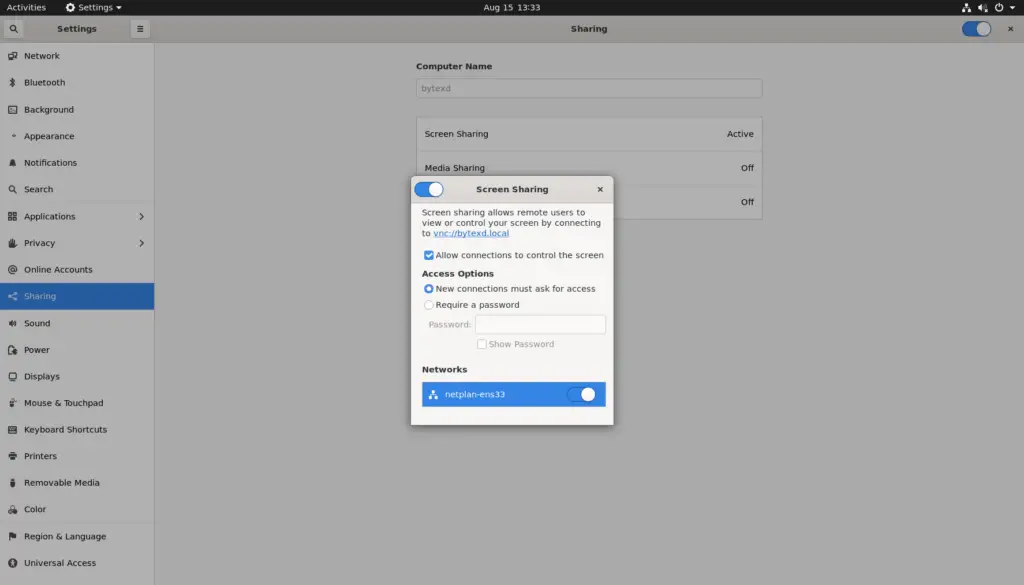
- In this window, at the top left of it you should see a switch to enable screen sharing. Click on it. Now you can configure a few other things – whether you want to allow the remote desktop connection also to control the screen, whether you want any new remote desktop connection to have to wait to be granted access, or if they can authenticate using a username/password without waiting to be granted access.

Enabling screen sharing on Ubuntu 20.04. - Reboot the computer. After it has rebooted, remote desktop sharing should be enabled.
Connect to Your Ubuntu Remote Desktop
Now that we have enabled screen sharing on our Ubuntu computer, we can connect to it from our local computer.
As mentioned earlier, there are 2 remote desktop technologies that we can use.
- On Ubuntu 22.04 we can connect using RDP by default (the open-source implementation of Microsoft’s Remote Desktop Protocol), or by using the legacy VNC method (if we enabled it).
- On Ubuntu 20.04 we only have VNC by default.
1. Ubuntu Remote Desktop Using RDP (Remote Desktop Protocol)
To connect to your Ubuntu machine using RDP, we have a dedicated section on how to do that in a related tutorial.
We cover in detail how to connect to an Ubuntu remote desktop from Windows, Linux, macOS, and Android.
- Check our tutorial here – in the section on how to connect to your remote desktop.
- In the next section of the above mentioned tutorial, we cover how to optimize your remote desktop connection in case it’s slow or laggy. This can be very useful if you have a slow internet connection. It covers things like setting process priority and reducing image quality to use as little bandwidth as possible.
2. Ubuntu Remote Desktop Using VNC (Virtual Network Computing)
This method assumes you enabled Legacy VNC Protocol if you’re using Ubuntu 22.04. If you’re using Ubuntu 20.04 then it’s the default method for remote desktop.
To connect to your remote Ubuntu desktop computer using VNC you will need to install a VNC remote desktop client on your computer. As mentioned before, in computing, a client is a computer program that accesses a service made available by a server.
You will need to use a VNC remote desktop client software depending on your computer’s operating system. From my experience, I recommend the following:
- Linux: Remmina. If you’re using any of the major Linux distributions on your local machine, I recommend Remmina. It’s a remote desktop client that supports VNC and a lot more. You can find a detailed installation guide on the official website.
- Windows, macOS, Linux, Android, iOS: RealVNC Viewer. It’s among the most popular VNC viewers.
- Windows, macOS, Linux: TightVNC Viewer. It’s also a very popular VNC viewer that I use. For any OS that supports Java, you can just (1) download the TightVNC Java Viewer JAR in a ZIP archive, (2) extract the archive, and (3) run
tightvnc-jviewer.jar
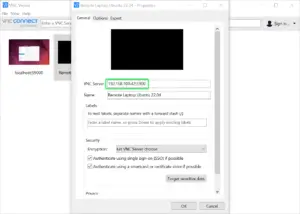
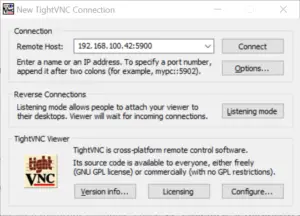
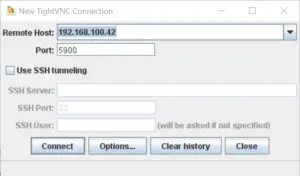
To connect to your remote computer just open your VNC viewer software and input your remote computer’s IP address (or hostname) followed by :5900, which is the default port on which the VNC server is running.
- A port is like a door to your computer. You can have many doors open at the same time, and each door can be used for a different purpose. The VNC server is a program that is listening on port 5900 for connections from a VNC client.
Here is how it looks like when I input my remote computer’s ip_address:5900 in RealVNC Viewer, TightVNC Viewer for Windows, and TightVNC Java Viewer (which is compatible with any OS that supports Java).
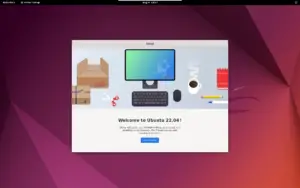
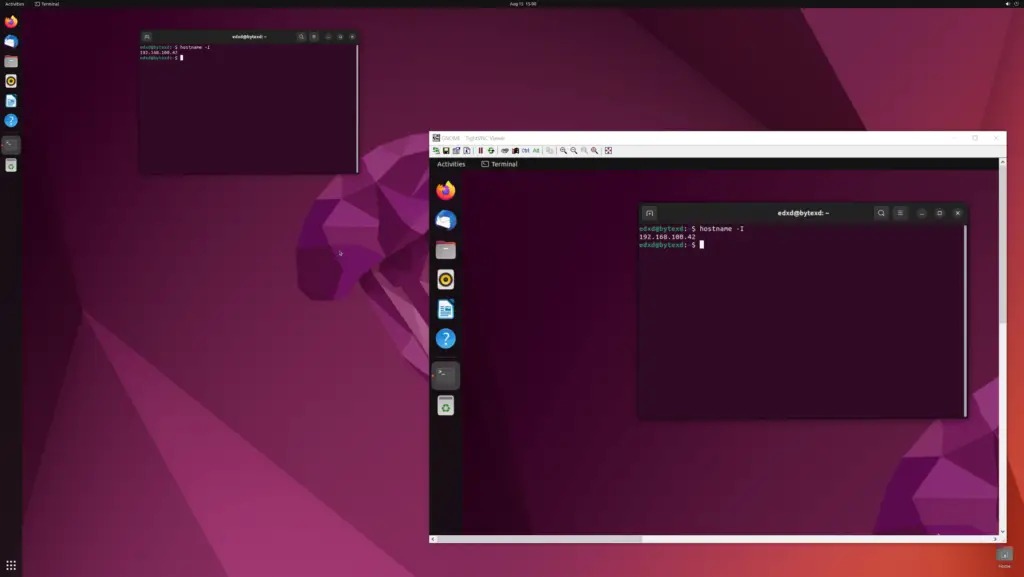
This is how it looks like when you connect to your Ubuntu desktop via VNC. In the background, we have the computer to which I connected, and in the foreground we have TightVNC Viewer. When I move the mouse in my TightVNC Viewer window, the mouse also moves on my Ubuntu remote desktop computer.
Ubuntu Remote Desktop via Other Methods & Technologies
There are a number of other very popular methods and technologies that can be used to remotely access an Ubuntu desktop. Earlier we covered the most common and convenient method, since it’s typically included in Ubuntu.
The screen sharing method presented above is specific to the GNOME desktop environment. Using the technologies presented below we can use multiple desktop environments as well. Some other popular desktop environments for Linux include KDE, Xfce, and LXQt, MATE, or Cinnamon.
In the next sections, we’ll present an overview of each remote desktop method and a quick preview of how it looks like when we connect to an Ubuntu desktop with it.
From there you can follow the links to our individual tutorials for each method.
Ubuntu Remote Desktop Using RDP via xRDP
xRDP is an open-source implementation of the Microsoft Remote Desktop Protocol (RDP) that allows you to control a remote system graphically. It is available for most Linux distributions.
This method is very similar to the native way of connecting to Ubuntu 22.04, since they use an open-source implementation of Microsoft’s Remote Desktop Protocol.
However, you can use this to connect to any version of Ubuntu, whether it’s 22.04 or 20.04.
The end result will look the same as above, in our Ubuntu 22.04 native remote desktop section.

Ubuntu Remote Desktop Using X2Go
X2Go is an alternative to xRDP that uses the NX technology protocol. NX is a more efficient way of handling RDP traffic and results in a faster, more responsive experience. X2Go is available for most Linux distributions, and is commonly used to provide remote access to systems running Ubuntu.
This is also my preferred method to connect to my remote desktops. I haven’t thoroughly researched the pros/cons of each remote desktop technology, to determine which is objectively the best. So I’ll just say it’s personal preference.
A downside of X2Go is that it doesn’t work with the GNOME desktop environment, which is the one Ubuntu desktop typically has installed by default.
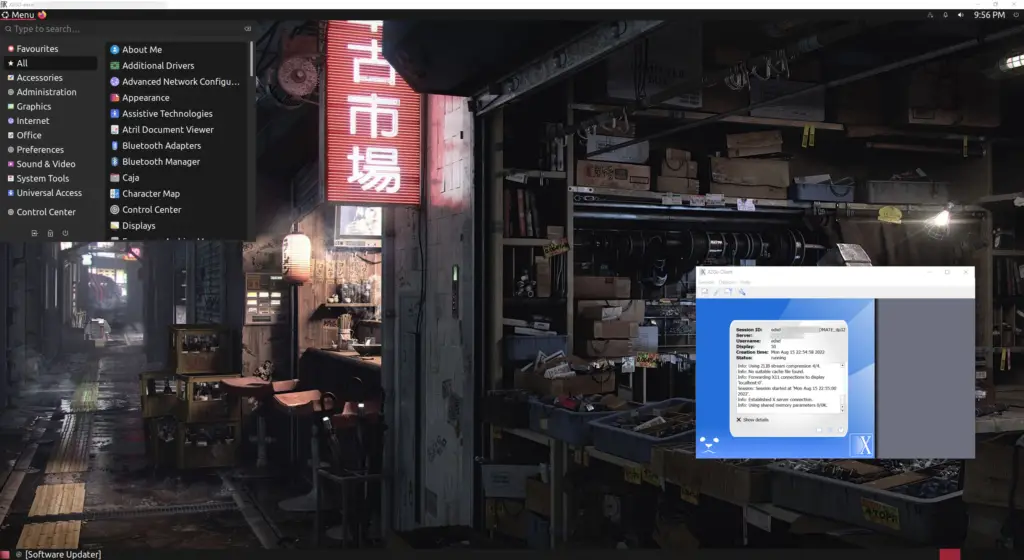
Here’s a screenshot of my remote desktop server. It’s a Cloud VPS M from Contabo.com. It has €8.99/month and 16GB RAM, and I highly recommend it if you want a remote workstation for whatever reason. I’ve been a customer for almost 10 years.
Ubuntu Remote Desktop Using VNC (via TigerVNC Server)
Another option is installing your own VNC server on Ubuntu and connecting to it from another computer.
This is a great option if for whatever reason you can’t use the native screen sharing option or if you’re using some other desktop environment, other than GNOME, that doesn’t come with the screen sharing option natively.
Additionally, this method is more secure than typical VNC access. Because VNC is a popular remote desktop solution, it’s likely that vulnerabilities will often be found for it. This may lead bad actors to trying to exploit this. A good way to mitigate this is by using SSH authentication as an additional measure of security. In our related tutorial you’ll also use an SSH tunnel, which will require you to authenticate with your SSH credentials, on top of authenticating with your VNC user/password.
In our tutorial we cover how to set up a using TigerVNC, which is a very popular VNC server, and how to use it with 9 of the most popular desktop environments.
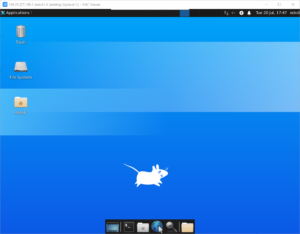
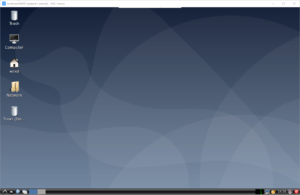
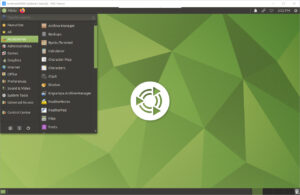
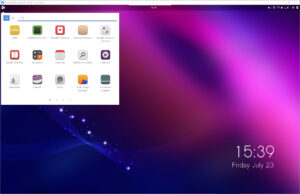
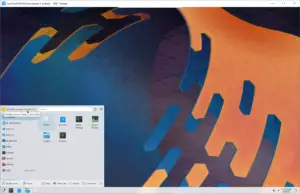
Here’s how remote desktop via VNC looks like with multiple desktop environments that we cover in the above tutorial.
Ubuntu Remote Desktop Using Chrome Remote Desktop
Chrome Remote Desktop is a cross-platform application that allows users to remotely control another computer using the Chrome web browser. It is available for all major operating systems.
Note: You can skip Step 2 from the above tutorial.
The above tutorial mentions a headless server. A headless server is essentially a computer that has been configured to run without a monitor, keyboard, or mouse. Headless servers are often used for remote administration or running server applications that do not require a graphical interface.
Setting up Chrome Remote Desktop is easy when you install it on a computer that already has a desktop environment installed. It’s a little more challenging when dealing with a headless server, but it’s pretty much same procedure.
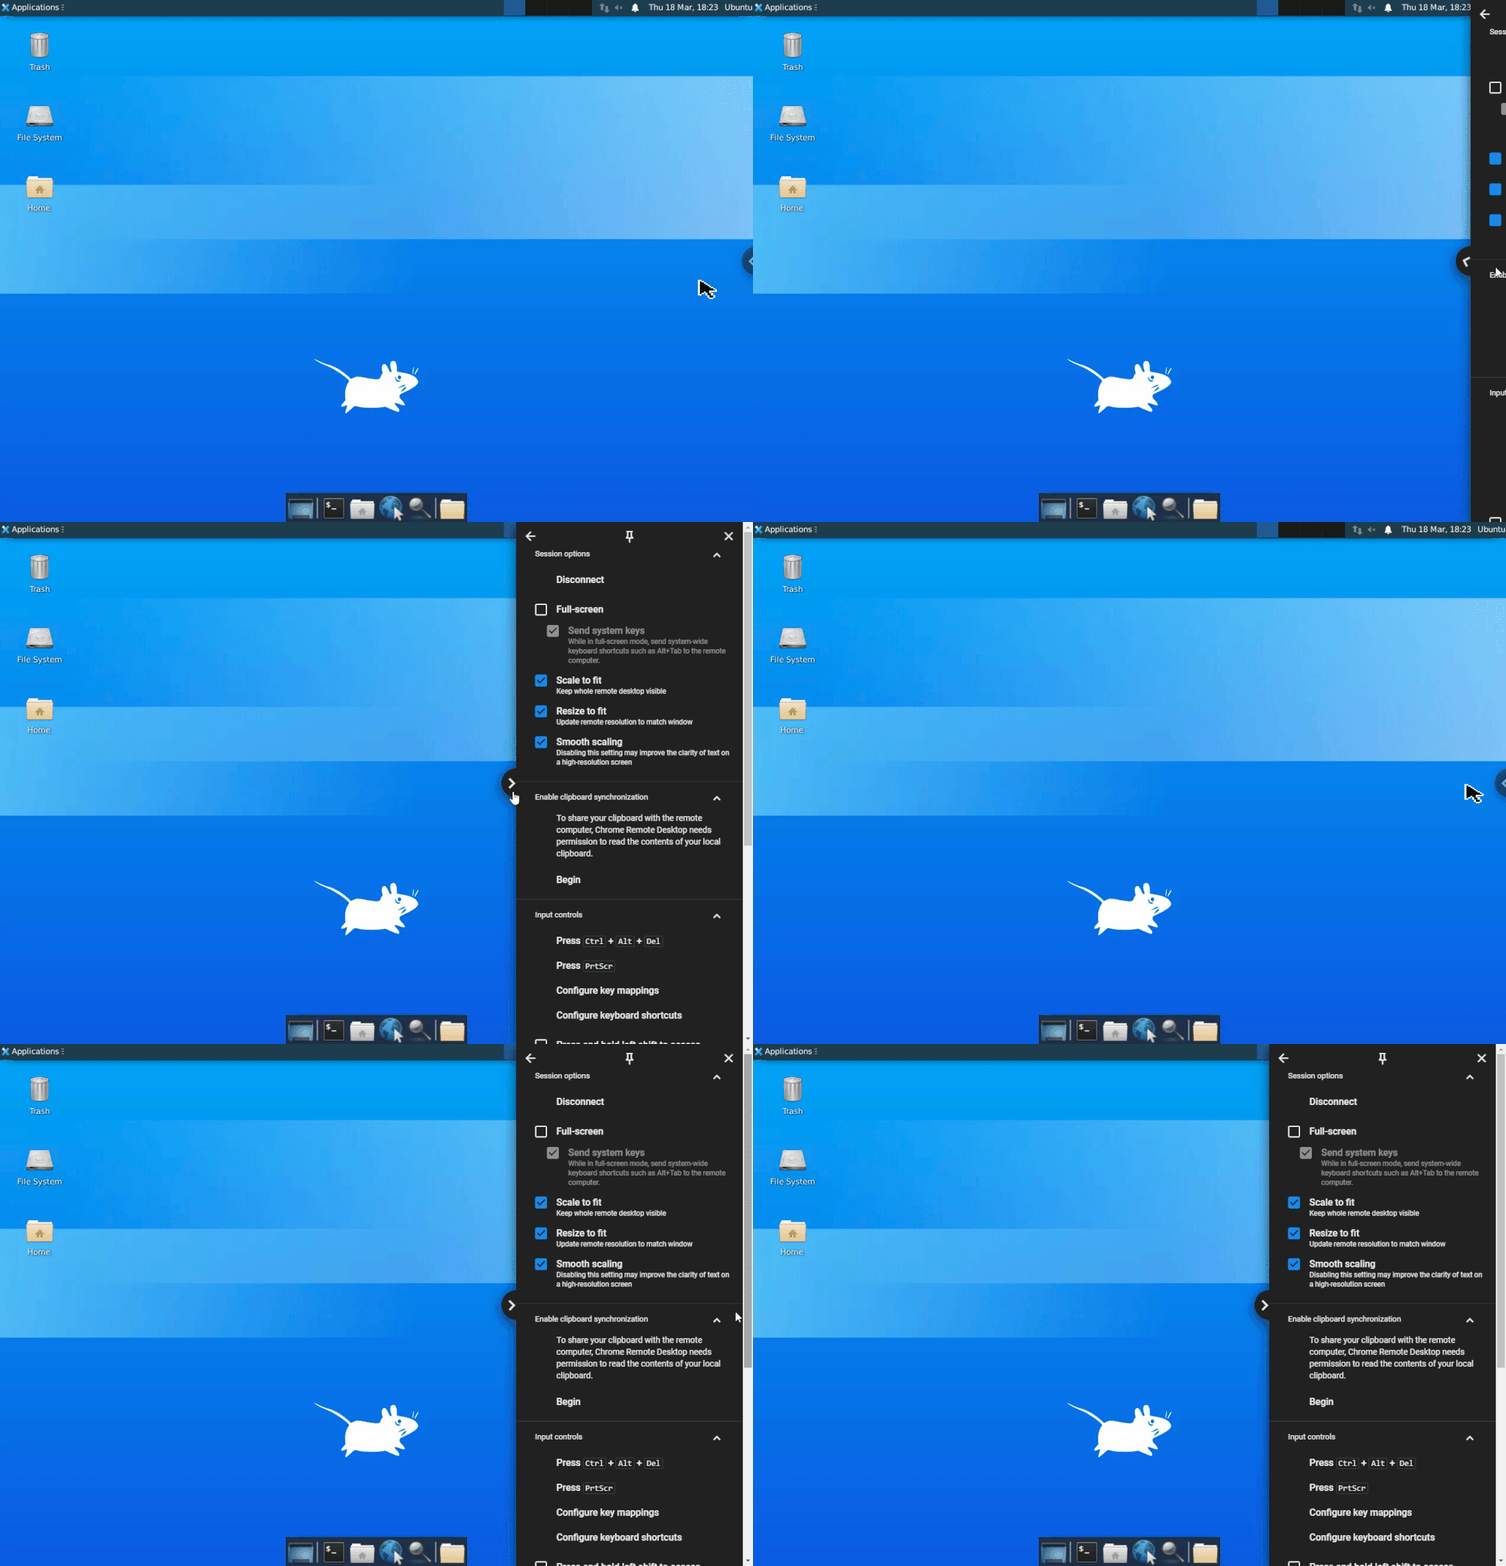
Here is how a remote desktop looks like when using Chrome Remote Desktop.
Ubuntu Remote Desktop Using Xpra
Xpra is an open-source tool that allows you to forward the graphical output of one computer to another, much like VNC or RDP. Xpra is designed for high-performance and low-latency forwarding of applications and desktops.
Using Xpra you can basically individually forward any application window or your whole desktop from one computer to another.
Here’s what I mean:
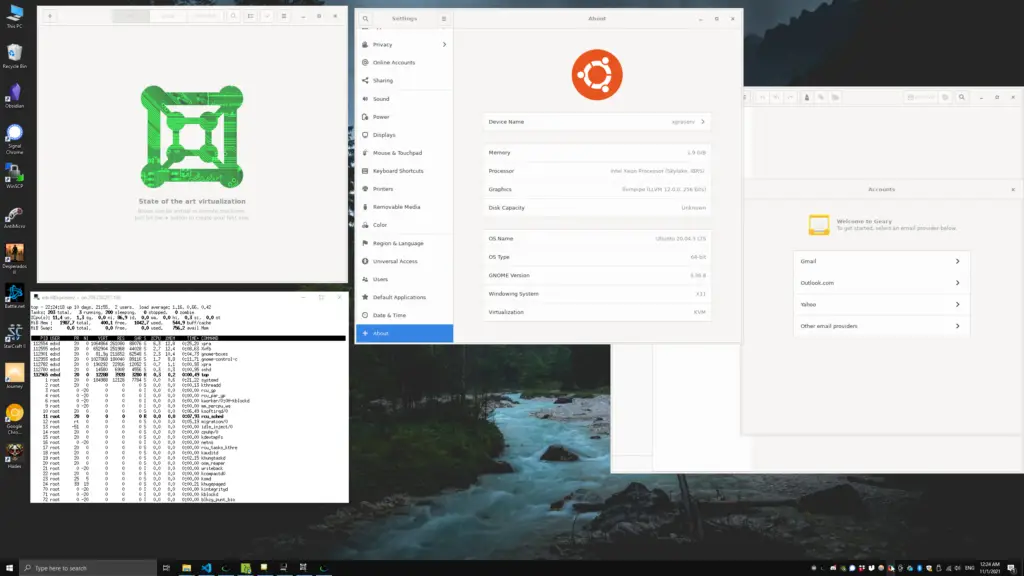
With Xpra you can also access your remote desktop through the Xpra client, and also through a web browser. It is a very interesting software.
Other Remote Desktop Methods Using Third Party Applications
There are other ways to connect to an Ubuntu remote desktop, such as by using applications like AnyDesk, Team Viewer, Splashtop, and many others. We cannot cover all of these methods in this article, but should we cover them in separate articles, we’ll update this article to link to those tutorials.
Troubleshooting
Here we’ll address some issues you may encounter.
Real VNC Viewer Error: RFB protocol error: Bad rectangle
If you get an error saying RFB protocol error: bad rectangle with RealVNC in Windows 10, you can try TightVNC.

Conclusion
In this article, we covered two methods to enable screen sharing and connect to an Ubuntu remote desktop using RDP and VNC. We also mentioned a few other very popular remote desktop alternatives for Ubuntu. We hope this guide helped you in some way. If you encounter any issues or have any questions, feel free to leave a comment, and we’ll get back to you as soon as possible.
