Plex Media Server is an application that lets you store all your music, movies, TV shows, and other media files in one place – on your computer or an external hard drive connected to it.
It means you can stream them to any device in your home (even smart TVs and gaming consoles). While Plex Media Server works excellent with Ubuntu out of the box, there are two optional steps you can take to make the installation process smoother and safer – adding the Plex repository.
In this tutorial we’ll cover how to install Plex Media Server on Ubuntu 22.04 LTS.
Table of Contents
Prerequisites
You will need an active internet connection for most of these steps and about 40 minutes. You can follow along with your hardware or use a cloud server.
At least 2GB of memory will be needed for one streamer, although 4GB would be ideal, and 8GB is better yet.
An SSD drive will improve performance as well. All commands should be run as root unless otherwise noted. If not logged in as root, then prepend sudo to each command.
Install Plex Media Server
There are several ways to install and configure Plex on Ubuntu, including using a .deb package or PPA. Still, to ensure you’re always up-to-date with any necessary bug fixes and security patches, it’s best to download Plex’s official Linux installer script and use that for installation.
To begin, open a terminal window by pressing Ctrl + Alt + T or searching for Terminal from your launcher menu. Then follow these steps:
Update your packages and check for available updates using this command.
sudo apt update && sudo apt upgrade -y
Add the required packages to run plex. Run this command:
sudo apt install apt-transport-https curl wget -y

Next, add a plex repository or create a repository file to get pulls from the plex repository. Open the Terminal and execute the following command.
sudo wget -O- https://downloads.plex.tv/plex-keys/PlexSign.key | gpg --dearmor | sudo tee /usr/share/keyrings/plex.gpg

Next, execute the command below to add the Plex GPG key.
echo deb [signed-by=/usr/share/keyrings/plex.gpg] https://downloads.plex.tv/repo/deb public main | sudo tee /etc/apt/sources.list.d/plexmediaserver.list

It’s highly recommended that you update your packages before installing the plex. To do this use this command.
sudo apt update
Now you can install the Plex media server with the following command:
sudo apt-get install plexmediaserver -y

After running the above command, you will see a prompt to configure the plexmediaserver.list configuration file. There are four options provided.
- Y or I: install the package maintainer’s version
- N or O: keep your currently-installed version
- D: show the differences between the versions
- Z: start a shell to examine the situation
For this case, we will choose N. That allows us to keep the currently installed version of plexmediaserver.list and proceed with the installation. After a successful installation, the plexmediaserver service should start automatically. You can verify that by executing the command below.
sudo systemctl status plexmediaserver

From the image above, you can see that the Plex Media Server service is already running on our system. In case you find that the service is not active, type the commands below to start the Plex Media server:
sudo systemctl enable --now plexmediaserver
sudo systemctl start plexmediaserver
Now, we need to enable the Plex service to automatically start on boot whenever we boot or restart the system. Execute the commands below on the Terminal.
sudo systemctl enable plexmediaserver
sudo systemctl restart plexmediaserver
To use this service, you must also have your UFW (Uncomplicated Firewall) enabled. By default, it’s enabled, but if not, execute the command below to enable UFW.
sudo ufw enable
Then add the Plex Media Server Port 32400 using by running this command:
sudo ufw allow 32400

To verify whether port 32400 was enabled, execute the command below.
sudo ufw status

Access and Configure the Plex Media Server
Let’s now look at how you can configure plex using the WebUI. To access the Plex web interface, use the URL below.
http://[Your-Server-IP]:[Port-Number]/web
e.g.,
http://127.0.0.1:32400/web
OR
http://localhost:32400/web
ssh remote-server-ip -L 8888:localhost:32400
Then, using your device access the Plex web UI using the URL below.
http://localhost:8888/web
Register for Plex Media Server
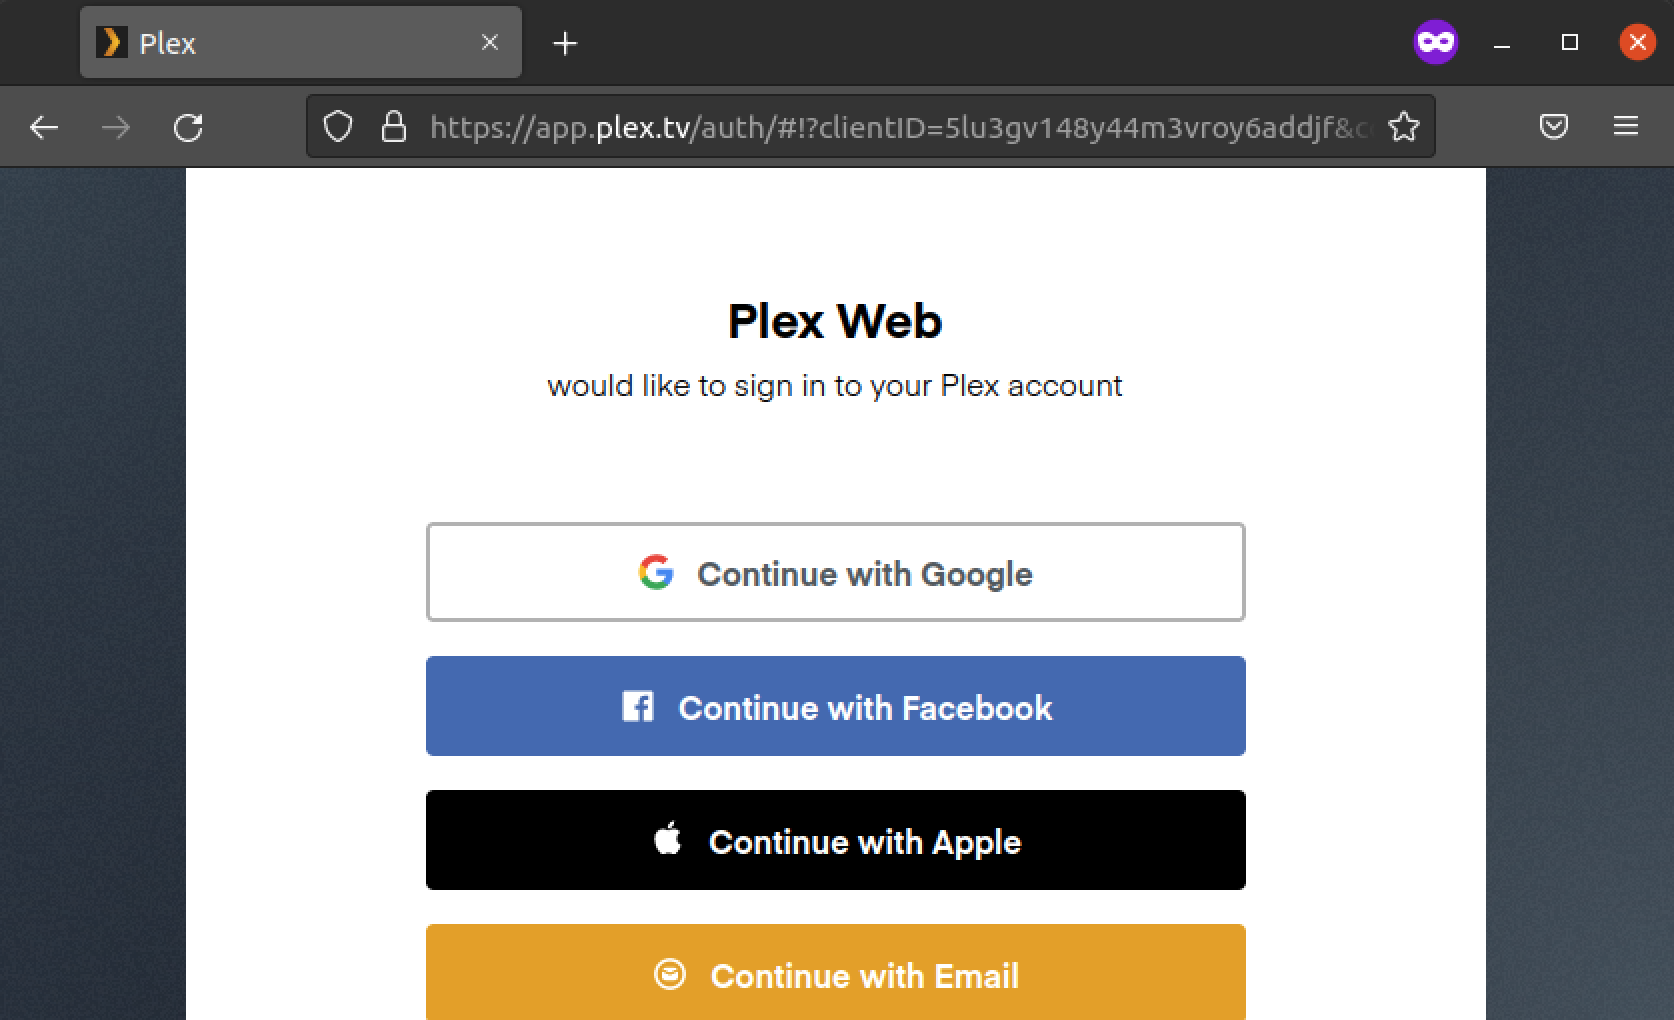
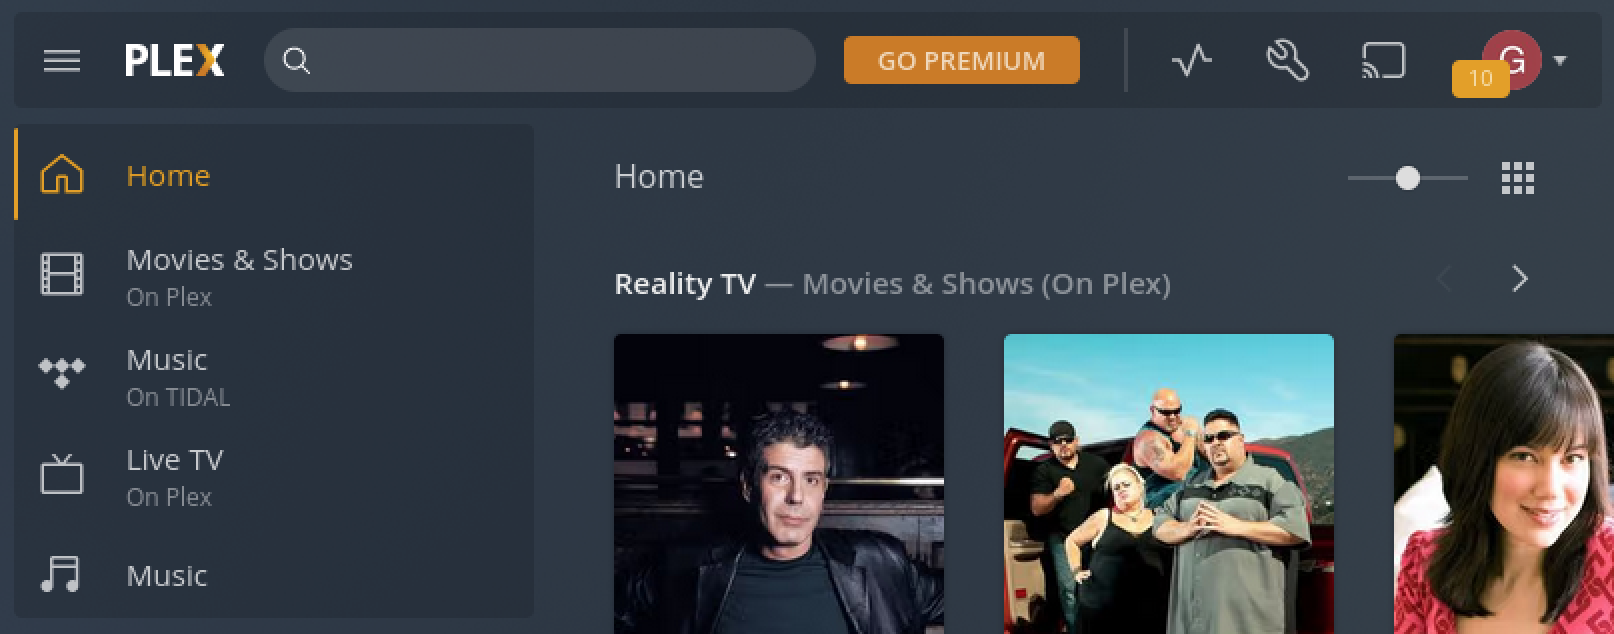
We need to create a user to run the plex server or log in to an existing user account. You can SignUp using social media accounts like Facebook, Apple, or email on the First Page. After a successful login, you will see a page similar to the image below.
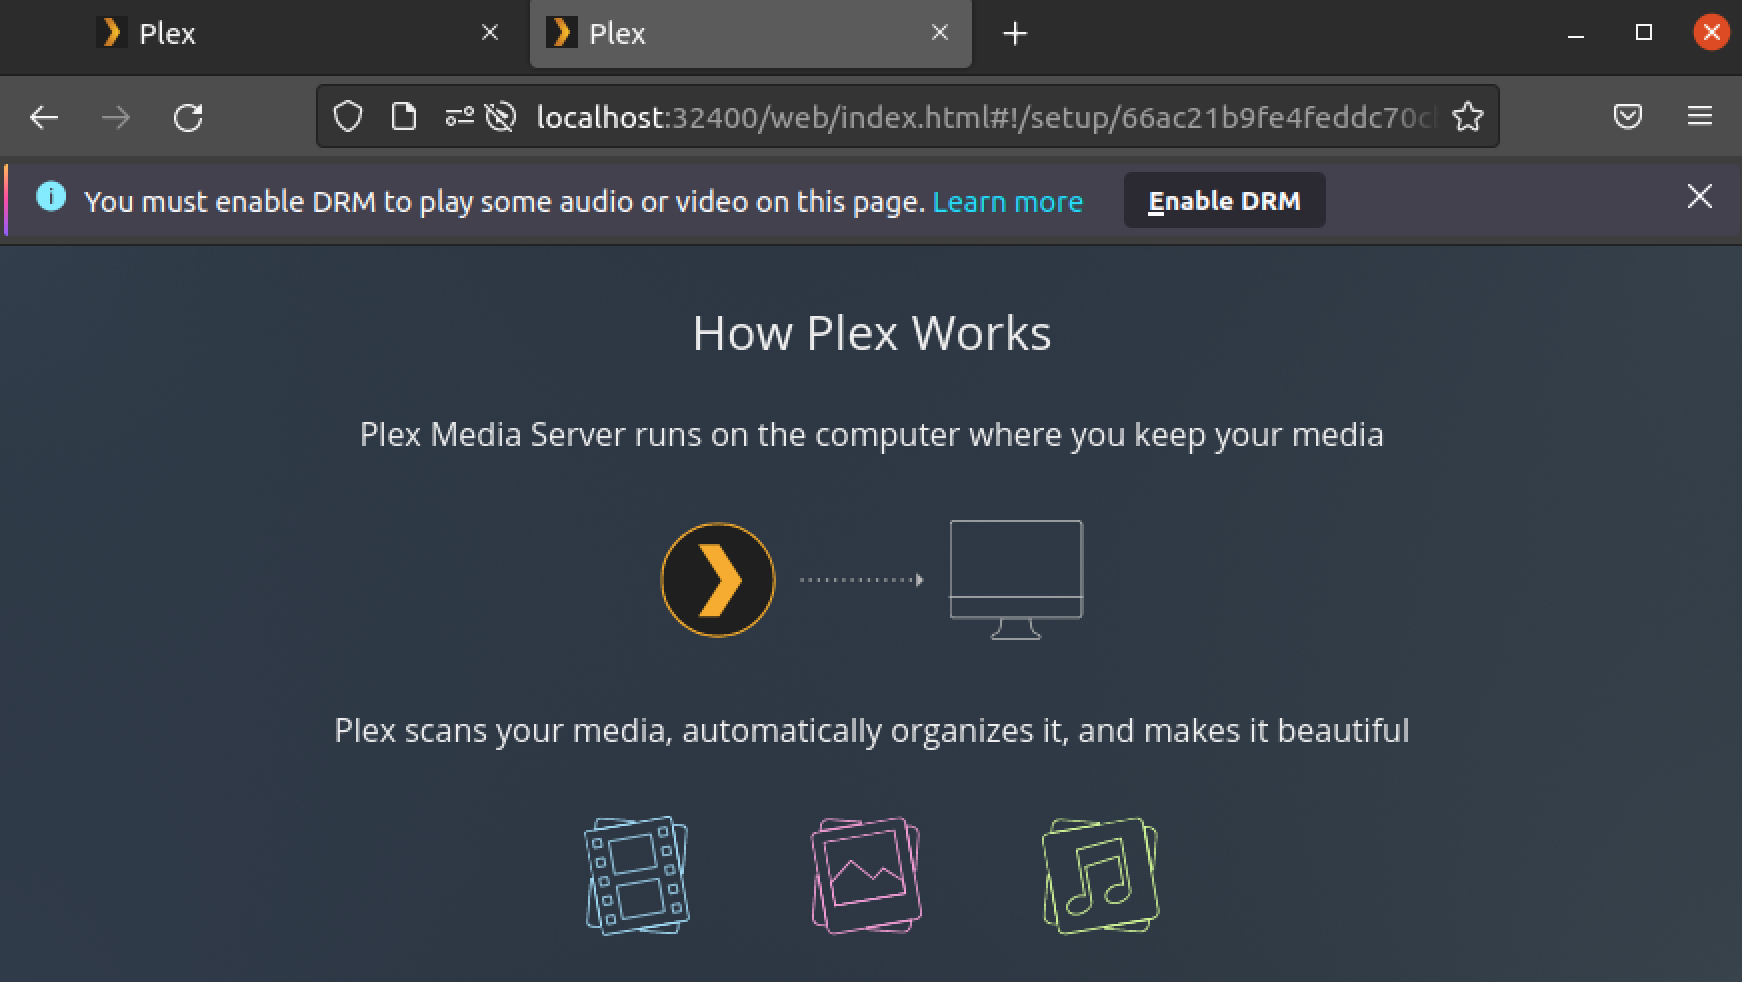
This page gives you a detailed explanation of how plex works. You will also see an option to enable DRM on your browser. Click Enable DRM to allow plex Web UI to work correctly on your system. When done, scroll to the bottom of the page and click GOT IT! to get started with Plex Media Server.

On the new page that appears, you will see the Plex Pass pop-up window that shows the various subscription rates. Close it and start configuring your Plex media server. Follow the steps below.
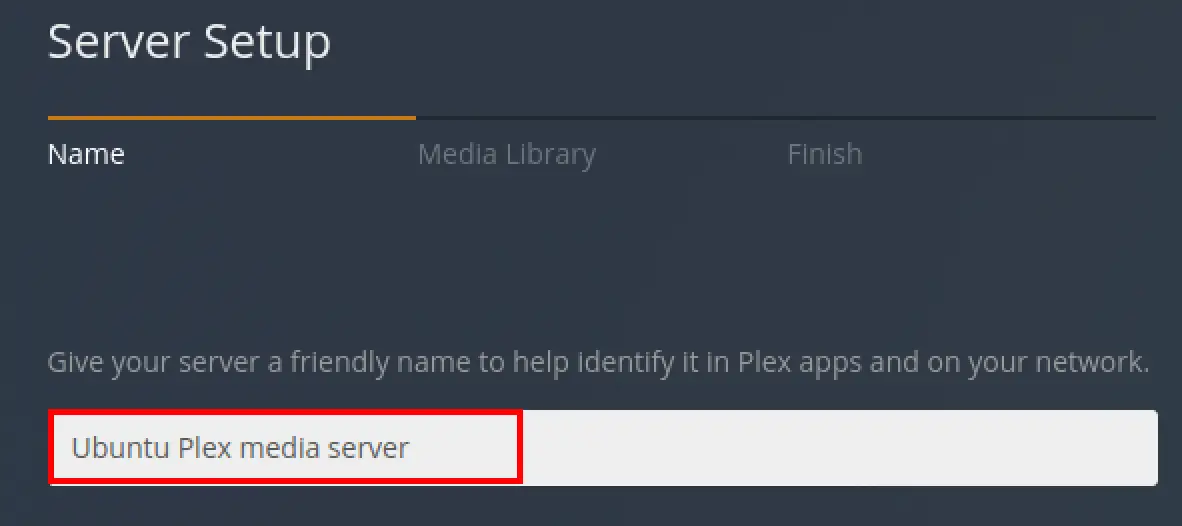
- Enter the name that you want to use for your Plex media server. For this post, we will set it as Ubuntu Plex media server.

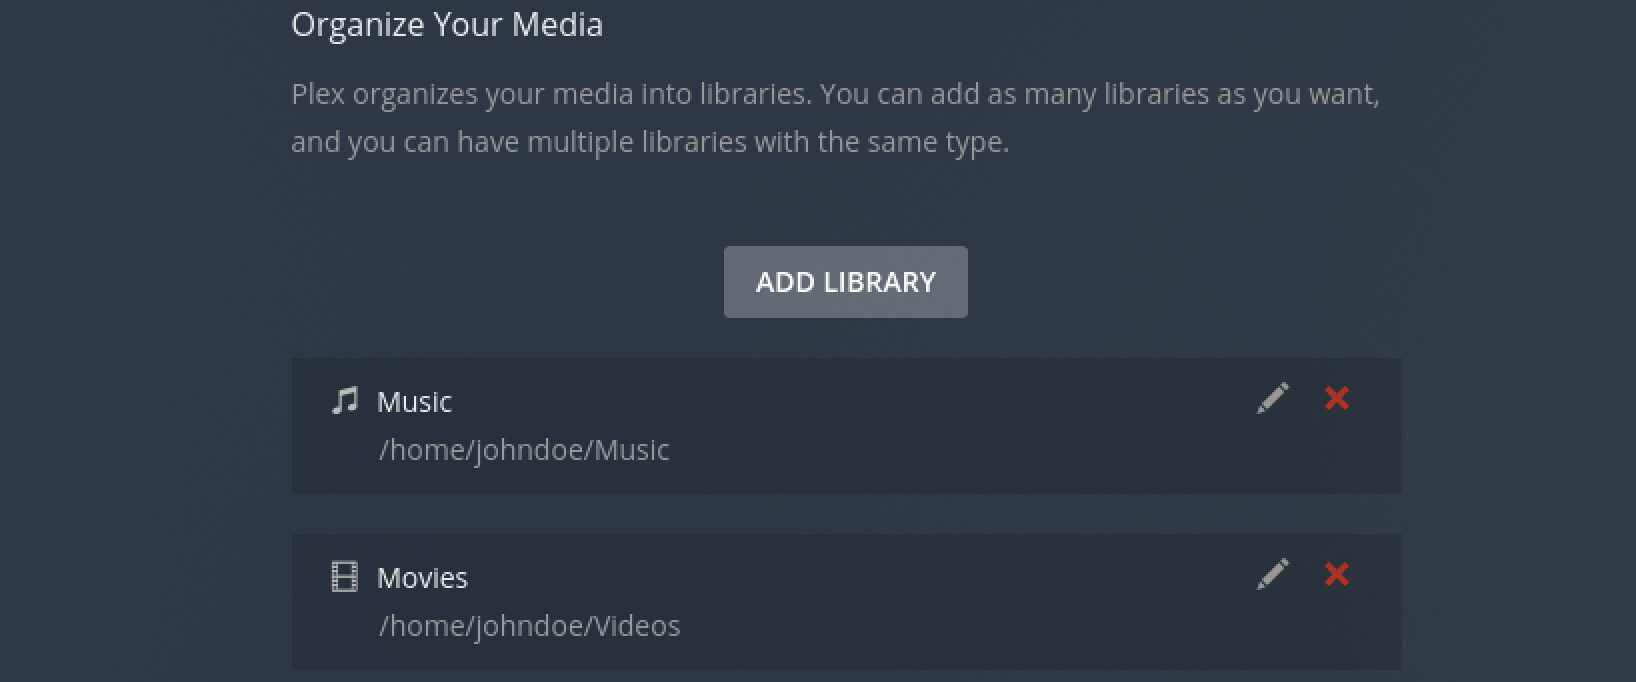
Click Next to continue. - On the next screen, you will need to add the media library. Click the Add Library button and select a folder on your system containing your media files. For this post, we used the Music and the Videos directories. You can add as many libraries as you wish.

- Click Next to continue. On the next screen, click Done to save and apply your new configurations. You will see a window similar to the image below. That’s it! You have successfully configured the Plex media server on your Ubuntu system.

Configure Access and Permissions
You may have noticed that your media did not appear during the initial setup or that you had issues adding content that was not picked up. Plex could not locate the content on your existing hard drive’s internal and external secondary hard drives. This is due to Plex creating a dedicated user account called plexuser, which requires read and execute permissions on your media directories.
We will need to install the ACL package needed for chown and setfacl commands to set the required permissions on our media directories. Execute the command below to install ACL on your PC.
sudo apt install acl -y

Both chown and setfacl used to set permissions in Ubuntu. Use the command below to apply read and execute permissions on your media directories using the ACL command.
sudo setfacl -R -m u:plex:rx [Your-Media-Directory]
e.g.,
sudo setfacl -R -m u:plex:rx /home/johndoe/Music
sudo setfacl -R -m u:plex:rx /home/johndoe/Videos
Alternatively, you can use the chown command as shown below.
sudo chown -R plex:plex [Your-Media-Folder]
e.g.,
sudo chown -R plex:plex /home/johndoe/Music
sudo chown -R plex:plex /home/johndoe/Music
Upgrade/Update Plex Media Server
To check for Updates on Plex Media server run this command:
sudo apt update
Then to upgrade:
sudo apt upgrade plexmediaserver -y
Uninstalling Plex
To uninstall or remove Plex on Ubuntu, execute this command:
sudo apt autoremove plexmediaserver --purge -y
Conclusion
The Plex Media Server is a very nice tool for streaming your media library to all devices in your house. We can set up our server and stream any movie or song in just a few minutes. This tutorial only tested on Linux-based operating systems. Still, you can follow along regardless of what kind of OS you use as long as you have root access and are familiar with terminal commands.





This process stalls at the 3rd step.
sudo wget -O- https://downloads.plex.tv/plex-keys/PlexSign.key | gpg – dearmor | sudo tee /usr/share/keyrings/plex.gpg
gpg: directory ‘/home/*******/.gnupg’ created
gpg: keybox ‘/home/******/.gnupg/pubring.kbx’ created
gpg: WARNING: no command supplied. Trying to guess what you mean …
usage: gpg [options] [filename]
Redirecting output to ‘wget-log’.
the first line needs to be
gpg –- dearmor
2 minuses
It will then work – note it displays gibberish on the screen