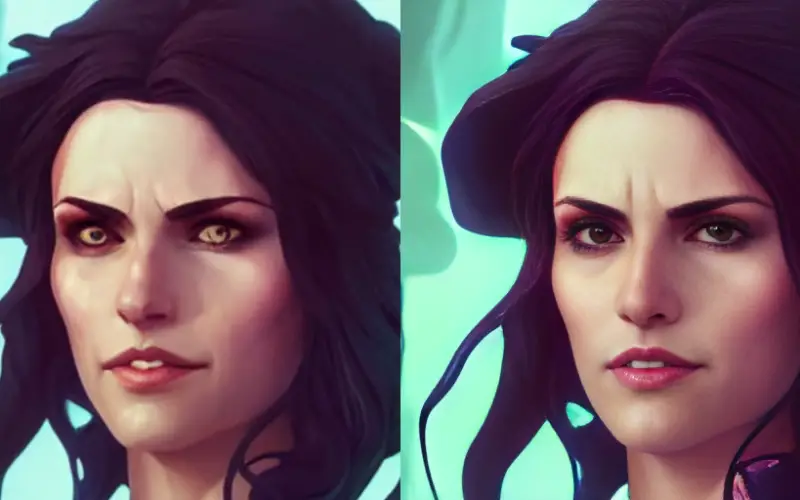
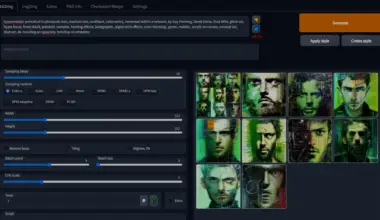
GFPGAN is a tool that allows you to easily fix or restore faces in photos, as well as upscaling (increasing the resolution of) the entire image. It’s also completely free to use.
It’s great for face and photo restoration and upscaling images for old or damaged photos. What’s interesting is that you can also use it for fixing AI art portraits. Since current AI art generation software often has problems generating great looking faces, this tool is perfect for fixing AI generated faces.
The way we will use GFPGAN is in Google Colab. Google Colab is a way to use Python in your browser. It works similar to Google Docs, but for Python.
In this tutorial we’ll assume you’re not familiar with Google Colab so we’ll try to be as beginner-friendly as possible.
Table of Contents
- GFPGAN User-Friendly Alternatives
- Quick Demo (Video)
- Copy of GFPGAN in Your Google Drive
- Make Sure We’re Using a GPU
- Run GFPGAN to Fix & Upscale Images
- Run “1. Preparations” Cell to Setup GFPGAN
- Run “2. Upload Images” Cell and Upload Your Image
- Run “3. Inference” Cell to Use GFPGAN to Improve the Image
- View / Download Your Final Image
- Run “4. Visualize” Cell to See Side by Side Face Comparison (Optional)
- Run Next Cell to Visualize The Whole Image Side by Side Comparison (Optional)
- Run “5. Download Results” Cell to Download All Images (Optional)
- Conclusion
Sidenote: AI art tools are developing so fast it’s hard to keep up.
We set up a newsletter called tl;dr AI News.
In this newsletter we distill the information that’s most valuable to you into a quick read to save you time. We cover the latest news and tutorials in the AI art world on a daily basis, so that you can stay up-to-date with the latest developments.
Check tl;dr AI NewsGFPGAN User-Friendly Alternatives
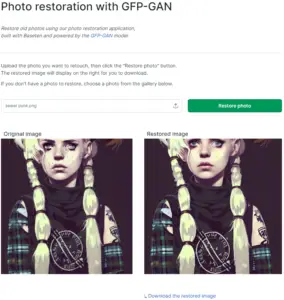
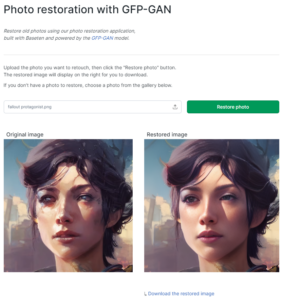
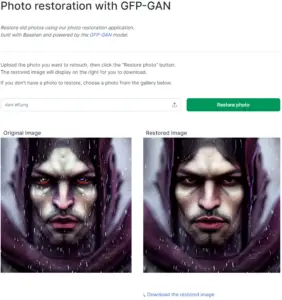
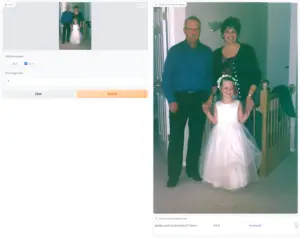
There are some other websites that allow you to use GFPGAN in a more user friendly way. A great one that seems to be free and doesn’t seem to have any limitation is Photo restoration with GFP-GAN on Baseten.co.
You just upload the image and wait a little bit for your image to be generated. There are no sign-ups or anything.
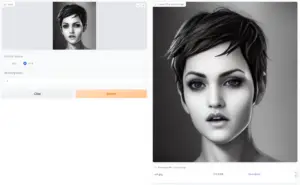
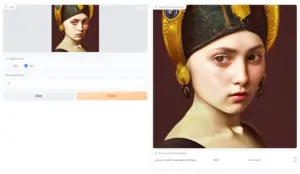
It should be great for you for casual usage, and if you don’t want to use GFPGAN with Google Colab. Here are a few demos of pictures generated with Stable Diffusion that it fixed.
Another excellent one, that’s fast and easy to use, is GFPGAN on HuggingFace.co.
Quick Demo (Video)
We’ll start off with a 3 minute demo so you can see that it’s really easy to use GFPGAN with Google Colab. This is the entire process from start to finish.
Copy of GFPGAN in Your Google Drive
The first thing we want to do is visit the Google Colab Notebook for GFPGAN (https://colab.research.google.com/drive/1sVsoBd9AjckIXThgtZhGrHRfFI6UUYOo). You can also find that link on the Github page for GFPGAN, as you may have seen in the video.
The Google Colab Notebook is similar to any other Google Doc. To start off we’ll want to save it to our own Google Drive. To do this go to File > Save a copy to Drive.
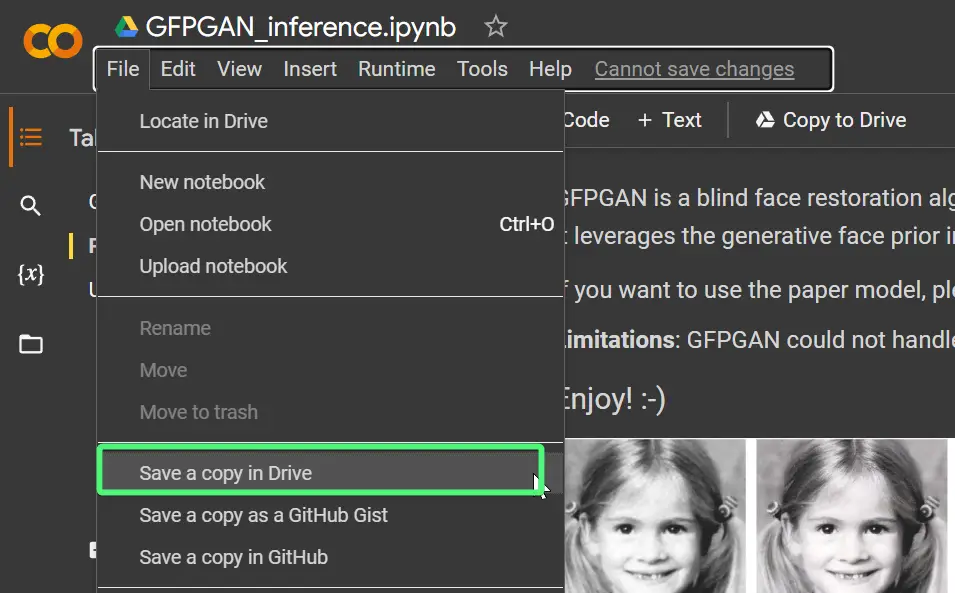
Now a new tab should appear with the copy of the notebook. This one is also located your Google Drive under the name Copy of GFPGAN_inference.ipynb. You can rename it anything you want. I typically remove the Copy of.
You can close the tab with the original notebook as we’ll only be using the new one now.
Make Sure We’re Using a GPU
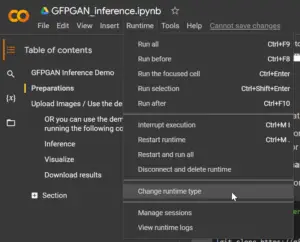
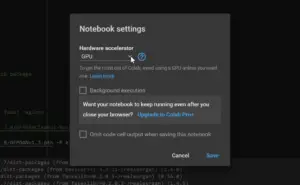
Next we want to make sure our notebook is using a GPU. Google allocates us one of a few GPU models automatically. Usually the GPU is enabled by default but we should make sure. To do this go in the menu to Runtime > Change runtime type. A small window should appear, and under Hardware accelerator it should be a dropdown with GPU selected. If it’s not selected then change it to GPU.
Run GFPGAN to Fix & Upscale Images
Now we can start using the GFPGAN notebook to fix and upscale images.
We’ll just have to run a number of “cells” or “code blocks” by hovering over them and clicking a play button in the top left corner of the blocks.
Run “1. Preparations” Cell to Setup GFPGAN
To start off we’ll run the cell under 1. Preparations. This code sets up GFPGAN on our notebook. Just click the play button next to it, where it says Clone GFPGAN and enter the GFPGAN folder.
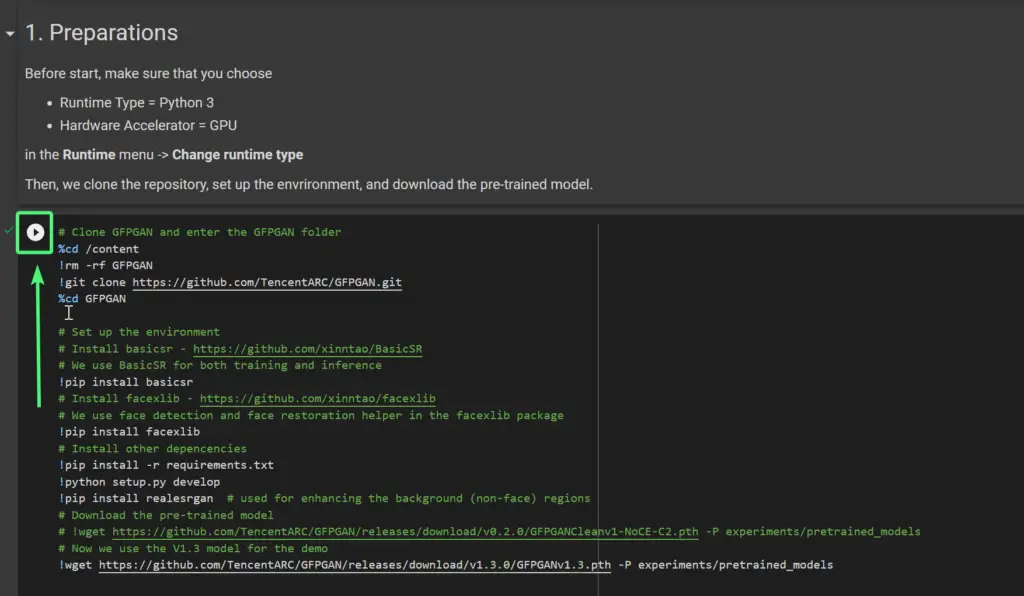
Now we’ll just wait a minute or so.
Run “2. Upload Images” Cell and Upload Your Image
The next cell we run will make a button appear that we can click and then we can browse what image we want to use.
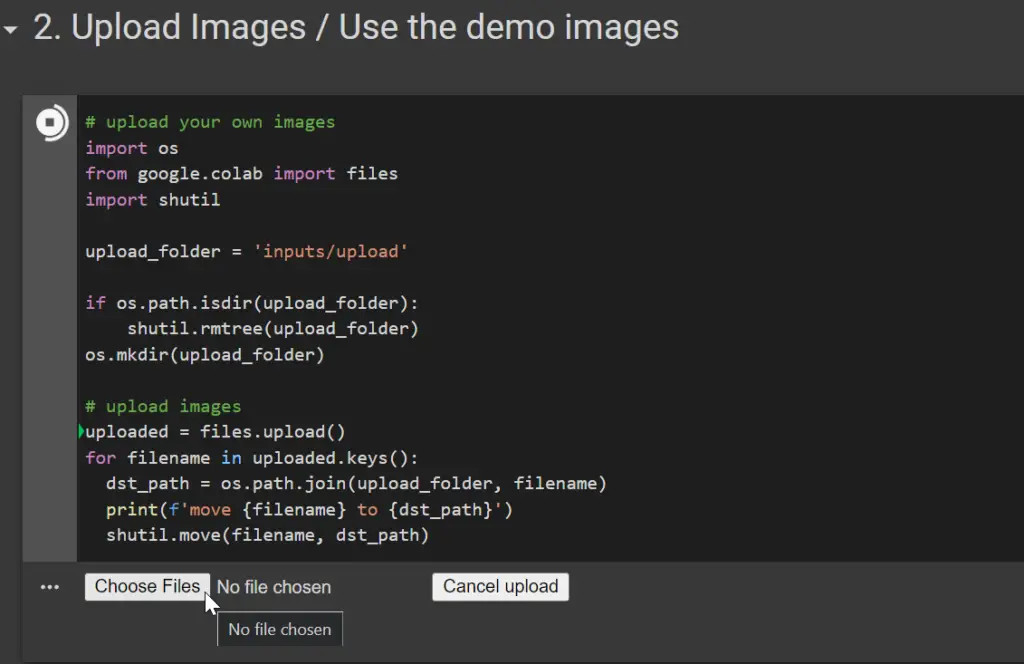
There’s another cell below this one that says OR you can use the demo image by running the following codes. We don’t want that, because it’s for demo purposes. It’s an image of Blake Lively.
Run “3. Inference” Cell to Use GFPGAN to Improve the Image
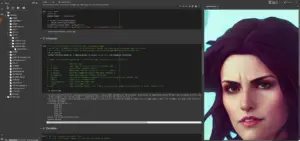
After you upload your image, we’ll run the cell under 3. Inference. This is the cell that will improve our image’s quality.
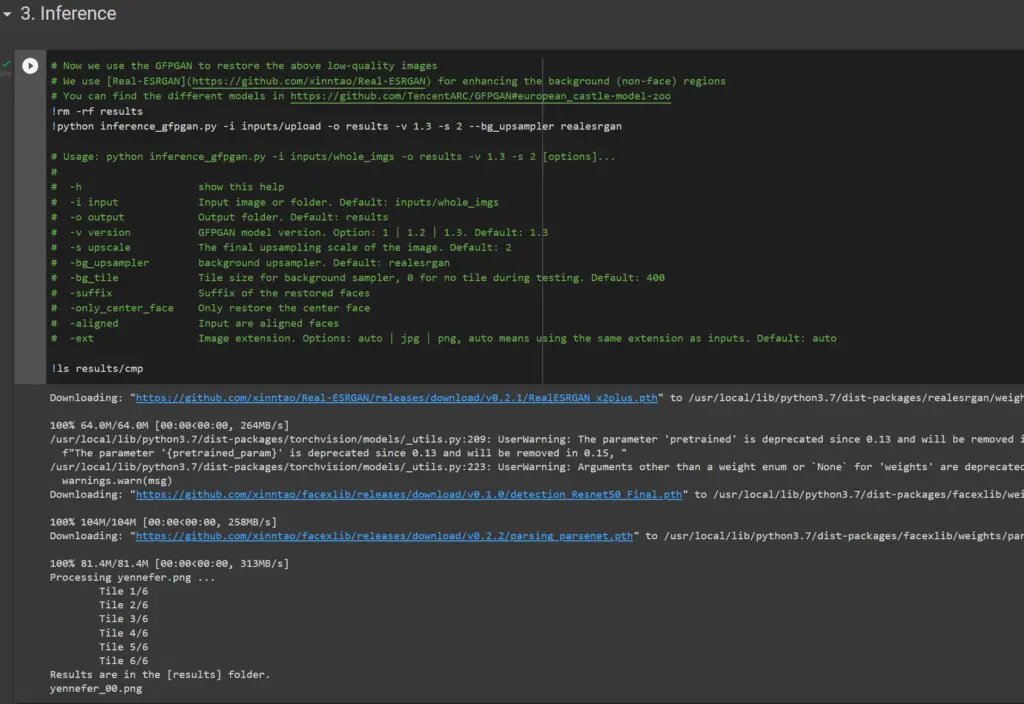
View / Download Your Final Image
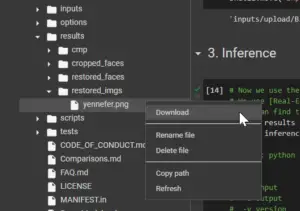
After you’ve run this cell our image has been generated. If you haven’t noticed already, Google Colab has a file explorer on the left. Just click the folder icon.
You should then see the GFPGAN folder. You can find your final image in GFPGAN > results > restored_imgs. As you can see in our example I have a file called yennefer.png.
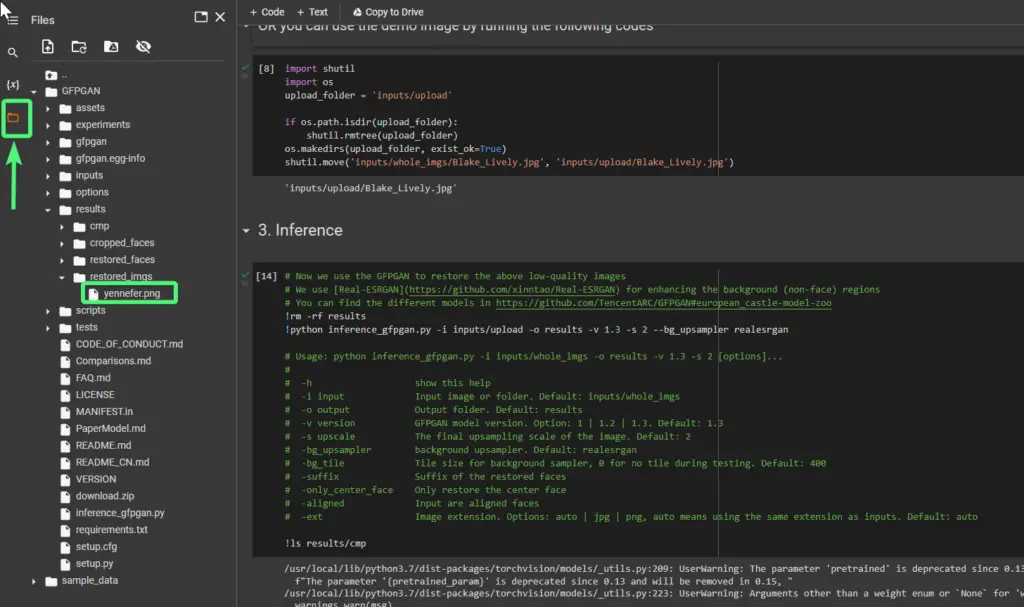
You can double click that image and it will load on the right of the screen, or you can right click and click Download to download it.
Since we already got our image, the next steps are optional.
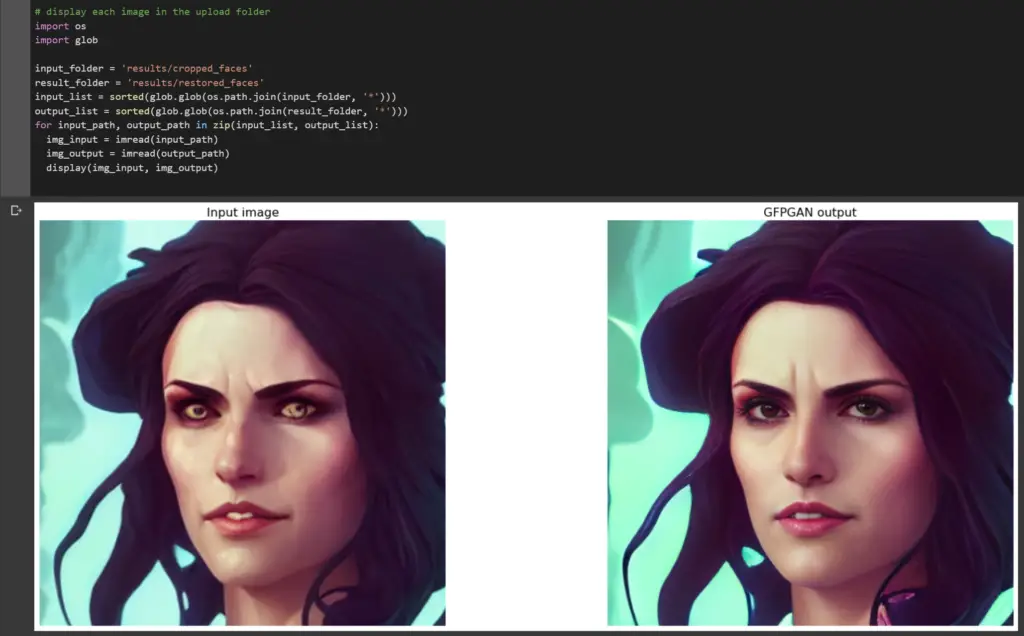
Run “4. Visualize” Cell to See Side by Side Face Comparison (Optional)
With this cell we can get a close-up of the face in our photo to see a before / after comparison.
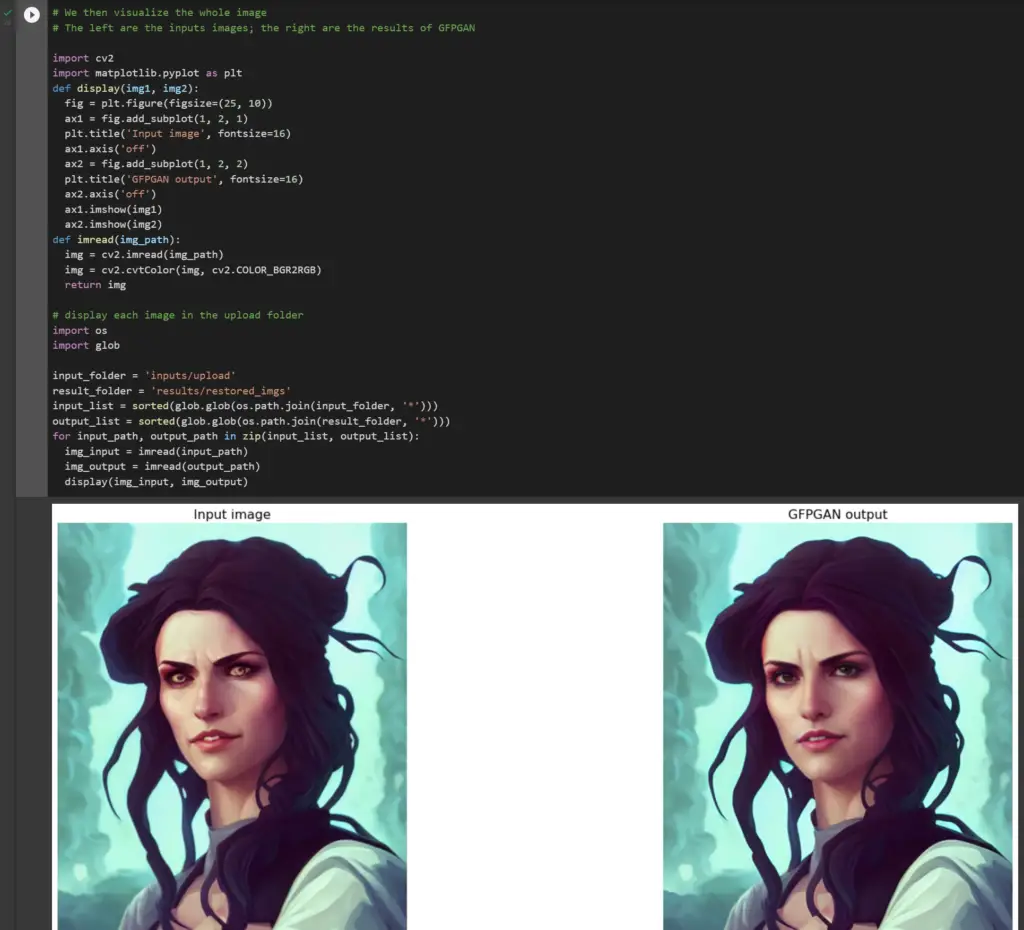
Run Next Cell to Visualize The Whole Image Side by Side Comparison (Optional)
With the next cell we can see a before/after comparison of the whole image.
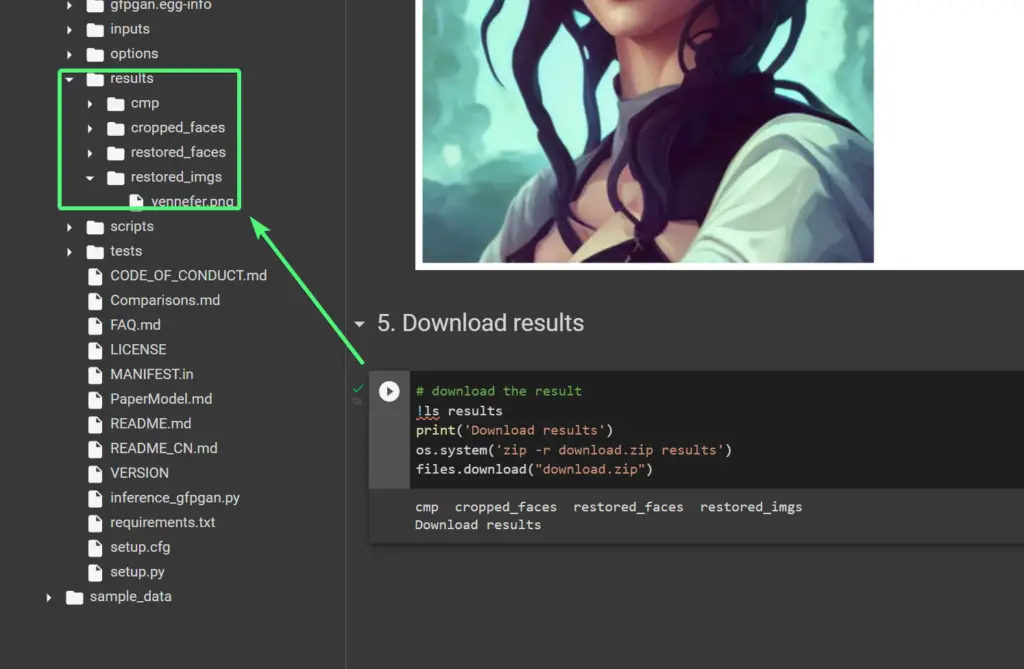
Run “5. Download Results” Cell to Download All Images (Optional)
This cell will zip the results folder you see in the file browser on the left, and it will download it under the name of downloads.zip.
The archive will contain a few images:
results/cmpcontains the cropped faces before/after side by side in a single image.cropped_facescontains the cropped before face.restored_facescontains the cropped after face.restored_imgscontains the whole result image, upscaled and improved.
If you read what it says in the cell, it says zip -r download.zip results which means “create a .zip file with the results folder”. So you may not need to download this. You can just right click any image and click Download to download them individually.
Conclusion
Well done! In this tutorial we used GFPGAN to fix or restored faces in photos, and to upscale the whole photo, in Google Colab. In our demo we used it to fix faces from AI generated images, but you can use it for old or damaged photos as well. If you encountered any issues feel free to leave a comment and we’ll get back to you as soon as possible.
Resources & Acknowledgements
- Fix Faces In Your AI Artwork for free! Let’s see GFPGAN to fix those MidJourney & Dalle-2 faces! (Youtube by Scott Detweiler) – a great video where I found out about GFPGAN and saw the process for the first time
- https://github.com/TencentARC/GFPGAN – the GFPGAN Github repository
- https://colab.research.google.com/drive/1sVsoBd9AjckIXThgtZhGrHRfFI6UUYOo – the GFPGAN Google Colab
- https://app.baseten.co/apps/20aaJx0/operator_views/ZBMZXM0 – a great web app to use GFPGAN easily without Google Colab
