As more companies migrate their services to the cloud and more people continue to work remotely, a secure connection is needed to connect to a remote computer over a network.
One of the most utilized encryption protocols to mitigate cyber threats such as password sniffing is SSH (Secure Shell).
SSH was designed and developed to replace unsecured protocols such as rlogin, rsh, and telnet to connect two remote hosts.
This tutorial will give you the various methods to create a secure connection with OpenSSH.
In this example, our local machine is Debian 10, and the remote PC (server) that we will be connecting to is Debian-Server.
Let’s get started by looking at the various OpenSSH authentication methods available.
OpenSSH Authentication Methods
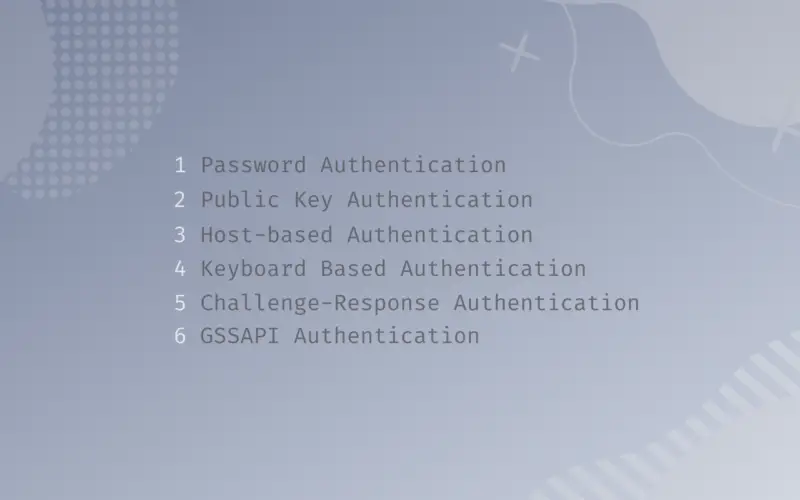
This post will look at six OpenSSH authentication methods.
With this type of authentication, the Client machine will request a password from the user, then use this password to authenticate itself to the remote device (server).
In public key authentication, the Client machine uses a key pair to authenticate itself to the server. The server will verify the keys by checking the allowed keys in the .ssh folder in the /home directory.
This type of authentication is not very different from public-key authentication, and the client uses a key pair to authenticate itself to the server. However, the connection needs to come from a device in the allowed host list on the server.
4. Keyboard Based Authentication
That is a more advanced form of password authentication method. The server sends prompts to the Client who should provide the correct response.
5. Challenge-Response Authentication
This type of authentication is responsible for setting up the Keyboard-based authentication method. A specific backend system sends the challenges to the client’s PC and verifies the response.
OpenSSH can also use Kerberos authentication to authenticate client machines to the server using the GSSAPI.
Steps of OpenSSH Authentication
To establish a secure connection between the client and the server, OpenSSH follows the steps below.
- Create a secure TCP connection between the client and the remote machine (server)
- Check the OpenSSH versions in both devices to ensure compatibility
- The two machines exchange encryption keys using the Diffie-Hellman algorithm
- The two systems agree on which mode of authentication will be used to establish a connection.
- The client system authenticates itself to the server, establishing a secure connection.
Up to this point, we know the different OpenSSH authentication methods we can use to establish a secure connection. Let’s now look at each of them in detail and how to set it up.
1. Password Authentication
Password auth is the default set authentication method upon installing OpenSSH. It might be a little different with cloud providers who will always prompt you to choose the mode of authentication you wish to use before setting up your Cloud service (usually between Password authentication and public key authentication).
The user needs to enter a password to connect to the remote server with this type of authentication, as shown below.

Note: Please make sure the PasswordAuthentication parameter is set to YES on the server. You can confirm that by running the command below.
sudo egrep ^PasswordAuthentication /etc/ssh/sshd_config
If you get an output of PasswordAuthentication Yes, as shown below, you are good.

However, if you get an empty result, you need to edit the /etc/ssh/sshd_config file. Run the command below and uncomment (remove the # sign) in front of the PasswordAuthentication line as shown below.
sudo nano /etc/ssh/sshd_config
When done, execute the command below to restart the sshd service.
sudo systemctl restart sshd

2. Public Key Authentication
Public-key auth is one of the most used and recommended authentication methods. One of the main reasons is that it’s not vulnerable to Bruteforce attacks like the password authentication method.
With this type of authentication, two long strings of characters are generated – the public key and the private key. The public key is placed on the server, and the client uses the private key to connect to the server. The server will verify the client’s private key with the public key before allowing a connection.
You can enhance the security further by providing a passphrase for the private key. To generate a key pair, run the command below on your client machine.
ssh-keygen -t ed25519
You will see a prompt to enter a location to save the generated key pairs. If you don’t provide one, they will be saved in the default .ssh directory. Next, you will see a prompt to set up a passphrase. If you don’t wish to set up one, just leave it empty.

Now, run the command below to upload the public key to the server.
ssh-copy-id <server-username>@<server-IP>
e.g
ssh-copy-id debian-os@192.168.1.45

Now, we can log in to our remote server by executing the command, and we won’t be prompted to enter an authentication password.
ssh debian-os@192.168.1.45
3. Host-based Authentication
To enable Host-based authentication, you will need to perform unique configurations on both the Client machine and the server. On the client-side, edit the /etc/ssh/sshd_config and uncomment/add the lines below.
EnableSSHKeySign yes
HostbasedAuthentication yes
You will need to modify at least three files on the server to enable host-based authentication.
- /etc/ssh/shosts.equiv
- /etc/ssh/ssh_known_hosts
- /etc/ssh/sshd_config
Open the /etc/ssh/sshd_config and uncomment/add the two lines below.
HostbasedAuthentication yes
IgnoreRhosts no
Once done, you will need to add your Client PC hostname in the /etc/ssh/shosts.equiv file on the server. In our case, the hostname of our client machine is ‘debian.’

4/5. Keyboard Based and Challenge-Response Authentication
In OpenSSH, we use the ChallengeResponseAuthentication variable in the /etc/ssh/sshd_config file to enable/disable Keyboard-based Interactive authentication. By default, this value is always set to Yes. However, this authentication mode can be quite confusing to the end-user since it uses a single challenge-response cycle that requires the client to enter a password.
Therefore, it won’t look very much different from the PasswordAuthentication method. To configure Keyboard-based Authentication, uncomment/add the lines below in the /etc/ssh/sshd_config file on the remote machine (server).
KbdInteractiveAuthentication yes
ChallengeResponseAuthentication yes
Remember to reload the sshd service by executing the command below.
sudo systemctl restart sshd

To connect to our Linux machine, we will include the -vvv parameter to see what is happening in the background. Below is a sample of the Terminal output.
ssh debian-os@192.168.1.45

From the image above, even though we are using Keyboard authentication, you can see we are prompted to enter a password since we have not enabled any other module for keyboard-interactive authentication.
6. GSSAPI Authentication
GSSAPI Authentication enables you to log in to the remote server and use SSH to log in to another remote server without using Password authentication or public-key authentication. With this type of authentication, you will need to set up an IPA server or an Active Directory with Windows. There are two main parameters used with GSSAPI authentication:
- GssapiAuthentication
- GssapiKeyExchange
Conclusion
That’s it! Those are six Authentication methods we can use with OpenSSH. Do you have any questions or comments? Please, feel free to leave a comment below.


