By default, Inkscape uses the fonts that are installed in the system, and every time you open Inkscape it checks the default-font locations in your operating system, and updates its fonts list according to what did it find; so, there is no in-app setting to install fonts in Inkscape.
Usually, installing fonts in any operating system is done simply by clicking the font file and then installing the font.
Table of Contents
How to Add Fonts to Inkscape
Install Fonts on Linux
There are two ways to install fonts in Linux (I’ll be using Ubuntu Studio, but these methods should work in any Debian-based distribution), those are:
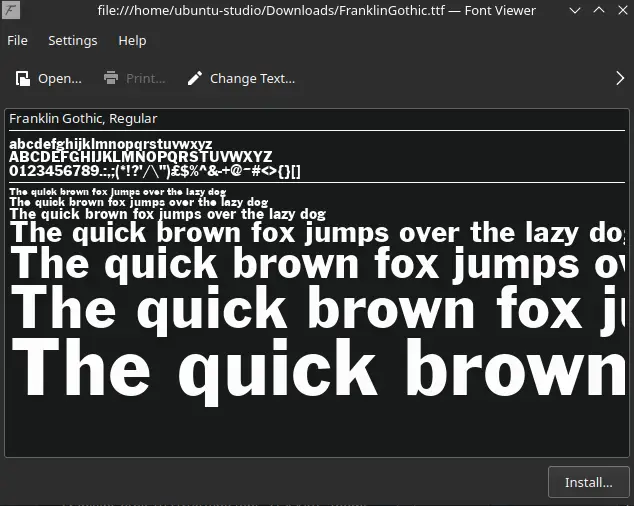
Using the graphical user interface(GUI)
You can install either .ttf (true type font) or .otf (open type font), and you can install the font just by opening the font file then click install.


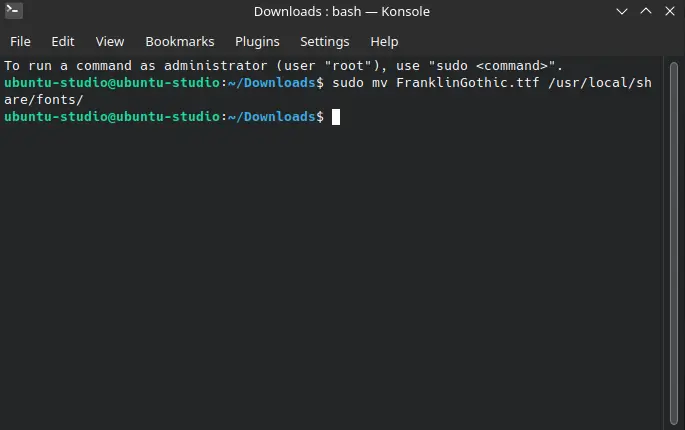
Using the terminal (CLI)
It is yet an easy method with just one command, open the terminal on the directory of the font (.ttf or .otf), then execute the next command.
sudo cp /usr/local/share/fonts

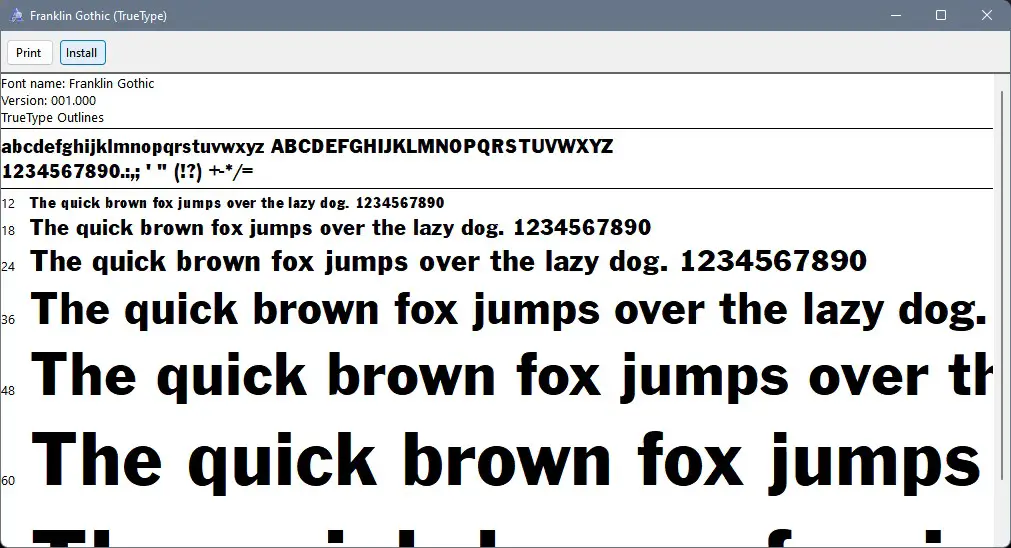
Install Fonts on Windows
Installing a font in Windows is easy, open the font file and click install.

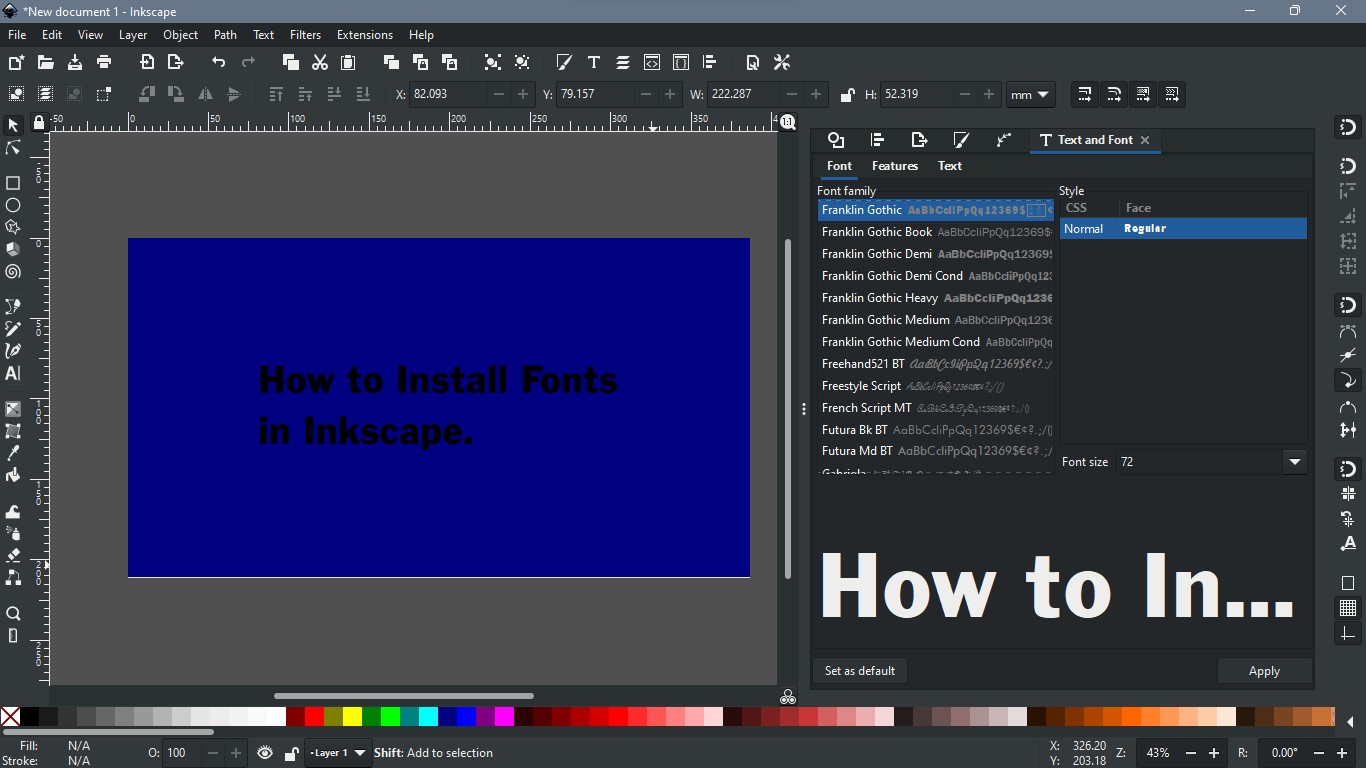
Now you’re done you can open Inkscape (or restart it if already opened), remember it loads fonts at the beginning!

Note: I installed all the family the same way.
Install Fonts on Mac
To install fonts on your Mac you check out this very short tutorial on support.apple.com.
Conclusion
In this article, we knew how to install fonts not for just Inkscape, but system-wide for both Windows and Linux, and that Inkscape captures system’s font at the start.


