Inkscape is a vector graphics editor, but it has some basic raster image manipulation capabilities, and in this article, we will explore some methods to crop an image, just like what we can do in a raster image program like Photoshop or GIMP.
Basically, there are 3 methods we can apply to get a perfect crop:
- Clipping: a fancy word for cutting a shape or a path not only from images but also other objects.
- Masking: this method works in a similar way to clipping but gives you more feature, for example you can mask using a blurred shape, or even another with a gradient applied.
- Pattern: this gives you more control of what portion you would like to crop.
We will discuss these methods further, but note these methods not only apply for raster graphics, but also for vector graphics as well.
Cropping an Image Using Clipping
First you place your image in the canvas, then create a shape that you’d like your image to be framed accordingly. This method uses cookie-cutter style, you place your image (dough), then a shape on top of it (cookie-cutter), clip to get your output (your cookie).
Steps:
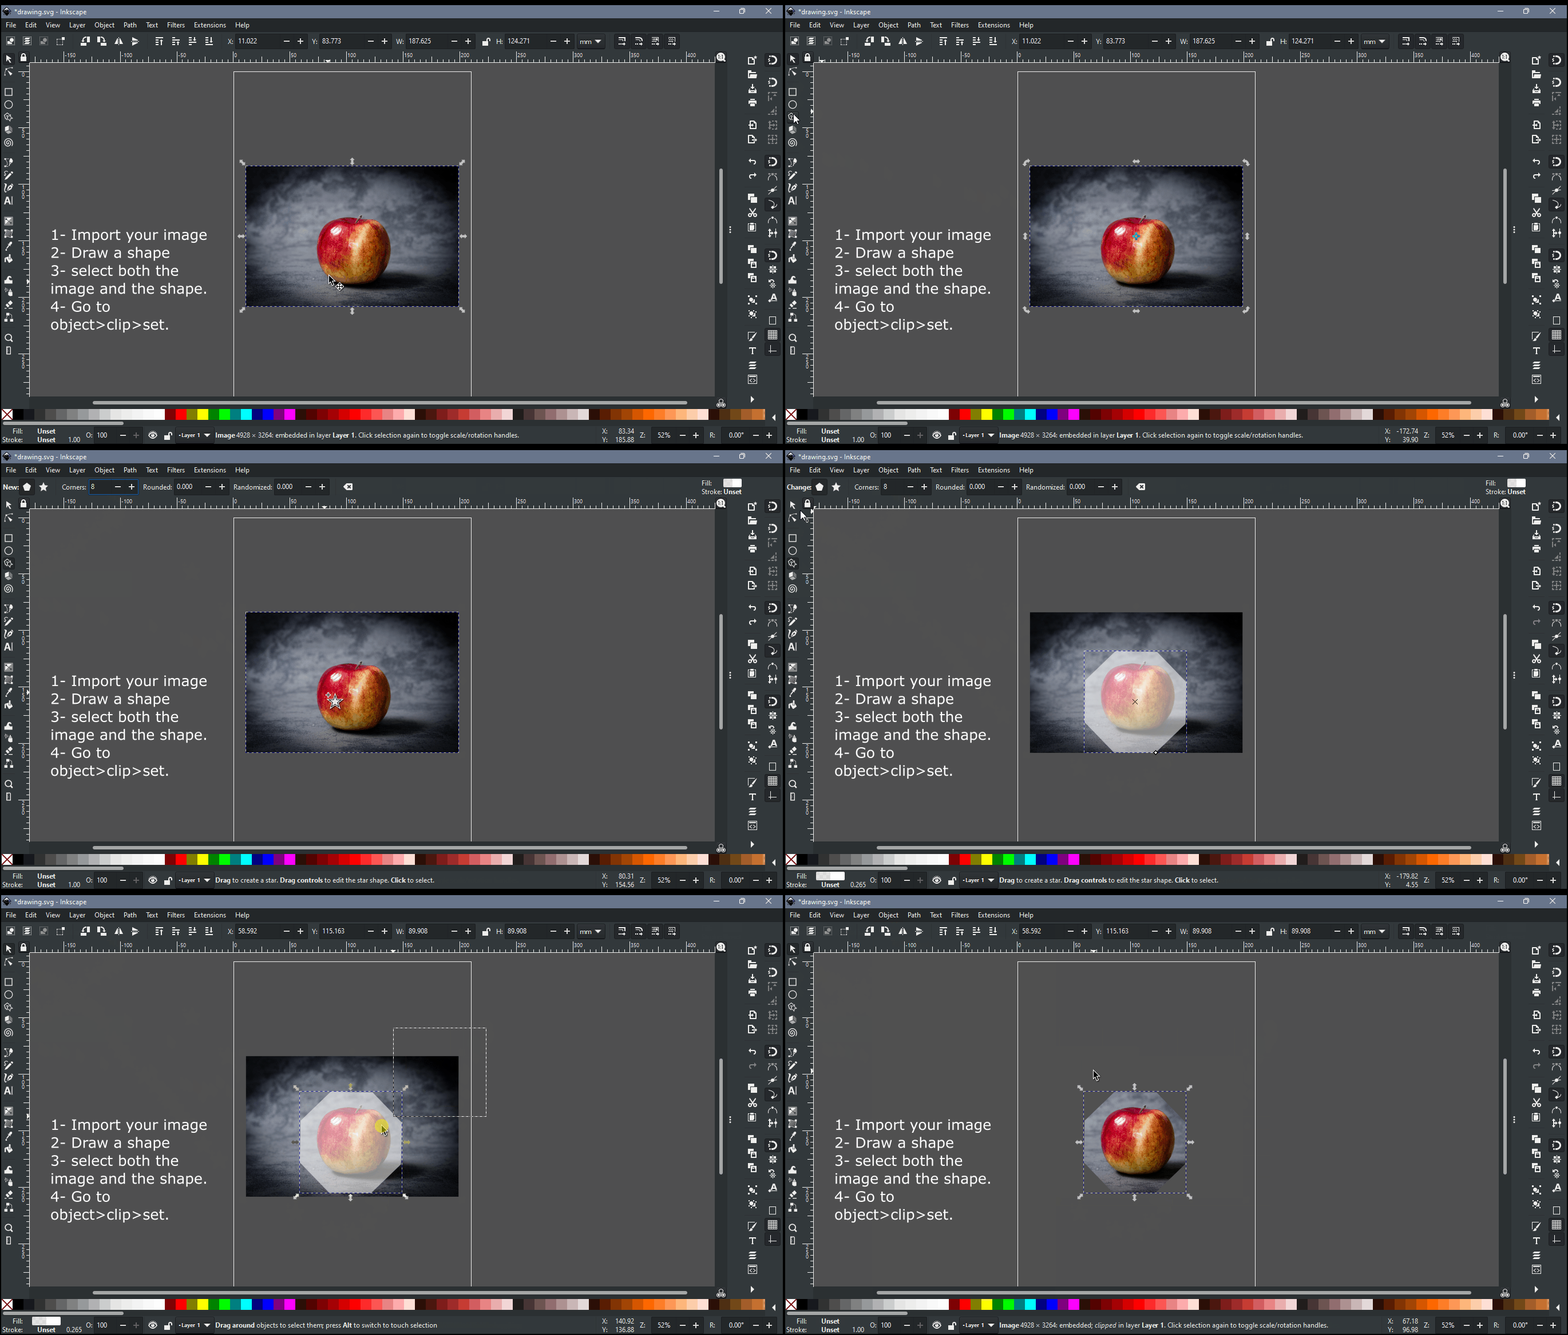
- Import your image.
- Draw a shape on top (it has to be on top in order to clipping to work the way you intended to) of your image, in this step you can draw whatever shape you like, even draw an entirely new shape using the pen tool.
- Click Object>Clip>Set.
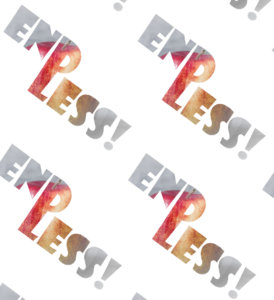
Clip Using Text
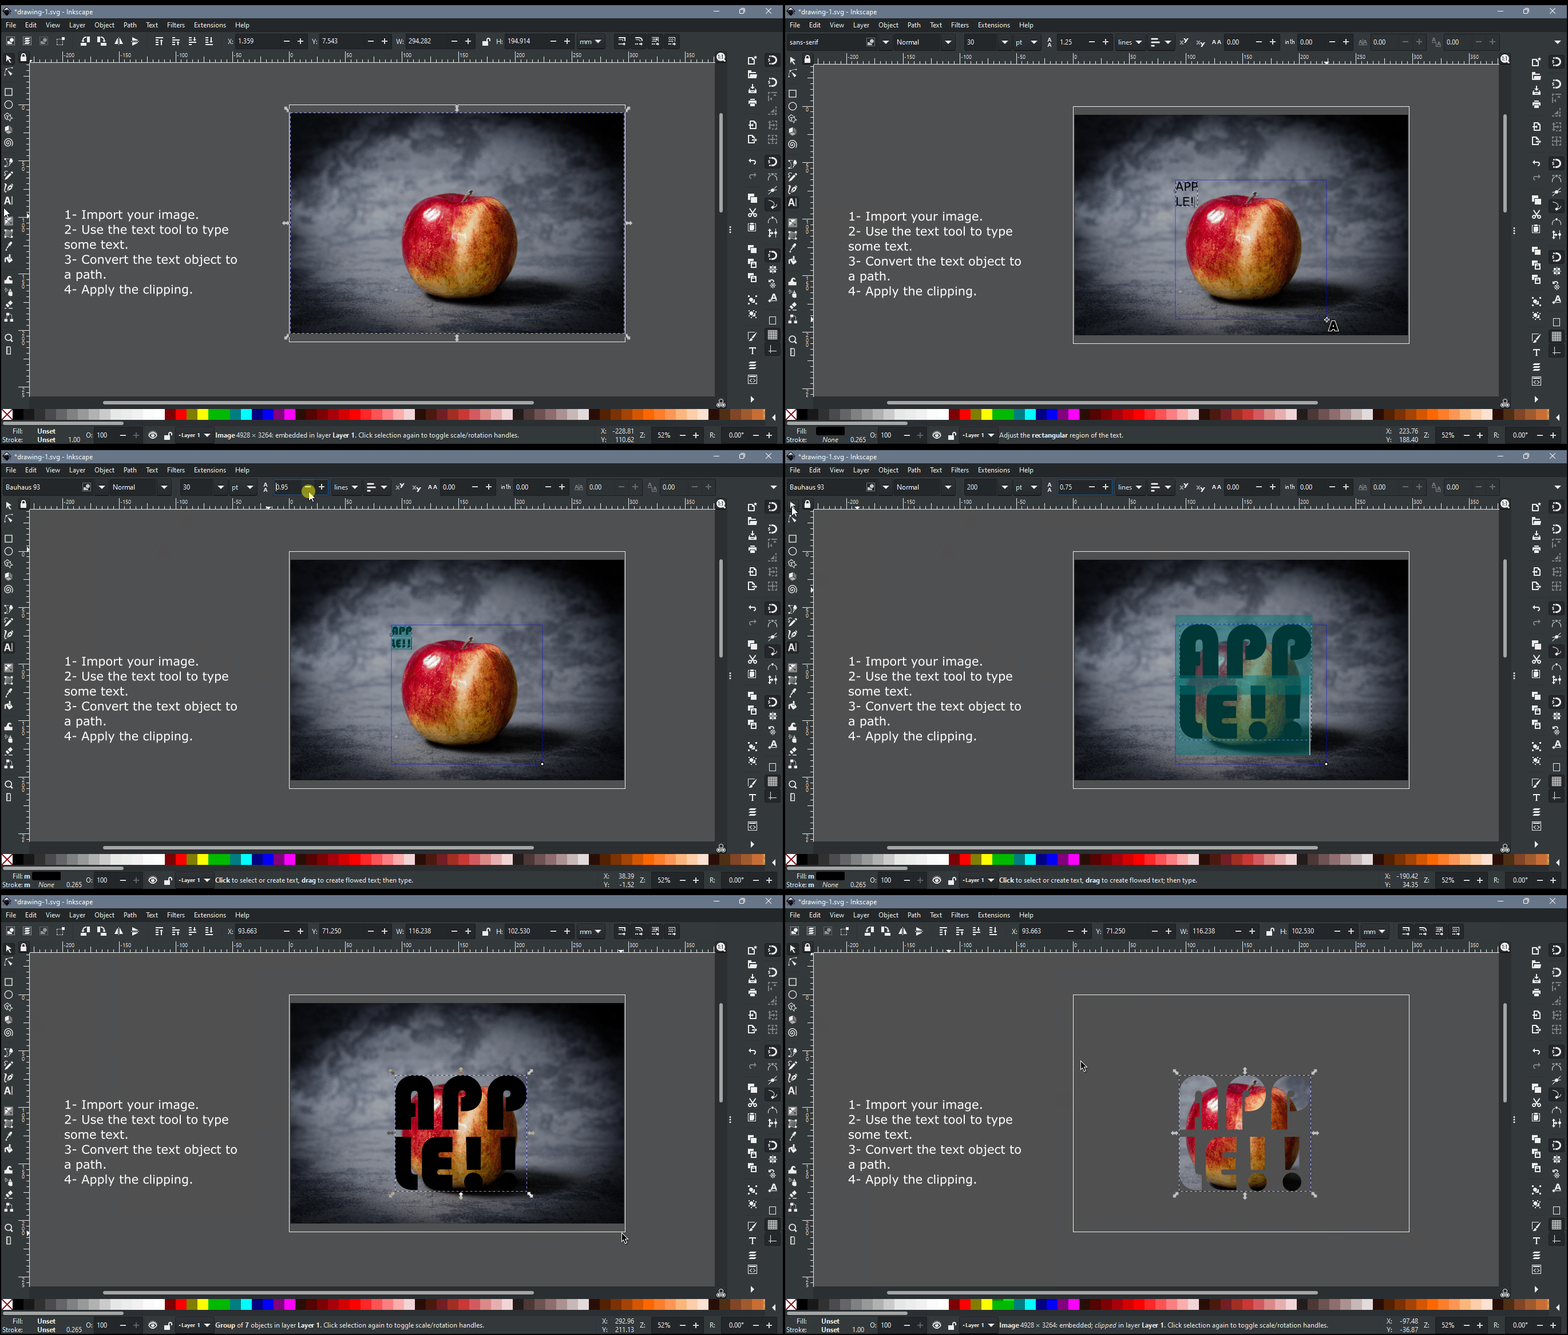
First write some text, then convert that to a path by selecting it and navigating to Path>Object to Path, then apply the same steps as above.
Clipping With a Custom Shape
Use the pen tool to draw a custom shape, this method is often used to remove the background, you draw an outline or a silhouette of your shape, then apply the clipping.

Cropping an Image With Masking
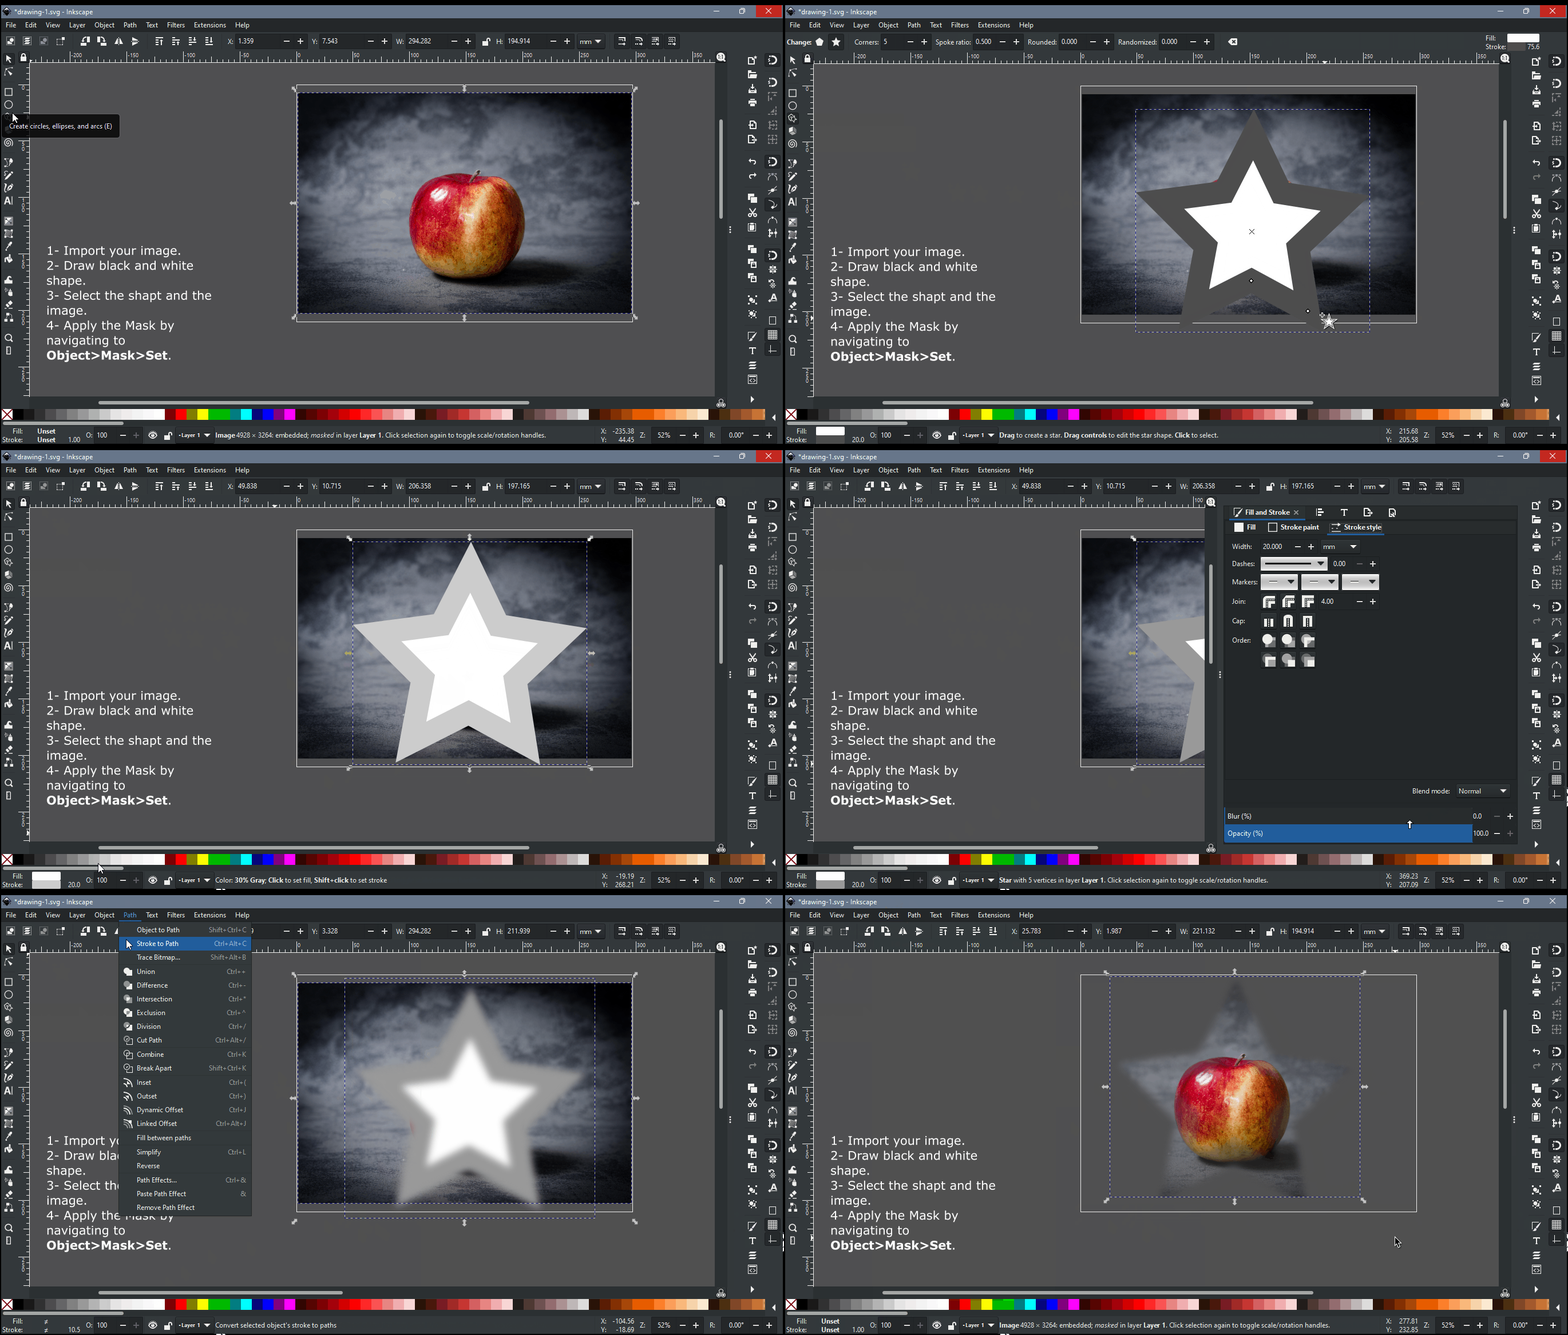
This method works exactly like clipping, but with more features; you can add gradients and blur to modify how you crop an image; yet there are a few things to take into account:
- Any white color (whether a fill or a stroke color) permits the underlying image to be completely visible.
- Contrary to that any black color completely blocks the image, and thus that portion doesn’t appear after you apply the mask.
- Any grey color blocks the image depending on how dark that grey is, so darker the grey the more invisible the image becomes.

Note in both clipping and masking you can crop the photo using several shapes at once by grouping these shapes, then placing the group on top of the image, then perform the clipping or masking.

Cropping an Image by Turning It to a Pattern
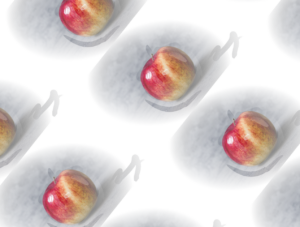
Both clipping and masking don’t allow for much control, for example what if you want to adjust the area you are cropping? It is not convenient to undo and then redo, pattern gives you that power without the hassle of undoing and redoing, and here is how to create a pattern from an image:
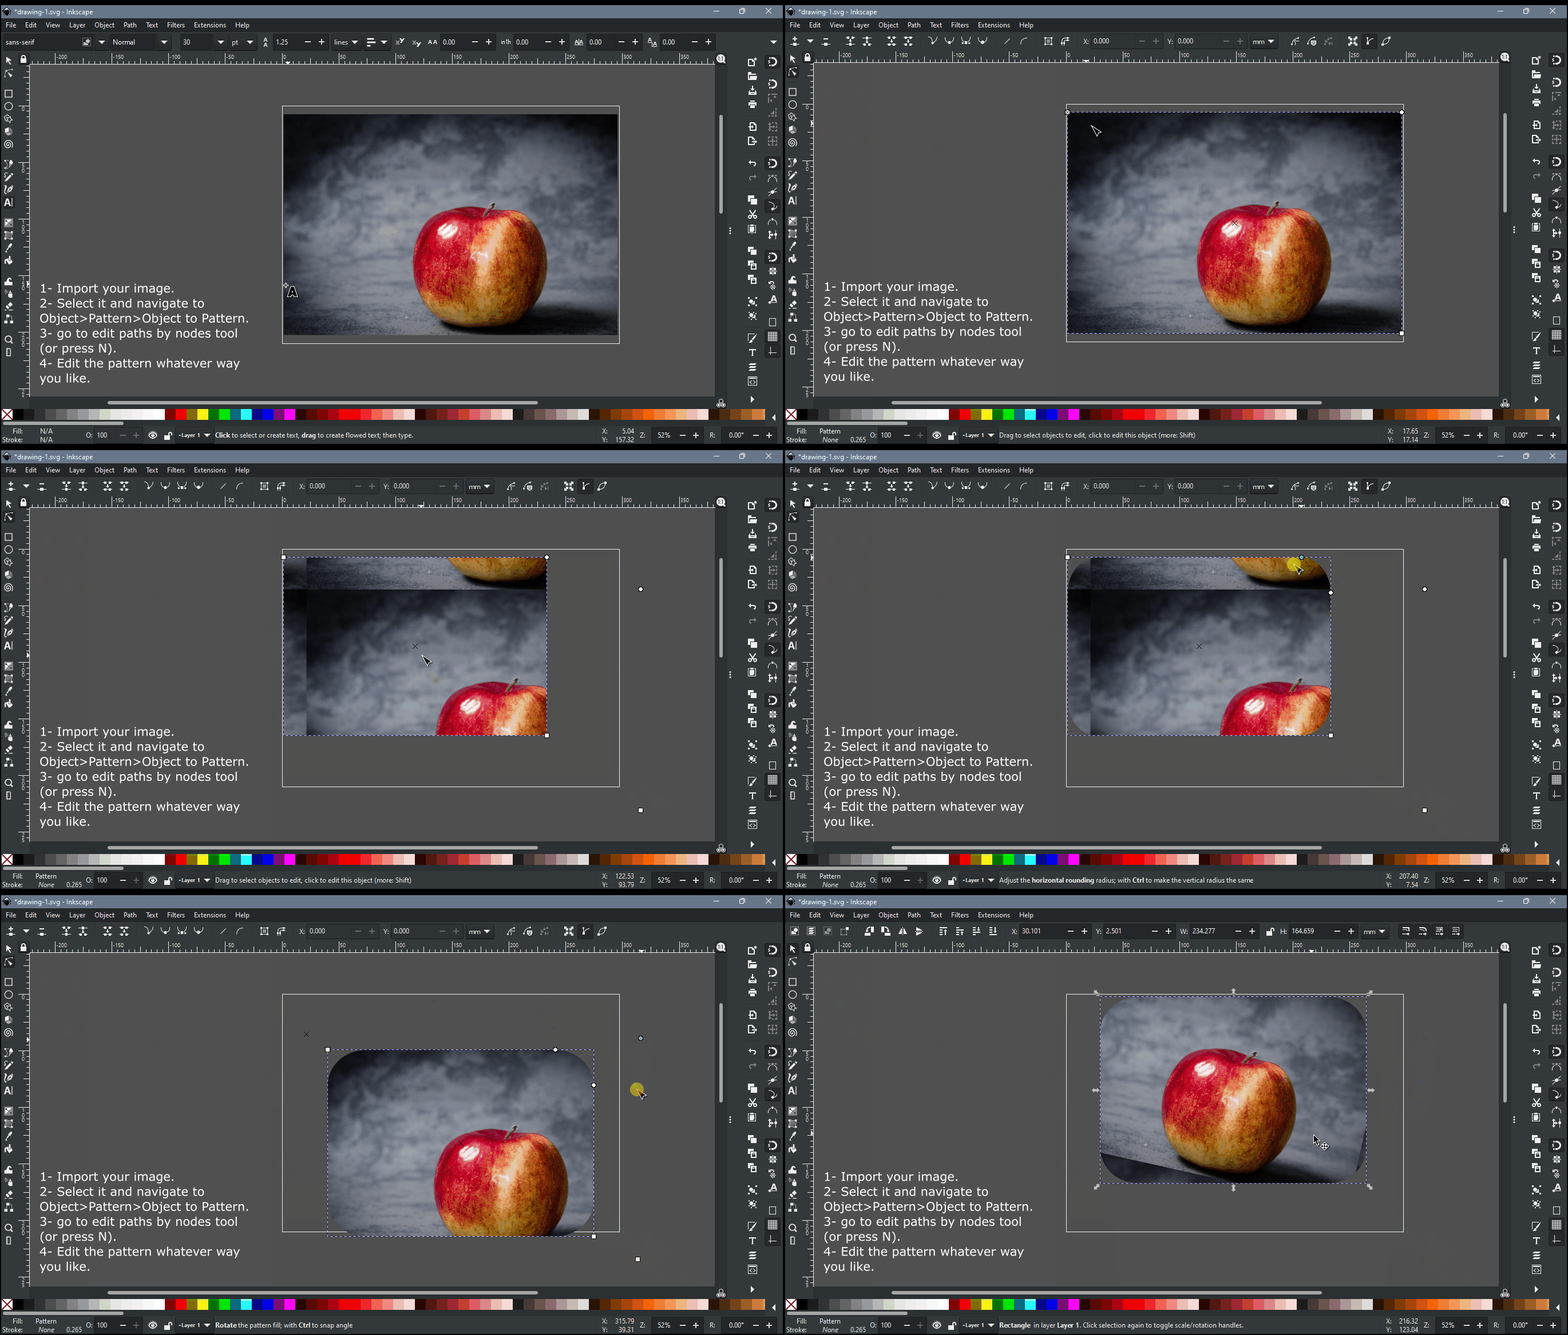
- Import your image.
- Select it and navigate to Object>Pattern>Objects to Pattern.
- Now you can adjust the crop with the handles that appear in the corners.
Conclusion
Cropping images (either raster or vector ones) in Inkscape is easy; yet powerful, now you know the three basic methods, there are endless possibilities, all what it takes is just a wild imagination to create a masterpiece.






None of this actually crops the image; it just hides part of the image. Does anybody know how to do a true crop?