The digital world has been always displayed to us in a discrete way, in terms of 0’s and 1’s, bytes or pixels; so, raster images were so popular (and still) because of their discrete nature, yet when vector images appeared on the stage, they really took the lights, vectors are different from rasters in their underlying mechanisms, where under the hood vectors are mathematical descriptions of paths and objects.
In this article we are going to explore how to vectorize (raster) images in Inkscape, also we will be building the vocabulary that is necessary for understanding the tool we are explaining.
Background
In Inkscape, the tool that is used for vectorizing images is called Trace Bitmap, and the overall operation is called tracing images, or image tracing.
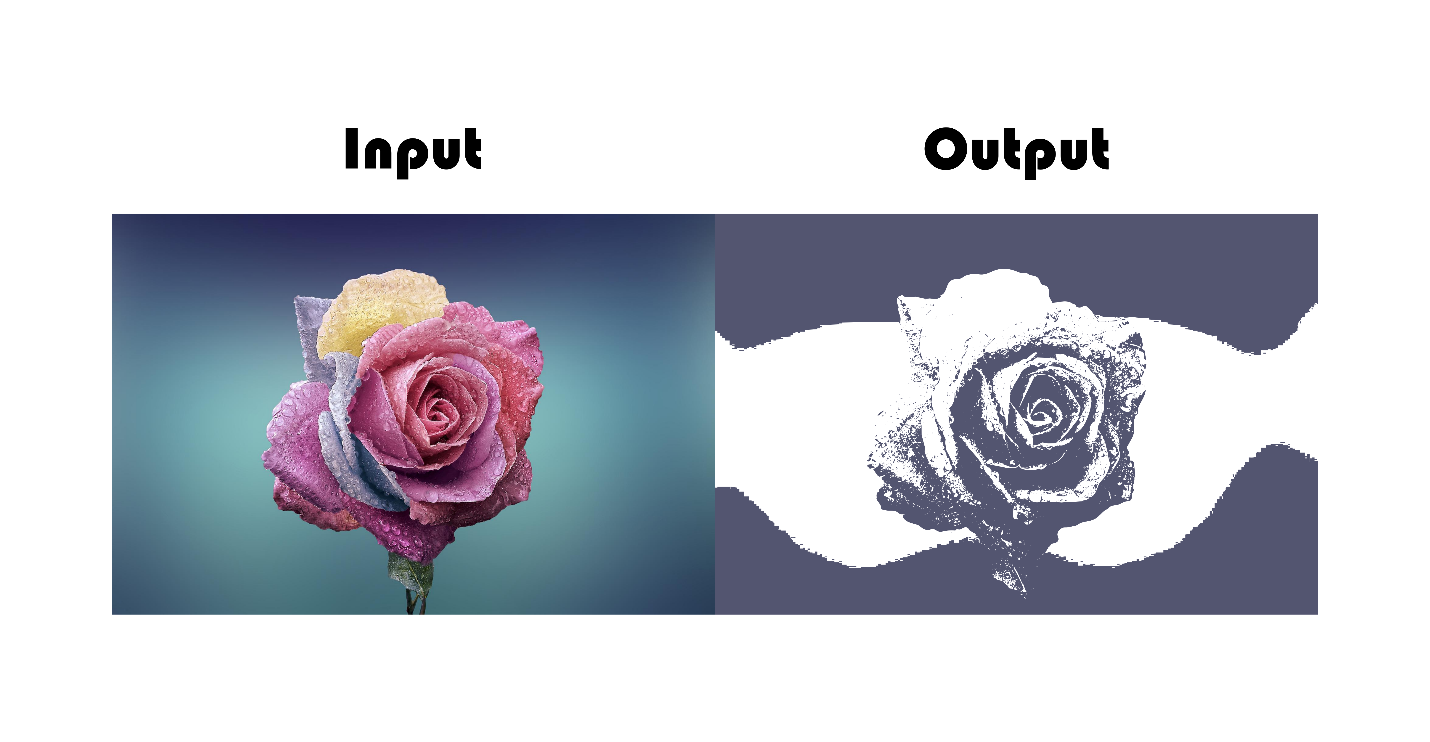
Steps to Vectorize an image (basic Trace Bitmap)
- Import the raster image you want to trace.
- Open the Trace Bitmap menu by navigating to Path>Trace Bitmap (Shift+Alt+B).
- Under the single scan option in the Trace bitmap tab, use autotrace as the tracing method.
- Leave all the parameters as they are, and click apply.
- Now you’ll get a traced vector. There might be some touch-ups.
For more information about the different options under Trace Bitmap tab, make sure to read this article: How to Trace Bitmap.
Conclusion
In this article we learned how to vectorize images, also more technical terms like image tracing, which is widely used in creative disciplines, and Trace Bitmap which is an Inkscape-specific term, also that there are a lot of options in trace bitmap tab.
