Access Control Lists (ACLs) are a flexible method to set permissions in Linux. Every operating system has some level of ACLs, which assign permissions to users and groups on files and directories.
In most Linux variants, ACLs either exist, or a package can be installed to use them. With the use of ACLs, we can assign permissions to individual users.
Let’s proceed to take a look at this concept.
Objectives
In this tutorial we’ll go through the fundamentals of access control lists (ACLs). We will also learn the commands to view and set ACLs for user accounts.
I’ll be using Ubuntu 20.04 for the examples in this tutorial, however the getfacl and setfacl should work on other distros as well.
Table of Contents
Prerequisites
- Access to a Linux machine
- Acting as a non-root sudo user to ensure a secure environment
Why The Need for ACLs
So, why do ACLs are required in any Linux variant?
Each file we create in Linux has some permissions, which apply to all users in the system.
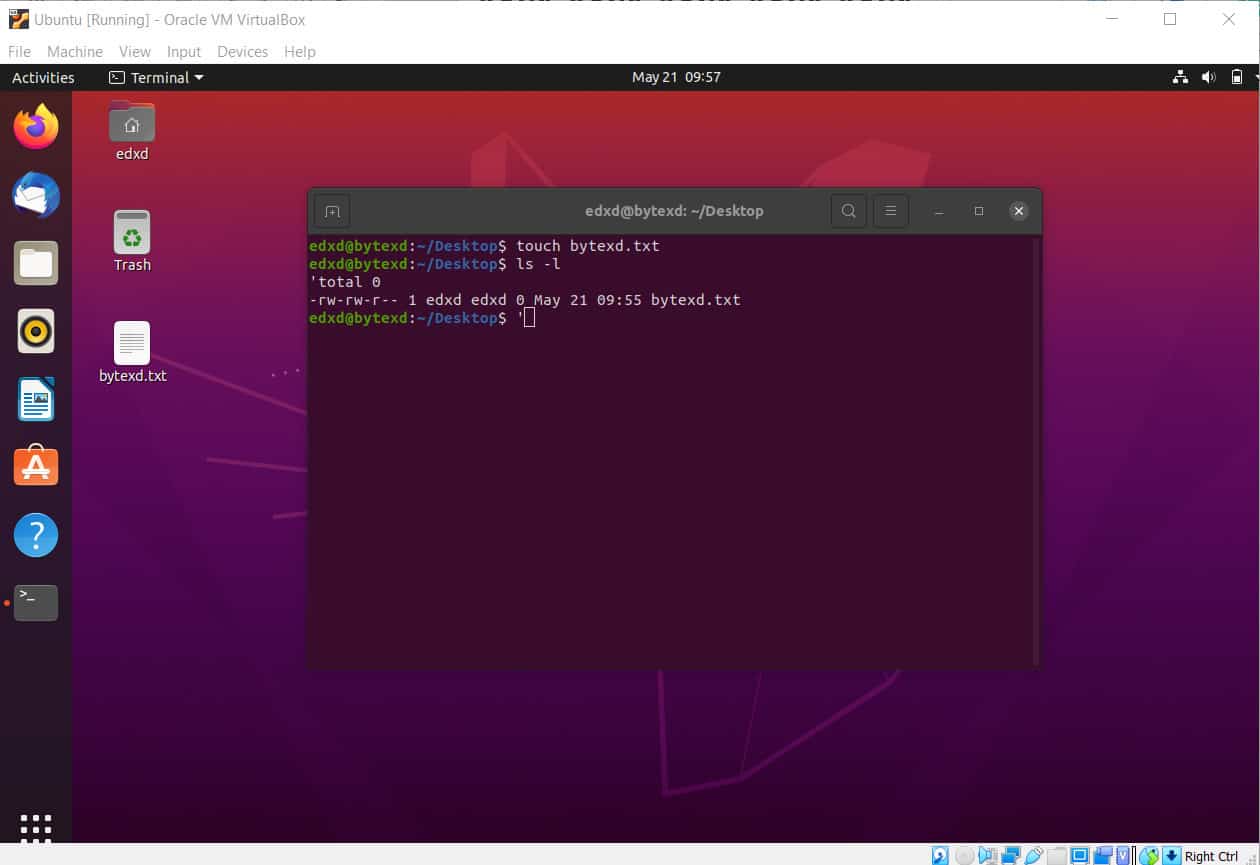
For example, we create a new file named bytexd.txt with the following command:
touch bytexd.txt
After the file is created, let’s see the permissions by simply listing the file by using the following command:
ls -l
Notice the permissions on the file:
'total 0
-rw-rw-r-- 1 edxd edxd 0 May 21 09:55 bytexd.txt
chmod 744 1.txt
With this command, we get the following permissions:
-rwxr--r--
Let’s break down these permissions.
rwx: The owner of the file, someone who created the file, gets the read, write, and execute permissions.r--: Then comes the group permissions, which are read. The group cannot write or execute the file.r--: Then, Others also have the read permissions but not write or execute.
The problem with the permissions is that the same set of permissions applies to all users and the group members, which is bytexd.
Another problem is that if a user is not part of the group bytexd, the user does not get the permissions assigned to the file.
The solution to both these problems is ACLs, which allow us to assign flexible permissions and customize them as per our need.
For example, we can assign read and write permissions to john and read, write, and execute permissions to matt. Using ACLs, we can assign different types of permissions to different users and groups.
Let’s now check how we can work with ACLs in Ubuntu.
Check for ACL Package
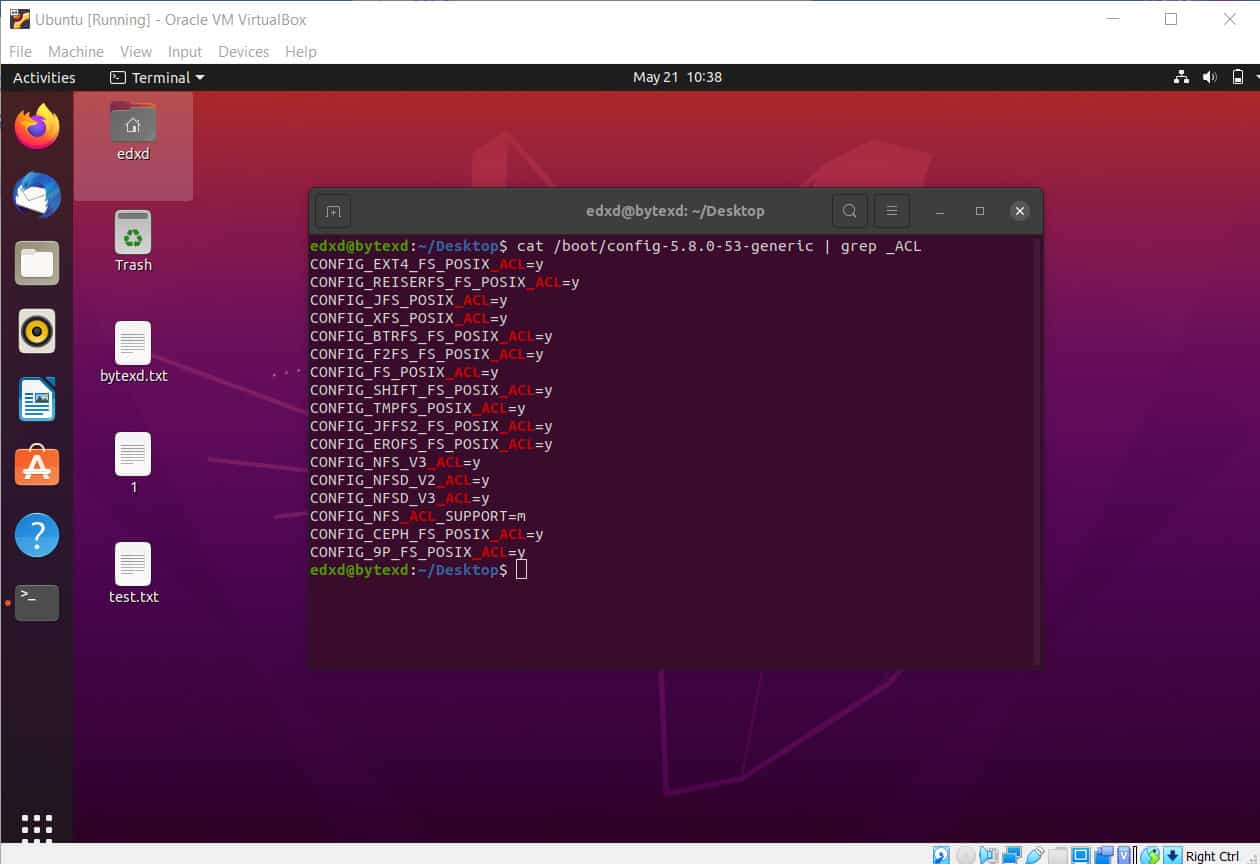
Before we can work with ACLs, we should perform two tasks. First, we need to verify if the kernel supports ACLs. In most cases, it would, but we need to verify it.
To do this, we execute the following command:
cat /boot/config-5.8.0-53-generic | grep _ACL
We need to check if the ACL package is installed on the system. When we execute the command, we get the responses as Y.
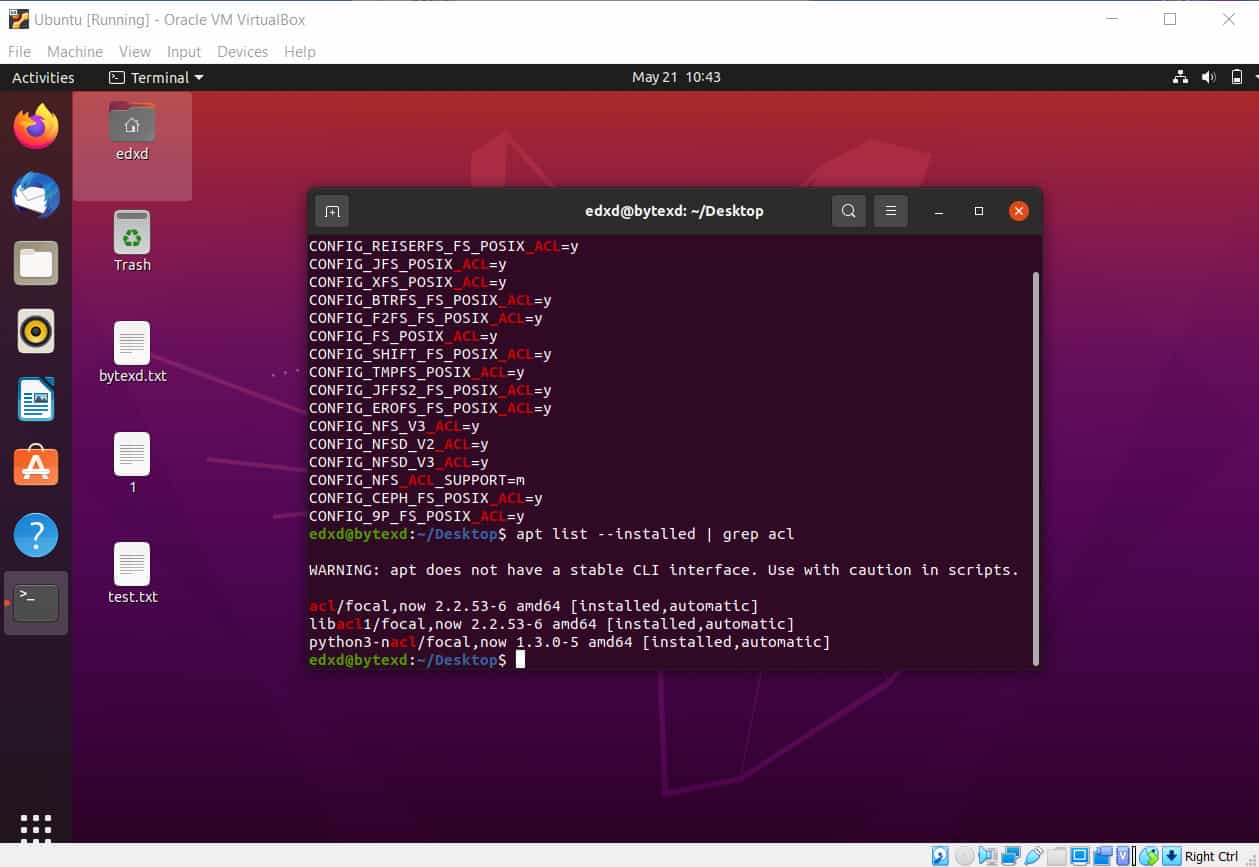
Let’s now check if the ACL package is installed in Ubuntu. We need to execute the following command:
apt list --installed | grep acl
The packages with the name acl are listed as the output.
We are now pretty sure that we have everything ready to work with ACLs in Ubuntu. So, let’s move ahead to work with ACLs.
Working with Setfacl and Getfacl Commands
There are two commands that we need to use when working with ACLs. These commands are setfacl and getfacl.
Each of these commands has a distinct purpose.
The getfacl Command
When we need to find the permissions on a file or directory, we need to use the getfacl command. The getfacl command is pretty simple to execute.
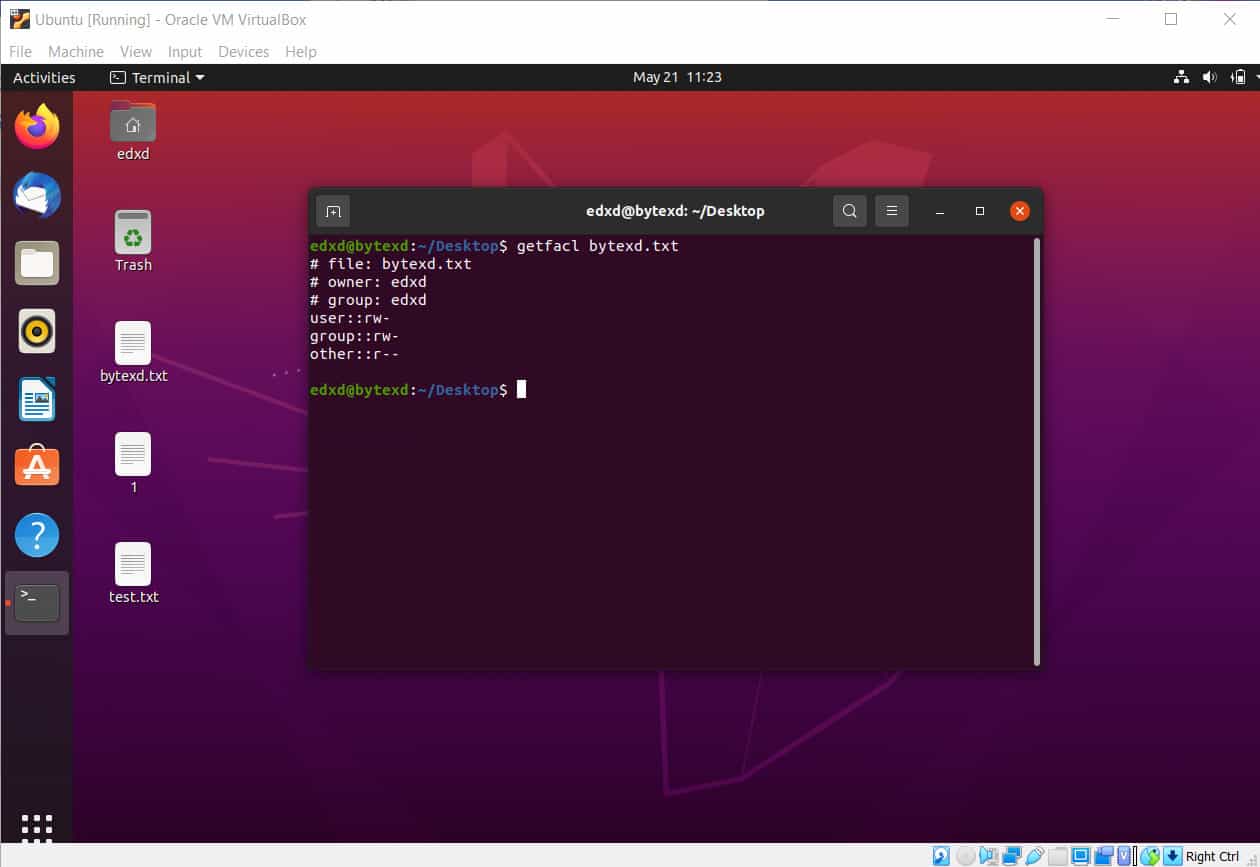
For example, let’s look at the permissions on a file named bytexd.txt by executing the following command:
getfacl bytexd.txt
In the output, we get the following information:
- File name
- Owner name
- Group name
- ACLs assigned to the owner, group, and others
# file: bytexd.txt
# owner: edxd
# group: edxd
user::rw-
group::rw-
other::r--
Let’s execute the following command:
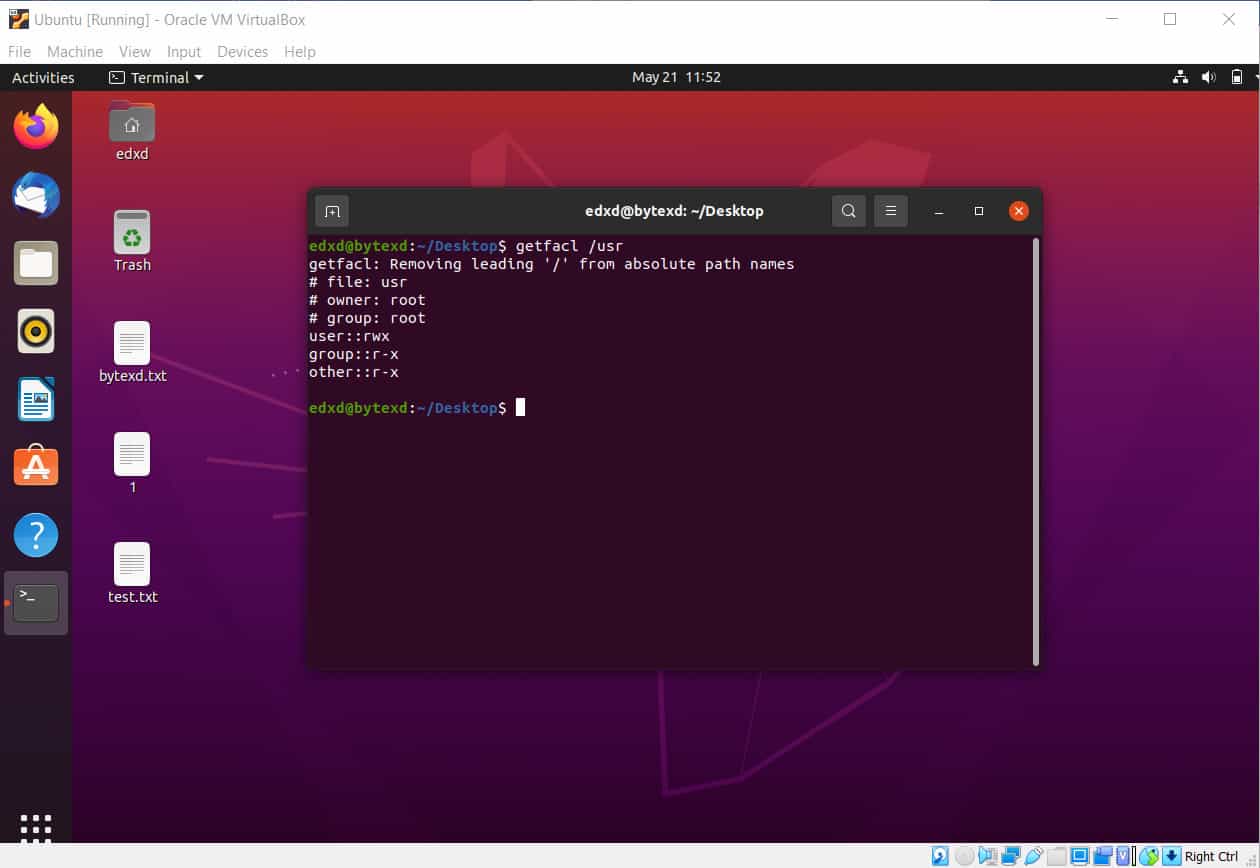
getfacl /usr
In the output, notice that the root user is the only user that has to write permissions in this directory.
getfacl: Removing leading '/' from absolute path names
# file: usr
# owner: root
# group: root
user::rwx
group::r-x
other::r-x
The setfacl Command
So far, we have used the getfacl command to view the existing permissions on a file. Let’s now move ahead to set the permissions using the setfacl command.
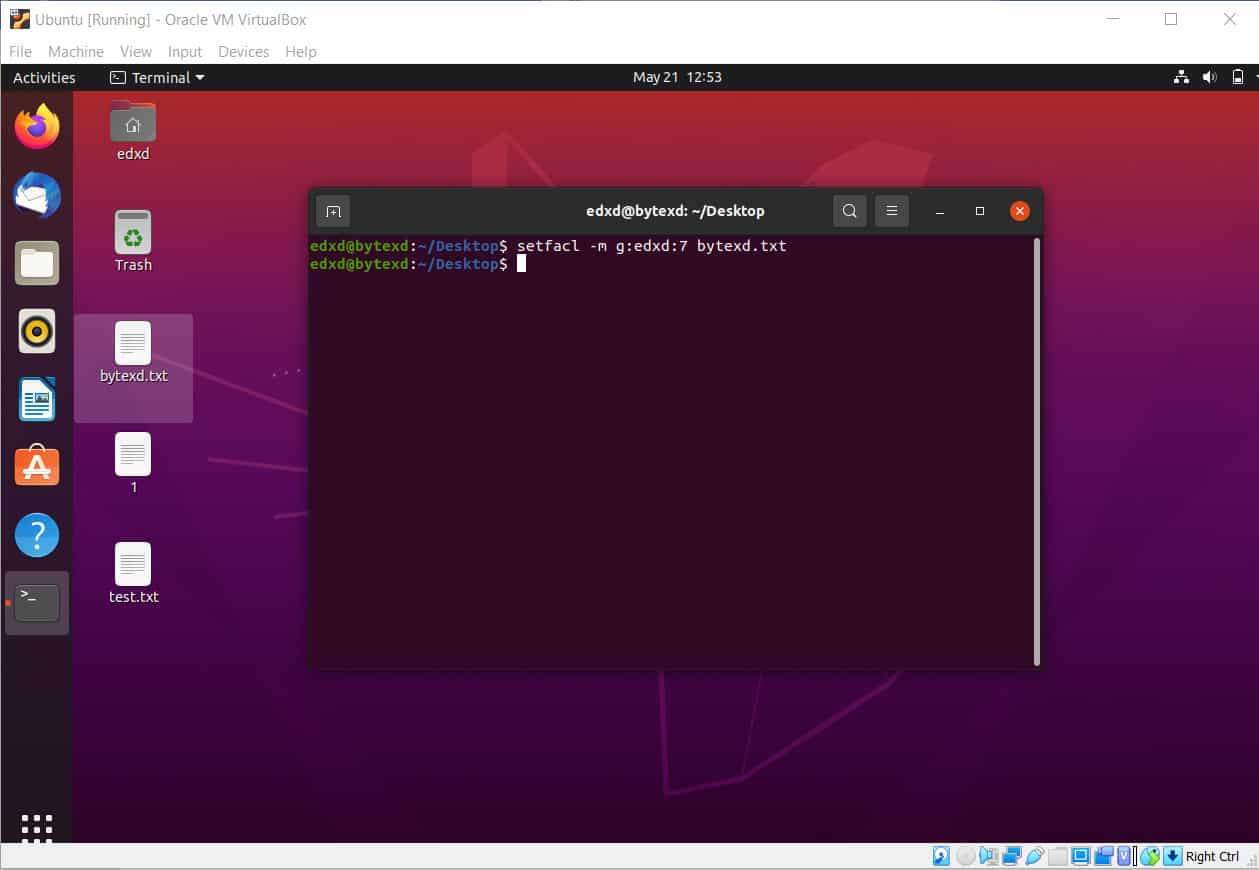
To start with, we will provide all permissions for the group named edxd with the following command:
setfacl -m g:edxd:7 bytexd.txt
This command returns no output.
getfacl command. Notice that the edxd group has been explicitly assigned the read, write, and execute permissions.
Let’s have a brief overview of how the number 7 was translated to read, write, and execute permissions. The permissions are:
- Read:
4 - Write:
2 - Execute:
1
When we add these permissions, if we add all of them, we get 7, which is the number that we had used. It should be clear for everyone about edxd getting the read, write, and execute permissions.
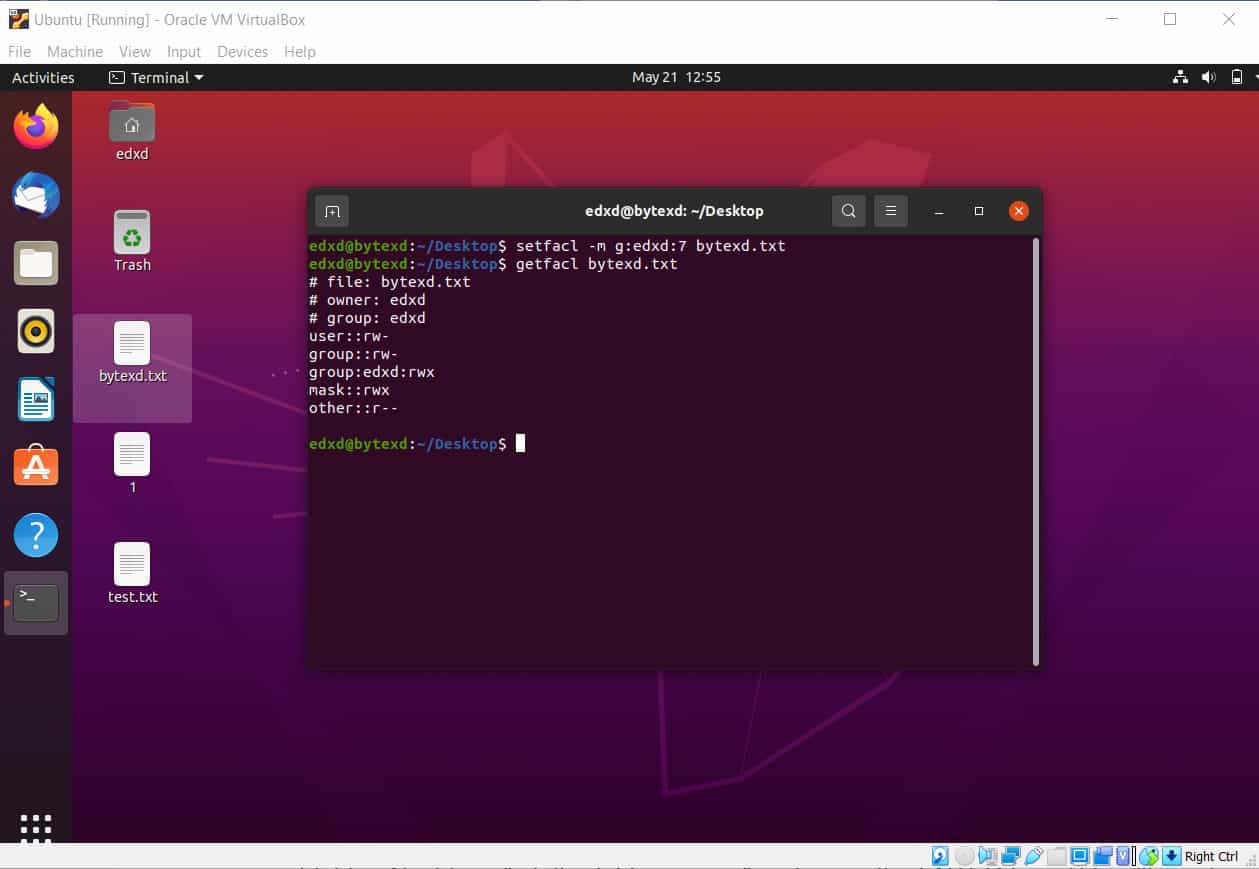
getfacl bytexd.txt
# file: bytexd.txt
# owner: edxd
# group: edxd
user::rw-
group::rw-
group:edxd:rwx
mask::rwx
other::r--
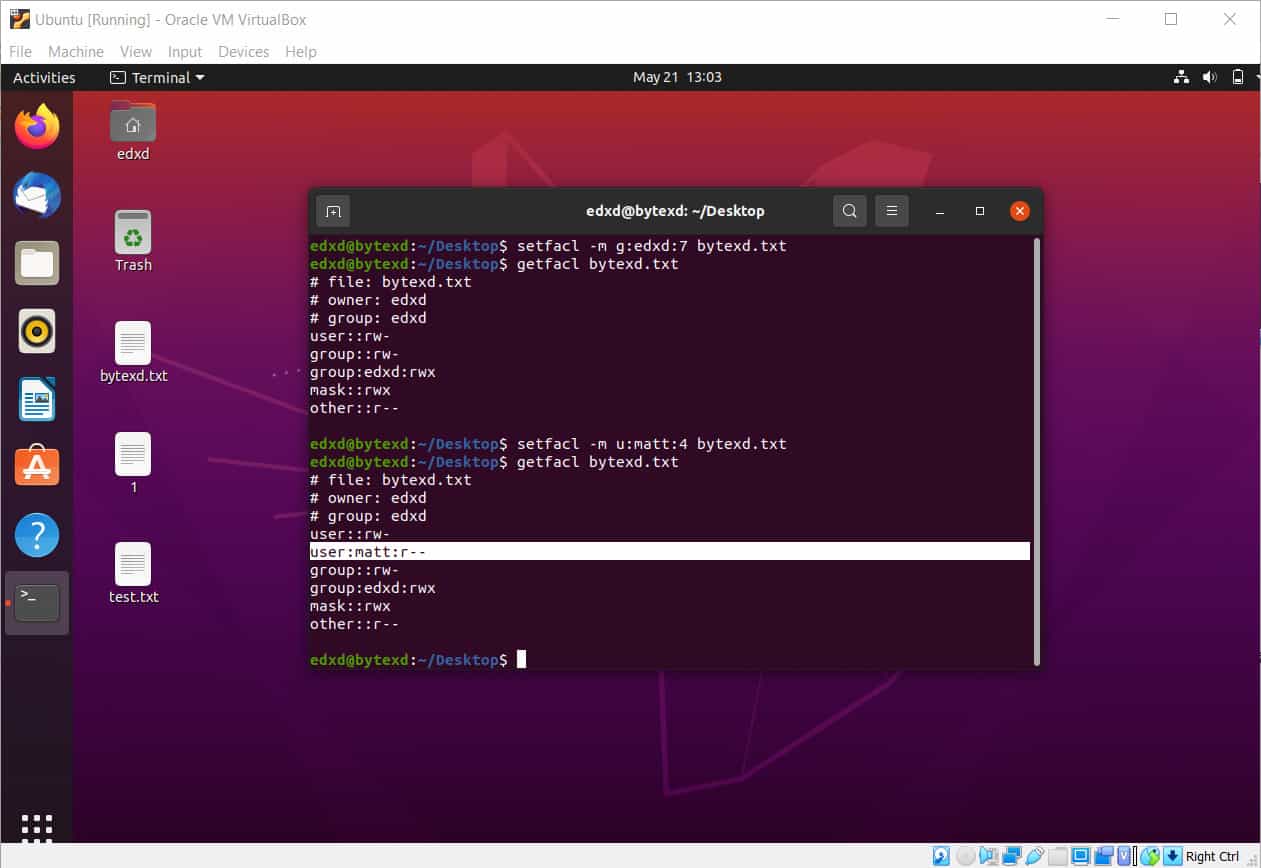
Let’s now move ahead to add permissions for a user named matt. We will assign the read permissions to matt.
setfacl -m u:matt:4 bytexd.txt
The command returns no output.
Let’s quickly verify the permissions with the getfacl command. The user matt now has read permissions on the bytexd.txt file.
getfacl bytexd.txt
# file: bytexd.txt
# owner: edxd
# group: edxd
user::rw-
user:matt:r--
group::rw-
group:edxd:rwx
mask::rwx
other::r--
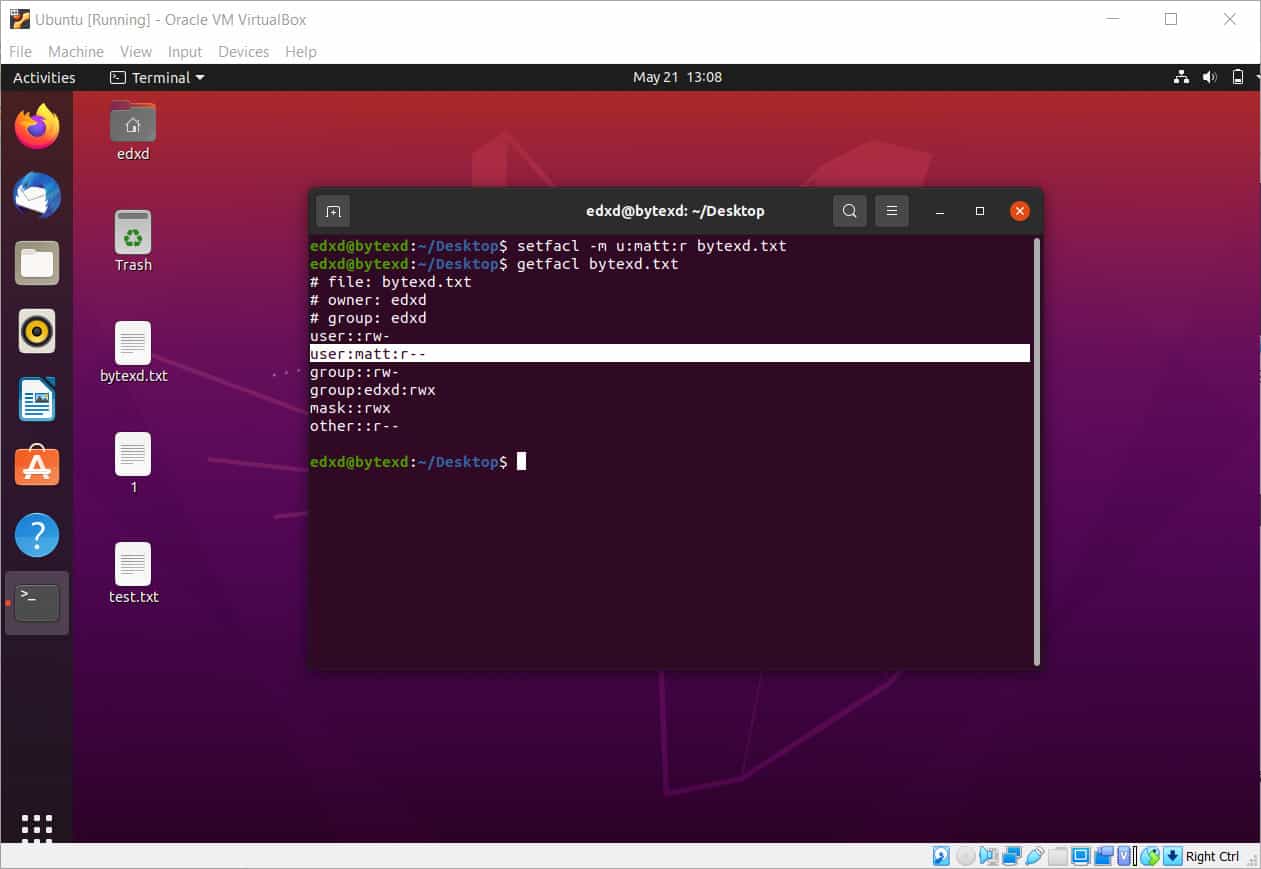
It is important to note that instead of assigning a number, we can assign the permission.
For example, we can use the following command to assign the read permission on the bytexd.txt file:
setfacl -m u:matt:r bytexd.txt
When we check the permissions with the getfacl command, we get the same result.
getfacl bytexd.txt
# file: bytexd.txt
# owner: edxd
# group: edxd
user::rw-
user:matt:r--
group::rw-
group:edxd:rwx
mask::rwx
other::r--
Removing ACLs
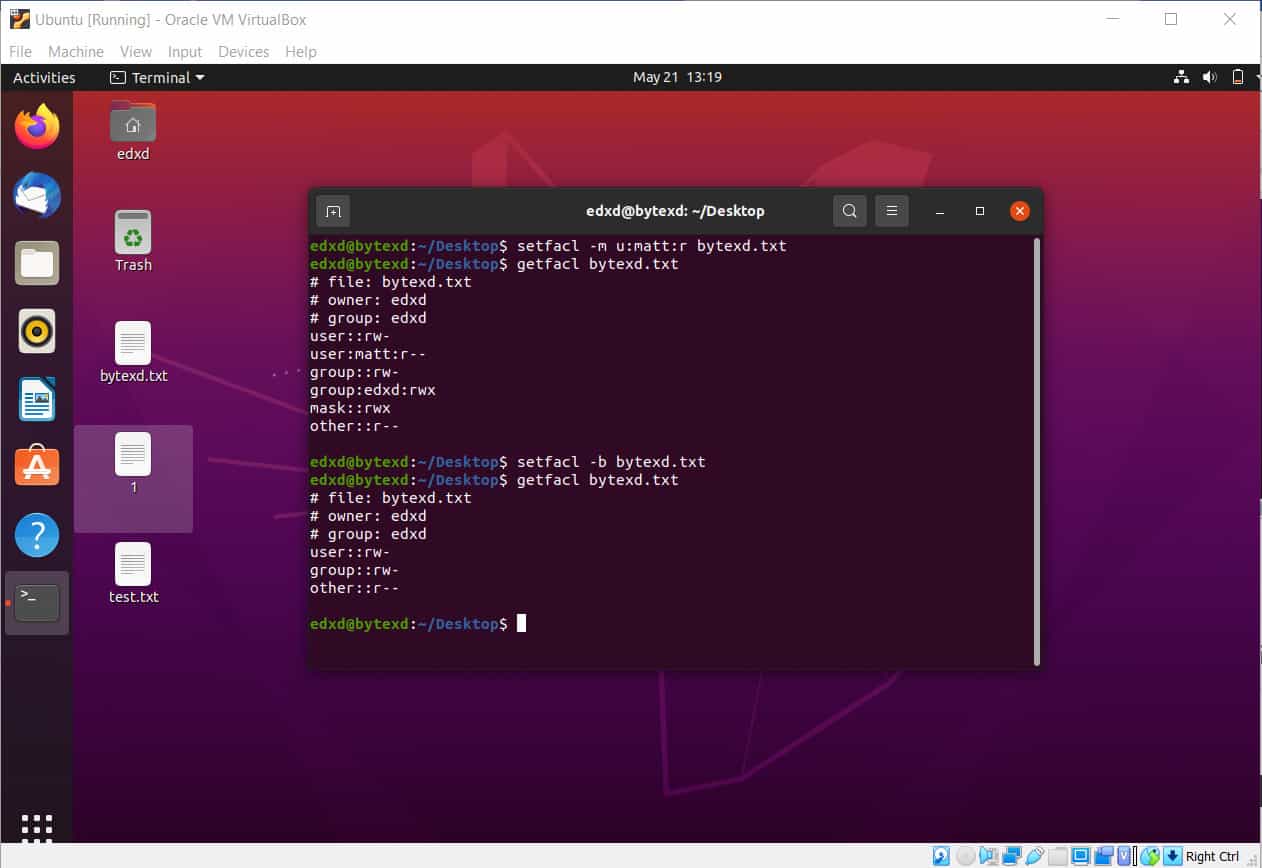
There will be occasions when we need to remove the ACLs from a file or directory and revert to default ACLs. To do this, we need to use the -b parameter along with the setfacl command.
setfacl -b bytexd.txt
We will need to verify the permissions using the getfacl command. Notice that all the changes that we had made to the permissions are gone.
The -b parameter reverts the permissions to what they were when the file was created.
getfacl bytexd.txt
# file: bytexd.txt
# owner: edxd
# group: edxd
user::rw-
group::rw-
other::r--
Copy ACLs From One File to Another
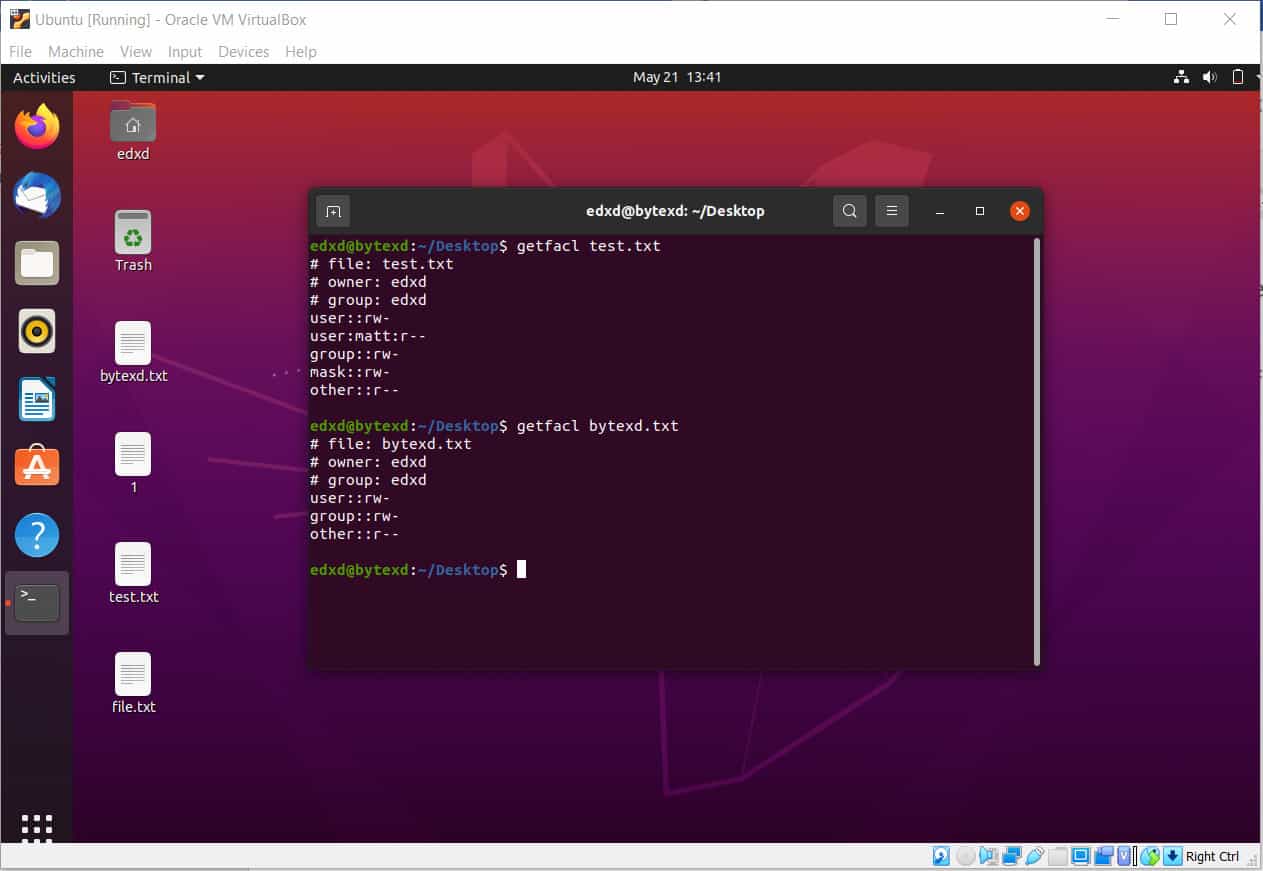
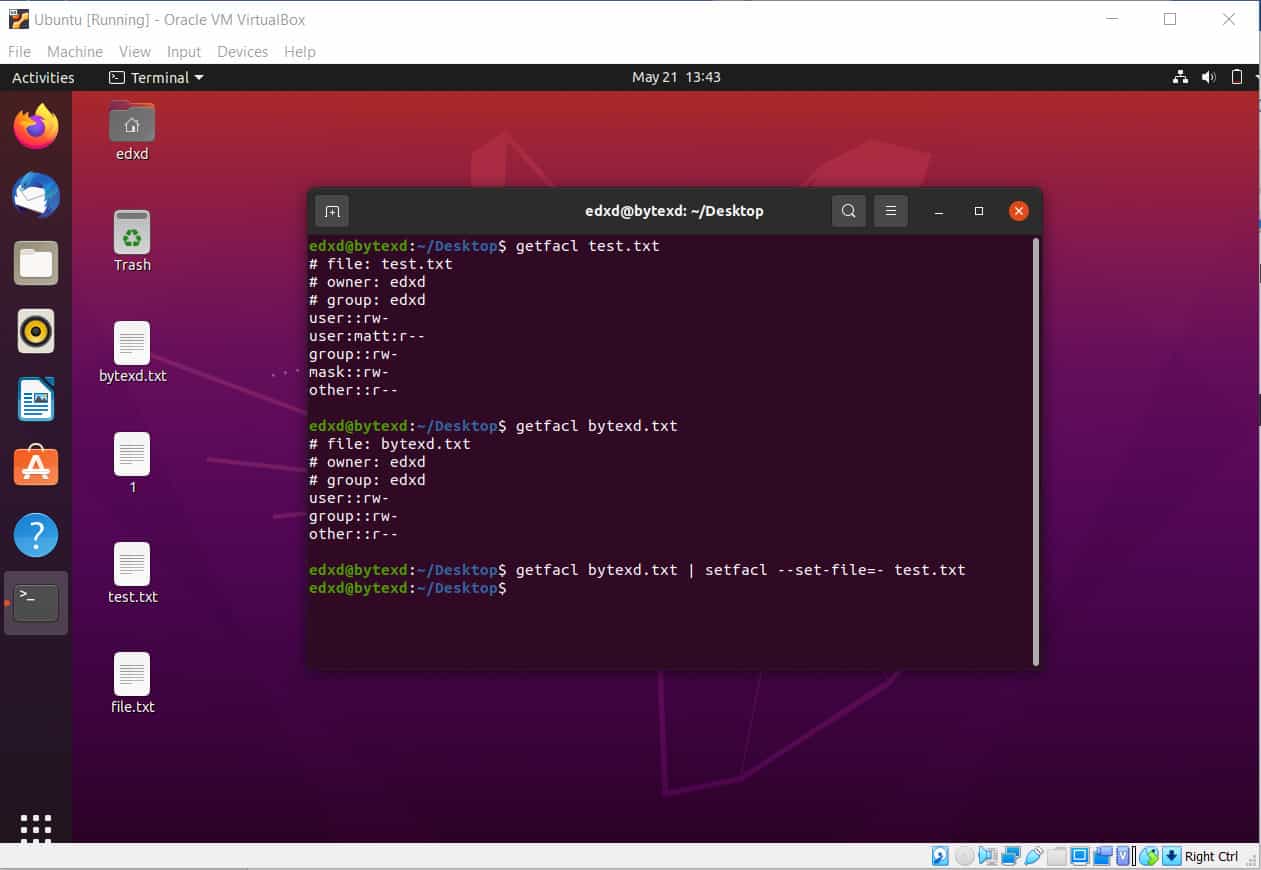
Assume that we have defined permissions on a file named bytexd.txt. We need to define the same permissions for another file named test.txt. There are two options to do this.
- The first one is to manually define the same permissions.
- The second is to copy the ACLs from bytexd.txt to test.txt. The second method seems quick, specifically when we have many permissions defined on the bytexd.txt file.
Let’s see how we can quickly copy ACLs from bytexd.txt to test.txt. First, we verify the permissions on another file named test.txt. Notice the permissions on this file. We repeat the same for the bytexd.txt file.
getfacl test.txt
# file: test.txt
# owner: edxd
# group: edxd
user::rw-
user:matt:r--
group::rw-
mask::rw-
other::r--
getfacl bytexd.txt
# file: bytexd.txt
# owner: edxd
# group: edxd
user::rw-
group::rw-
other::r--
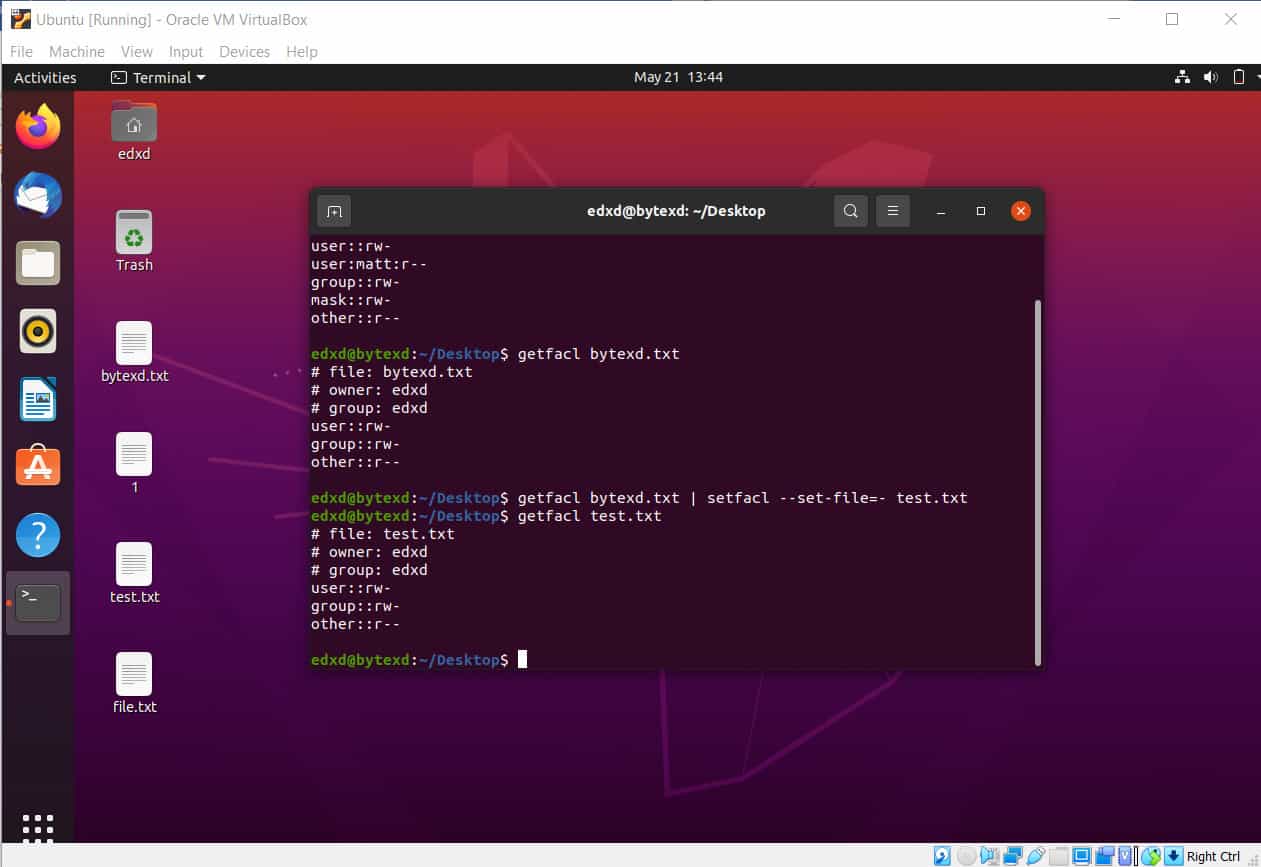
After we copy the ACLs from bytexd.txt, the test.txt file will have the same permissions.
Let’s execute the following command:
getfacl bytexd.txt | setfacl --set-file=- test.txt
The command executes without any output or error.
getfacl bytexd.txt
# file: bytexd.txt
# owner: edxd
# group: edxd
user::rw-
group::rw-
other::r--
getfacl test.txt
# file: test.txt
# owner: edxd
# group: edxd
user::rw-
group::rw-
other::r--
Notice that the ACLs from bytexd.txt have been applied to the test.txt file.
Conclusion
Well done. Hopefully, this tutorial helped you understand the fundamentals of the getfacl and setfacl commands in Linux.
If you encountered any issues, please feel free to leave a comment or contact us, and we’ll get back to we as soon as we can.
