In Ubuntu, we can use text editors for the configuration of files, editing files, writing codes, and much more.
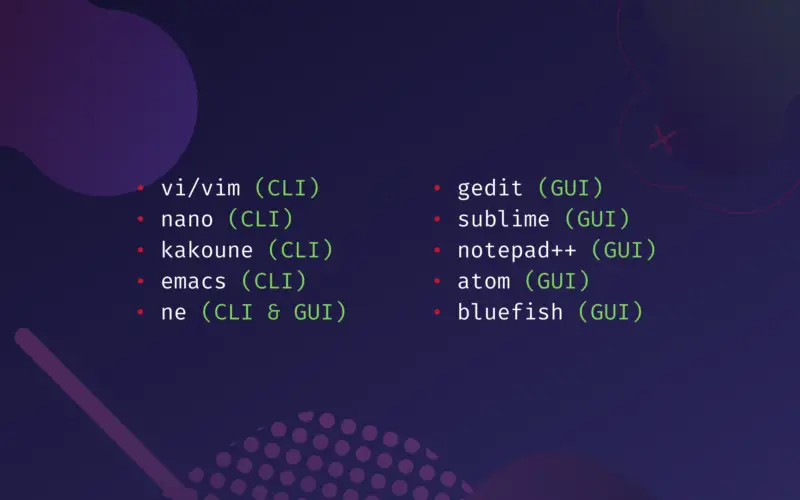
There are two types of text editors;
Command-line Interface (CLI) and Graphical User Interface (GUI).
Today in this article, I will discuss the most commonly used text editors in Ubuntu 20.04.
Table of Contents
Note
Before installing any text editor, always perform an update. To update, type the following command:
sudo apt update
Text Editors
Text Editors are very important tools in an operating system. Without it, a user cannot interact with the file. Some text editors are built-in, and some can be downloaded via the internet.
Every person has a preference for text editors. Today I am going to introduce you to some text editors and their functionalities in Ubuntu 20.04.
Seeing Content in the File
To see what’s in the file, you can use the cat command.
Type the following command:
cat <file name>
You can use this command on Ubuntu 20.4. It is a built-in command. If you use CLI-based text editors, you can use this command to see the contents fast instead of opening the whole file. This applies to GUI-based text editors too.
Vi/Vim (CLI)
Vim is a free open source command-line interface text editor for Unix-based systems. It’s fast and very reliable in terms of other text editors.
Vim has two modes Insert mode and Command mode. In most of the Linux distros, it comes pre-installed.
To check if whether you have Vim, simply type vim in the terminal. However, in Ubuntu 20.04, it needs to be installed first. So let’s get started.
Installation
To install Vim, simply type the following command in your terminal.
sudo apt install vim
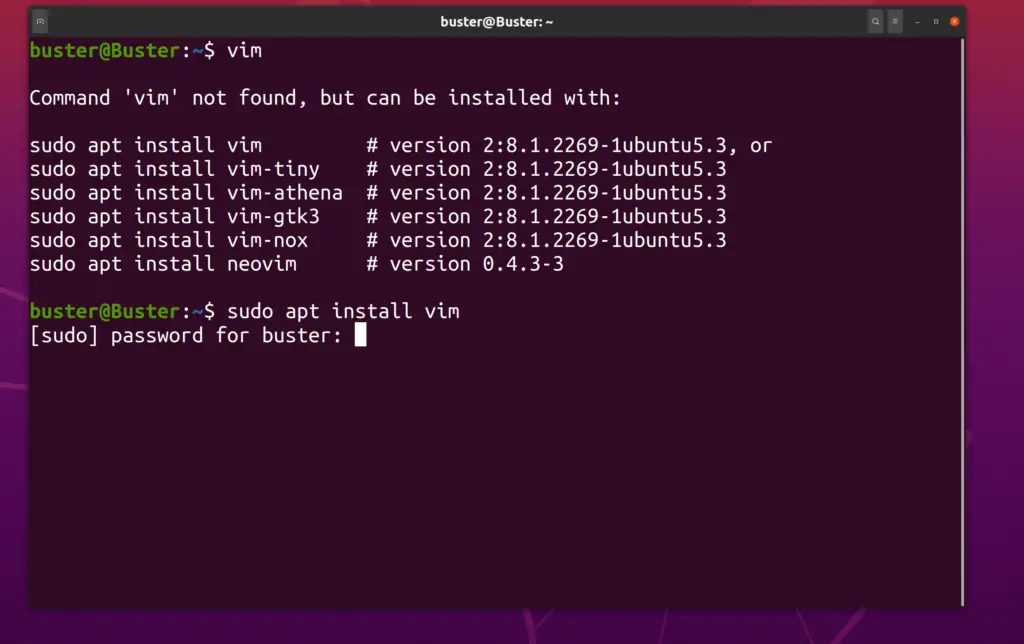
Let the installation proceed. Now your installation has been complete. Let’s get started on Vim
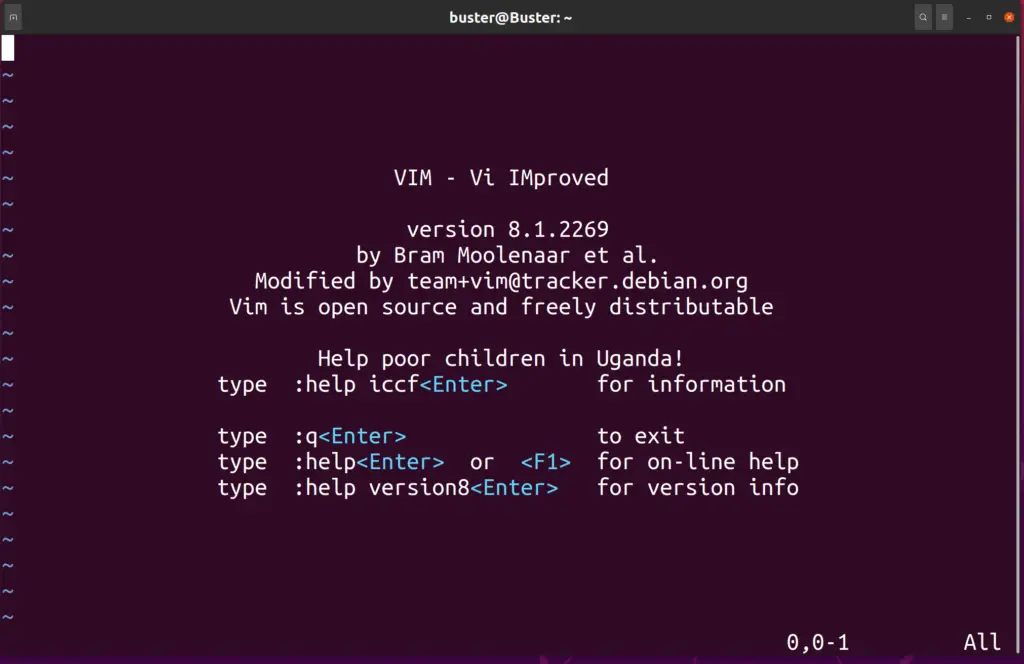
Opening Vim
To open Vim, type the following command on your terminal
vim
Creating and saving a file
Currently, we are in a Command mode. If we type anything, we cannot because you need to be in Insert mode to type. To type anything, press I and you will see INSERT written on the bottom right.
Now you can type anything you want. Since we did not give a name to the file, we are in a buffer. To create a file, switch to command mode and follow the steps
To switch to command mode, press the Esc.Then, type the following and press enter.
:w <File Name>
Here w means to write the file. Now your file has been created and saved. You will see a display message saying that the following file has been saved
Exiting a file
To exit the file, press the Escape key if you are in Insert mode and type the following
:q
If you have made any other changes to the file, you can save and exit at the same time by typing the following command in Command mode
:wq
Opening a file
To open a file through Vim, you can simply type the following
vim <file name>
If the file is not located in the current directory, then you have to specify the file path
vim <file path>/<file name>

Note
Vim is a command line-based interface, so it means that, unlike other text editors, you have to move a cursor with keyboard Arrow keys.
Vim has many other commands that you can explore in their documentation or search for vim cheat sheet.
Nano (CLI)
Nano is a built-in command in Unix operating systems. It is a command-line-based text editor. Nano is licensed under the GNU General Public License (GLI).
It is the simplest of all in the command line category, and it exceeds Vim and Emacs because of its simplicity.
Nano comes pre-installed in Ubuntu 20.04. You can check its version by typing nano --version in the terminal. Let’s see how it works.
Interface
Here’s how the interface of nano looks like;
Below you can see some commands. You can use them as you prefer.
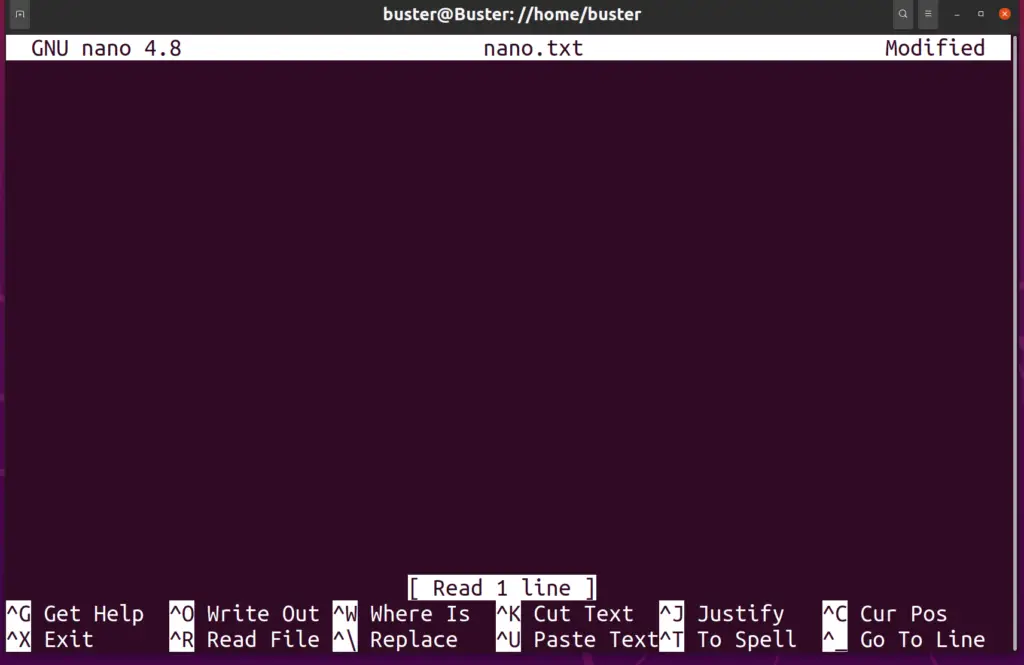
Since it is a command-line interface so to move the cursor, you have to use Arrow keys.
Editing a file
To open a file, type the following command.
nano <file name>
Note: To open the specific file, you have to be in that particular directory; otherwise, nano will create another blank file with that name.
You can also edit the file located in another directory by specifying the file’s path.
for example /home/buster/Documents/test.txt
nano /home/buster/Documents/test.txt
Saving a file
To save a file, you simply need to exit the file, and hence your data is protected. Press CTRL+X then it asks if you want to save the file or not.
After pressing Y you are asked the file name to write. After pressing Enter your file has been saved.

Some Commands
Nano gives you some commands that are written below the interface. Some of them are;
- CTRL+G: To get help
- CTRL+X: To exit the file
- CTRL+O: To write out of the file
- CTRL+R: To read out the file
- CTRL+W: To find a specific or character in the file
- CTRL+\: To replace you’re your string
- CTRL:_: Go to a particular line
Kakoune (CLI)
Kakoune is a free-to-use command line text editor. It is similar to Vim, like separate editing and inserts modes, but also has unique features.
Its style and design are also different from Vim. Originally it implements VI’s keystrokes as a text editing language.
Vim inspired Kakoune. Here’s how you can download Kakoune in Ubuntu 20.04.
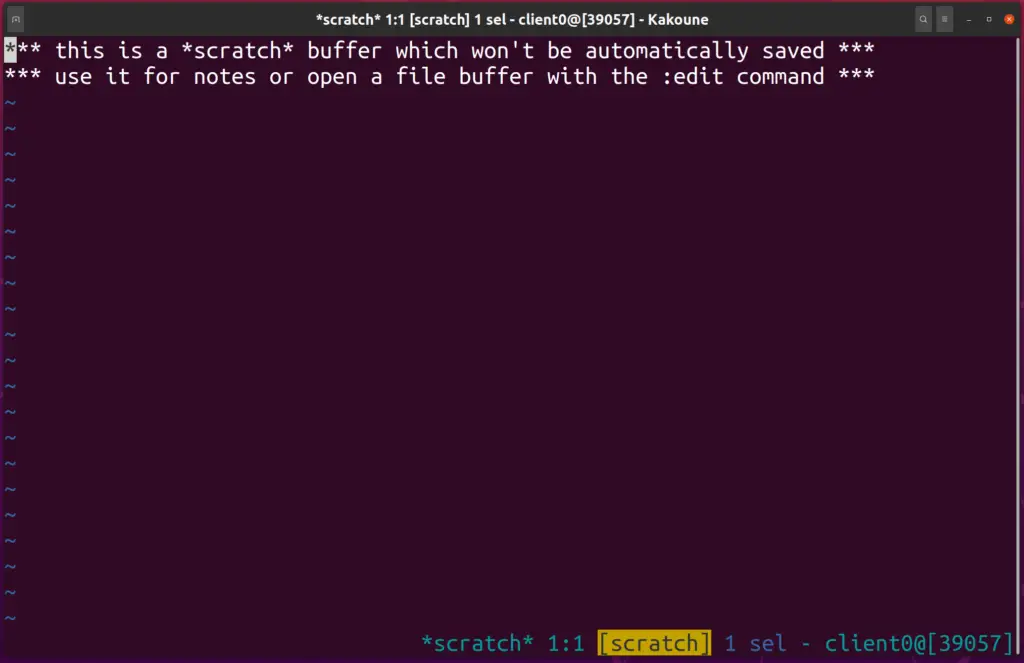
Installation
To install Kakoune in your Ubuntu, open a terminal and type the following command:
sudo apt install kakoune
Opening a file
Your installation will start, and if no error occurs, your Kakoune will be installed in your OS.
To open a file, type the following
kak <file name>
You can also open a blank document by typing kak.
Editing the file
To edit the file, you have to change modes, just like in Vim.
To change the mode, insert press i. You can change the mode back by pressing the Esc button.
Saving and quitting the file
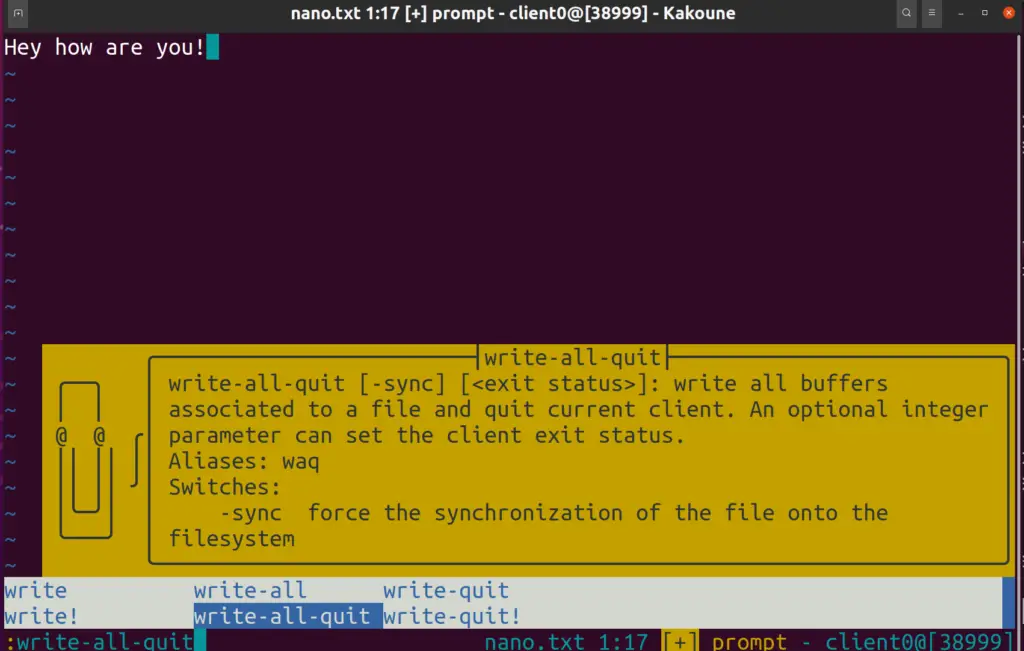
To save the file, change to normal mode and type quit .
You can also save and exit by typing write-all-quit .
Also, you can press Tab to move through the options.
Emacs (CLI & GUI)
Emacs is a free-to-use text editor designed for POSIX operating systems however this text editor is also available for Ubuntu. This editor was developed way before modern computers; hence it still uses old terminology for editing.
Later on, it got developed is now considered the extensible, customizable, self-documenting, real-time display editor. It was originally a command-line-based editor, but it has been upgraded to GUI-based too. Here’s how you download it.
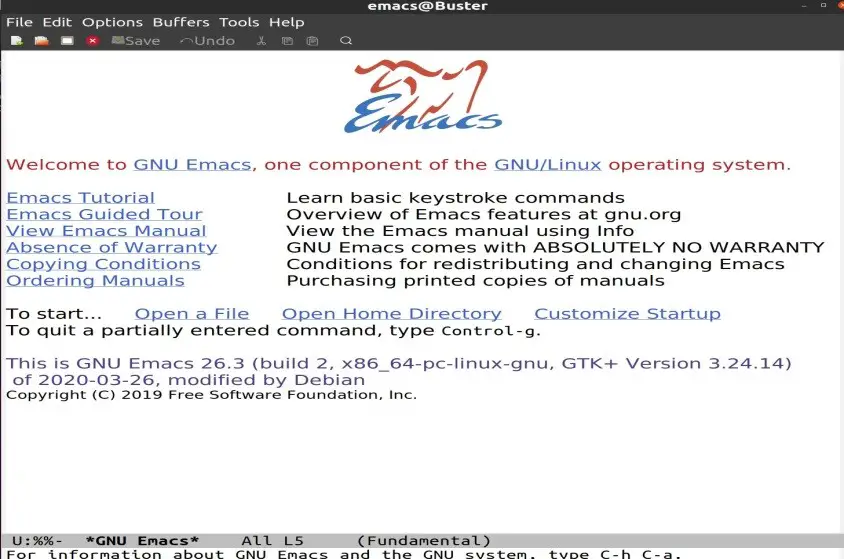
Installation
To download Emacs, run the following command:
Sudo apt-get install emacs
Your installation will start, and Emacs will be downloaded into your system.
Opening and saving a file
To open a file, simply type the following command;
emacs <file name>
To save a file, press CTRL+S, or you can go to file ->Save as/Save.
Nice Editor ne (CLI)
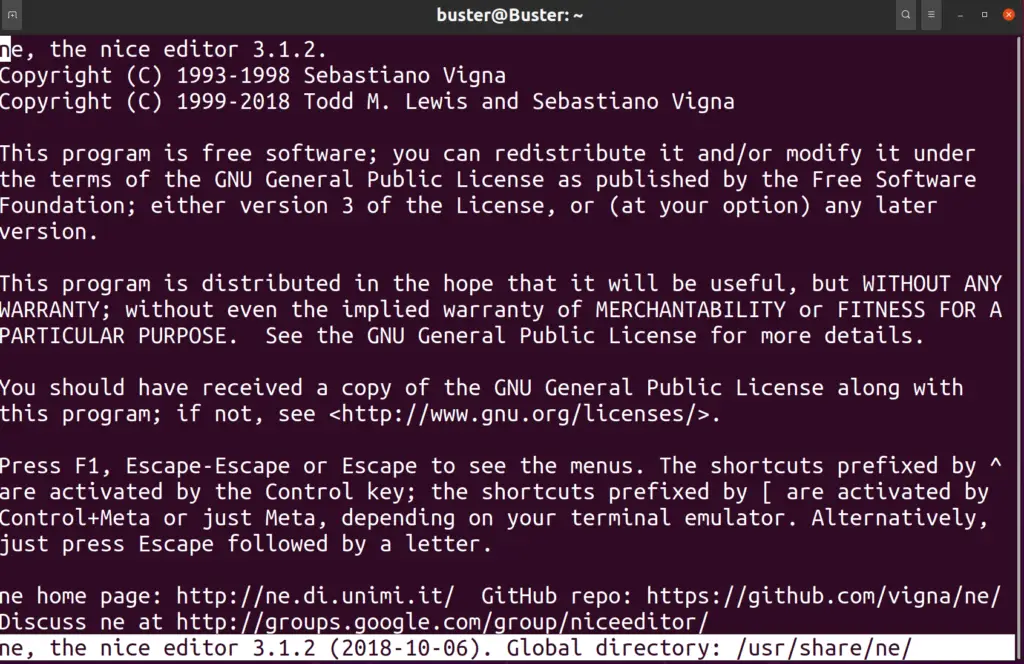
Nice Editor ne is a free text editor based on POSIX standers. It can work on any Unix system. It is a command line-based text editor. It is a beginner-friendly tool but is powerful and fully configurable for the wizard and resource usage.
Installation
To install ne open terminal and type the following commands:
sudo apt update
sudo apt install ne
Opening a File
To open a file, type the following command;
ne <file name>
You can also type ne to invoke the editor, and a blank page will open.
Saving a File
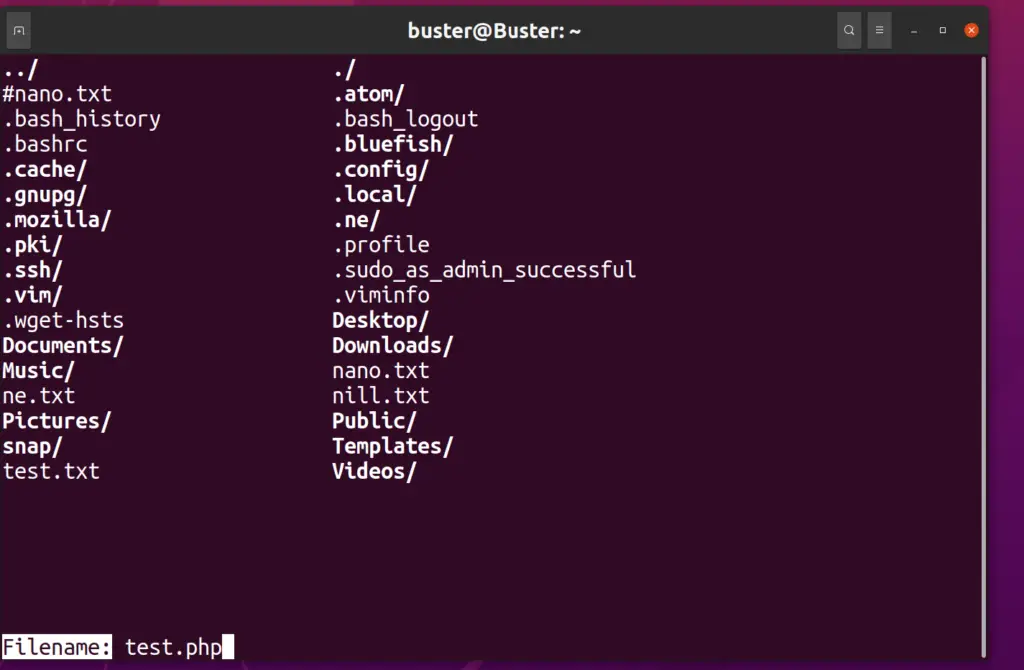
To save a file, you can press Ctrl + s.
Then, it will ask you where to save.
If the file is new, press F1 and type the file name with extension.
Quitting a File
Ne commands are different from Vim, so to quit a file, you have to type Ctrl + q to quit,
Alternatively, you can press F1 and select the Quit option.
Gedit (GUI)
Gedit is a GUI text editor. It has advanced features and is a default text editor in Ubuntu operating systems. It can be used for basic and advanced text editing. It was released under the GNU General Public License.
Gedit supports many file extensions. Some of them are .php, .html, .py, .cpp, etc.
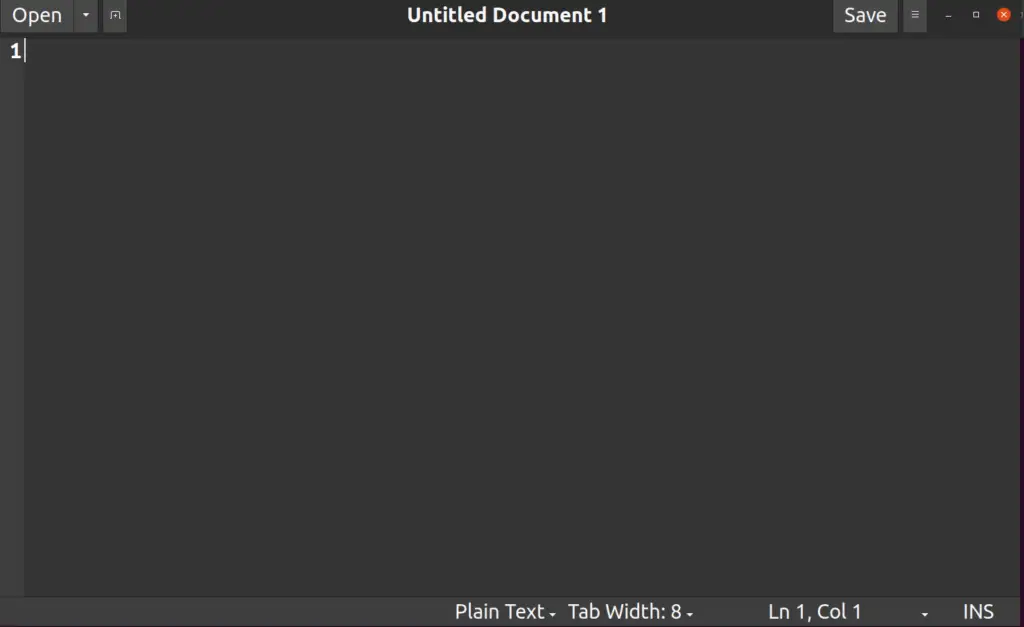
Here’s how you use it.
Opening a file through terminal
To open files in gedit, simply type the command below.
gedit <file name>
Opening a file through GUI
If the file is not located in the current directory, then you have to give the whole path to that file.
for example: /home/Ubuntu/Desktop/test.txt
To open a file through GUI, click on ‘your files’ then navigate to the file and double click.
If your Ubuntu OS does not have gedit as the default text editor then you have to right-click and select open with other applications.
If you want to open a new text editor document, go to the Show Applications menu and search for gedit.
Open the application, and your gedit text editor will open.
![]()
Configuring your Gedit
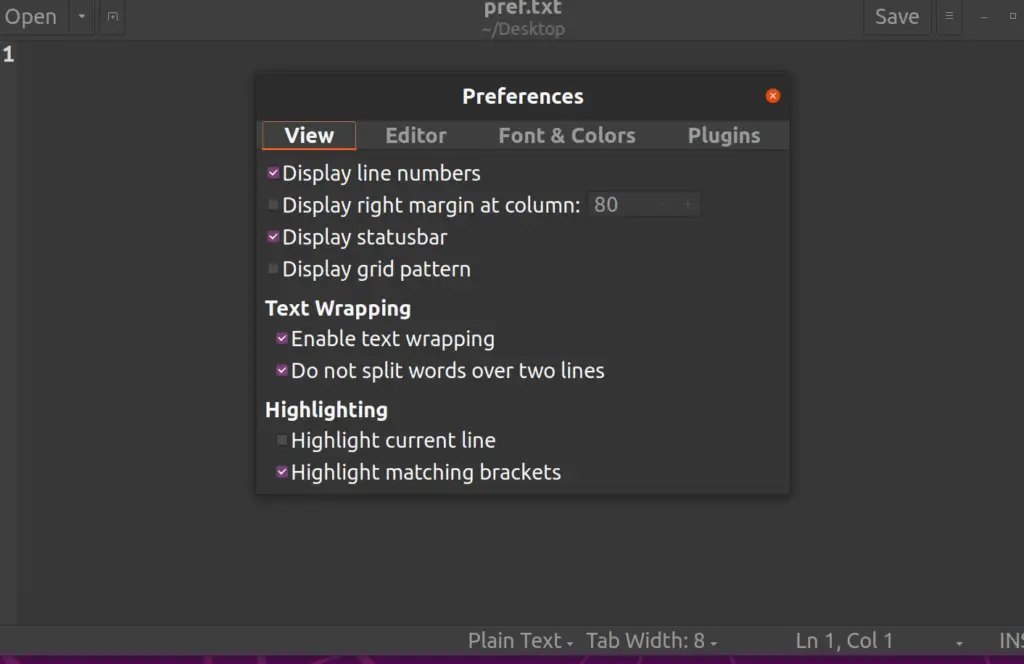
Gedit default settings are not that attractive. So hence there are built-in options you can use to make your interface look the way you want it to.
Firstly, open a gedit document.
Then, go to three horizontal lines that are located at the top right corner near the save option.
Go to preferences, and a new menu bar will open.
Now, you can change your preferences according to your liking.
Saving a File
Saving a file is very simple. Just click the save option located at the top right corner, or you can press the shortcut key Ctrl+S.
If you opened a new document through GUI, then you can save your file the old fashioned way, that is to navigate to your required location.
Why use Gedit?
You should use gedit because:
- It is free
- Fast
- Lightweight
- Can open multiple tabs at once
- Highlighting
- Supports every programming language.
Sublime Text (GUI)
Sublime Text is a source code editor most commonly used by web developers. Its fast speed attracts most people.
It supports all programming languages and, with the help of highlighting, auto-detection, etc., helps make it more popular among coders.
It has lots of packages too which can be downloaded according to the user’s requirement.
To use it in Ubuntu, you first have to download it. Here’s how you do it.
Installation
There are two versions of the sublime text, which are sublime text 2 and sublime text 3. We are going to install sublime text 3.
Firstly, we will install the curl command. Type the command below:
sudo apt install curl
Now we will install the dependencies required to add the new repository over the HTTPS connection:
sudo apt update
sudo apt install dirmngr gnupg apt-transport-https ca-certificates software-properties-common
Import the repository GPG key and sublime APT repository to your systems software repository by typing:
curl -fsSL https://download.sublimetext.com/sublimehq-pub.gpg | sudo apt-key add -
sudo add-apt-repository "deb https://download.sublimetext.com/ apt/stable/"
Once the repository is enabled without any error, install sublime with the following command:
sudo apt install sublime-text
Now, your sublime has been installed.
Opening and saving a File
To open a file through the terminal, type the following command:
subl <file name>

If your file is located in another directory, you have to specify the path to that file.
Moreover, you can also create new files by writing the same command and the file name that you want to save it. If you only write subl then a blank document opens, which you can use as you like.
To open sublime through GUI, go to Show Applications, then search for sublime.
Click on the sublime icon, and your text editor will open.
![]()
To save a sublime document, go to file ->Save as or Save.
You can also use the shortcut key Ctrl + S to save your document.
If your file is new, then a window will appear, and then you can navigate to where you want the file to be saved.
Why use Sublime?
- Supports more than 70 different file types
- Its color coding and highlighting feature is well defined
- Autocorrect feature works very well
- Tab selection is very well done
Notepad++ (GUI)
Notepad++ is a text and source code editor (GUI-based). It is mostly used in Windows OS, but it can also be installed in Ubuntu OS. It supports tabbed windows, and most importantly, it is lightweight.
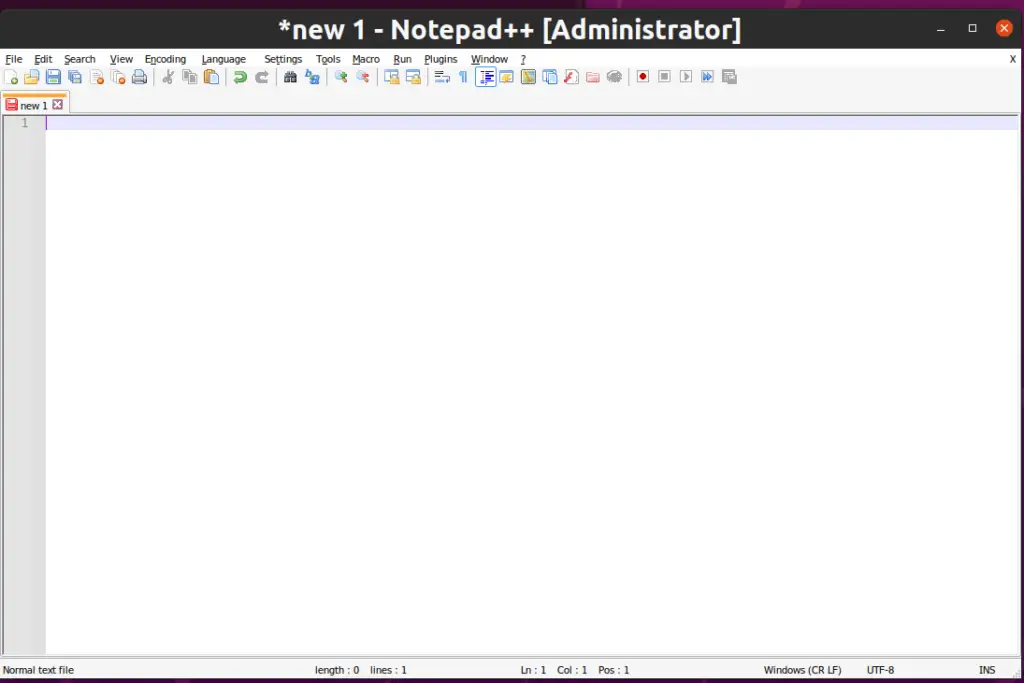
Note: Although it supports many programming languages, however, it is not an IDE. It is only a text editor.
Installation
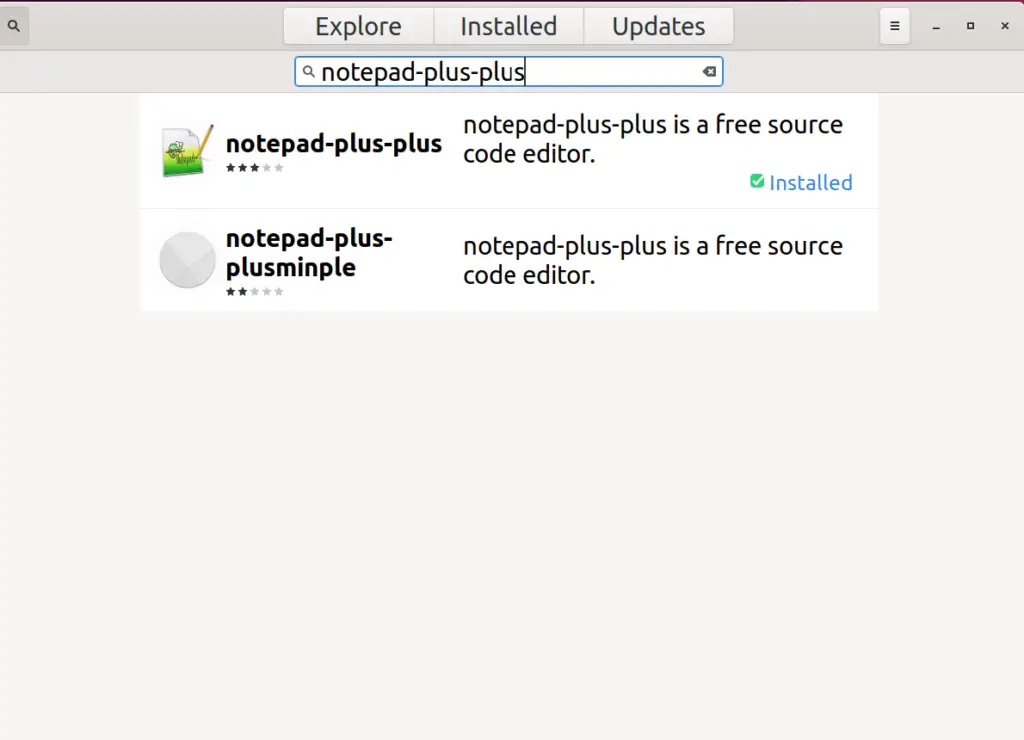
I am showing you the installation through GUI.
You can install Notepad++ through a terminal, but it involves downloading other dependencies and repositories; that’s why to keep it simple downloading Notepad++ through GUI is the simplest way.
To install Notepad++ do the following steps:
- Go to Show Application and open Ubuntu Software
- Search for notepad-plus-plus
- Install the application, and you Notepad++ will be installed
Opening and saving a File
To open a file in go to terminal and type the following command;
notepad-plus-plus <file name>
You can auto-complete your command by only writing notes and then pressing the Tab key to auto-complete. Similarly, you can also open a blank page and start working on that too.
To save, simply press Ctrl + S or, go to file ->Save as/Save.
Atom (GUI)
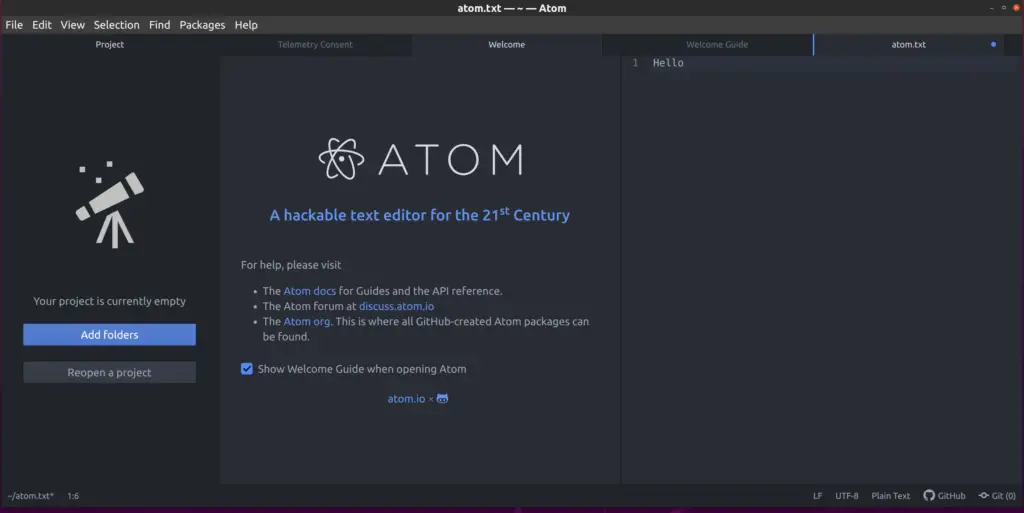
Atom is a free open source text and source code editor for macOS, Linux, and Windows. It supports plugins made in JavaScript and embedded fit control, originally developed by GitHub.
Most of the packages have a free license and are community-built and maintained.
Atom is a desktop application software. It does not come built-in, so here’s how you download Atom in Ubuntu 20.04.
Installation
To install atom, type the following commands one by one:
wget -qO - https://packagecloud.io/AtomEditor/atom/gpgkey | sudo apt-key add -
sudo sh -c 'echo "deb [arch=amd64] https://packagecloud.io/AtomEditor/atom/any/ any main" > /etc/apt/sources.list.d/atom.list'
sudo apt update
sudo apt-get install atom
It might take some time to install the atom since the file is big.
Opening and saving a File
To open a file, simply type in terminal
atom <file name>
You can also type atom to open a blank document.
To save a file, press Ctrl + S, or you can go to file ->Save as/Save.
You can see the help pages like the welcome page and welcome guide to learn more about the atom. Similarly, you can close them too.
Bluefish (GUI)
Bluefish is a GUI-based powerful text editor for programmers and web developers. It supports many languages and is available on Linux, macOS, and Windows.
Let’s download it on Ubuntu.
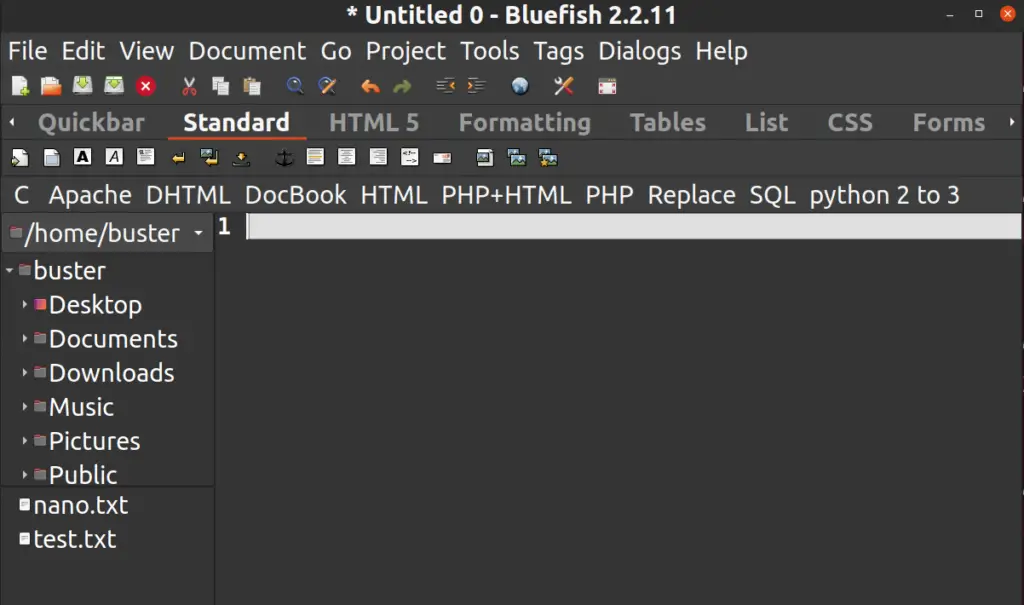
Installation
To install bluefish, simply run the command on the terminal:
sudo apt-get install bluefish
Your software will get installed, and now you can use it.
Opening a File
To open a file, simply open the terminal and type the following command;
bluefish <file name>
![]()
Similarly, you can open a blank document too by typing bluefish.
You can also open bluefish by going to Show Applications and typing bluefish.
Saving a File
To save a file, press Ctrl + S, or you can go to file ->Save as/Save.
Changing your Preferences
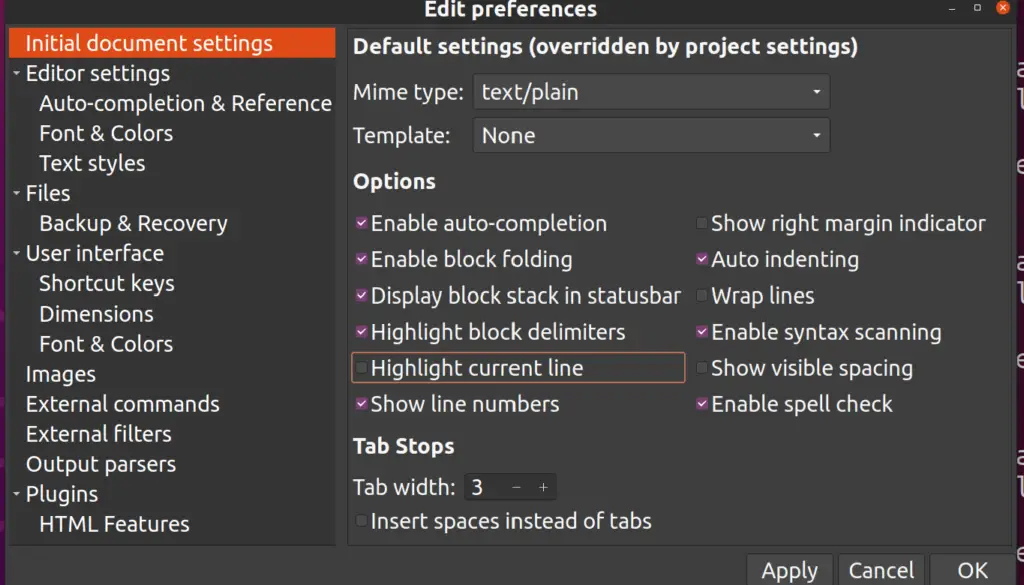
You can change your font, Highlight the text, etc., inside the document. Go to Edit->Preferences. Choose a setting according to your preference.
Conclusion
Text editors are very useful tools for a programmer. Every individual has a preference for tools. But I would recommend that a beginner should learn command line text editors too.
Everyone can use GUI. It’s harder to use the command line, but it cannot be denied that command line interface text editors are fast and lightweight compared to GUI-based text editors.
