In this tutorial we’ll learn the fundamentals of the sysctl command.
To start off, have you wondered how an operating system can use the hardware on which it is running?
It’s the kernel that acts as an interface between an operating system and the hardware. It enables the communication between both entities and is part of the operating system that runs on the hardware.
A user, however, does not interact with the kernel but rather works in a limited space to manage files and execute programs.
So, for example, does Ubuntu have a kernel? Yes, it does.
We can also make certain modifications to the kernel using the sysctl command, which is this article’s focus.
Let’s proceed to take a look at this concept.
Table of Contents
Pre-requisites
- Access to a Linux machine. I’ll be using server running Ubuntu 20.04 in this article.
- Acting as a non-root sudo user to ensure a secure environment
Relation Between a Kernel and the Sysctl Command
Each kernel in an operating system works with certain parameters.
The kernel works with the system resources, which change from time to time.
Based on these changes, the kernel parameters also change.
The sysctl command is used to manage the kernel configuration and parameters.
We can use the sysctl command to modify the configuration and kernel parameters at runtime.
The Kernel Parameters Location
The kernel parameters are stored as files in the /proc/sys directory.
We can store configuration as files on the Linux operating system.
For example, most of the applications that we install in Linux are controlled through a file with the .conf extension. The file with the .conf extension contains the configuration settings required to run the application. The /etc/ directory stores the configuration files.
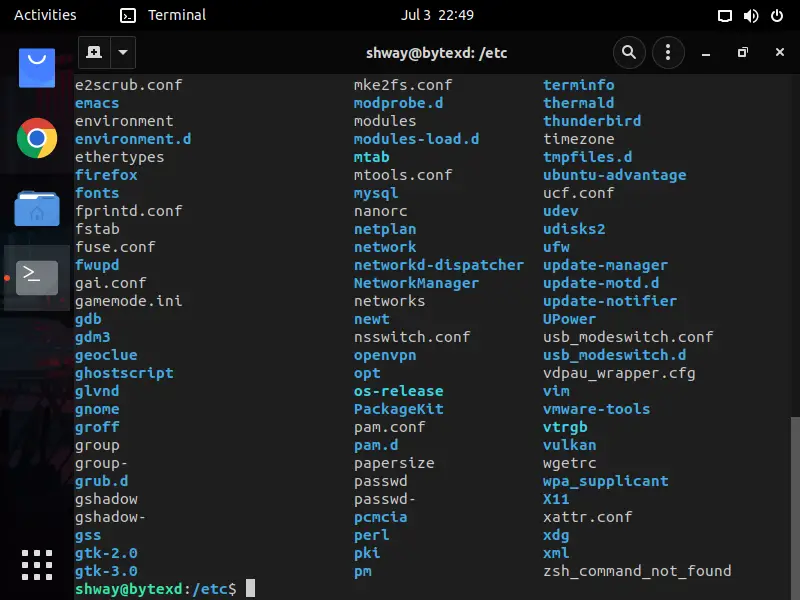
ls -R /proc/sys
The -R parameter performs a recursive listing of subdirectories and files. If we do not use this parameter, the ls command will list ONLY the files and subdirectories in the /proc/sys directory, but not beyond it.
When we press Enter, we see a long output spanning multiple page levels in the console. Let’s navigate to the start to view the output:
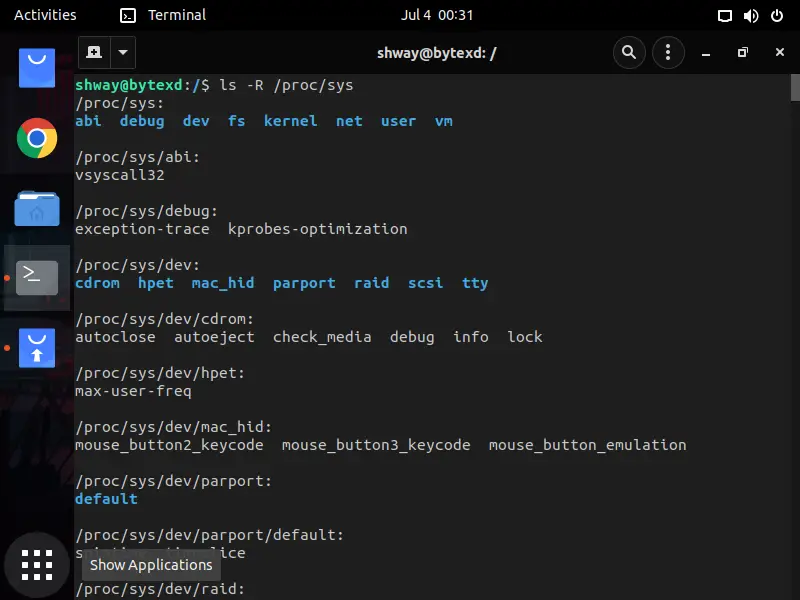
So, we may question the focus on the /proc/sys directory in this tutorial? This is because we can view the kernel parameters and change them depending on our requirements. The /proc/sys directory contains all those files that contain the kernel parameter settings. Any setting that we need to be changed, its relevant file can be found in this directory.
Viewing the Sysctl Command Help
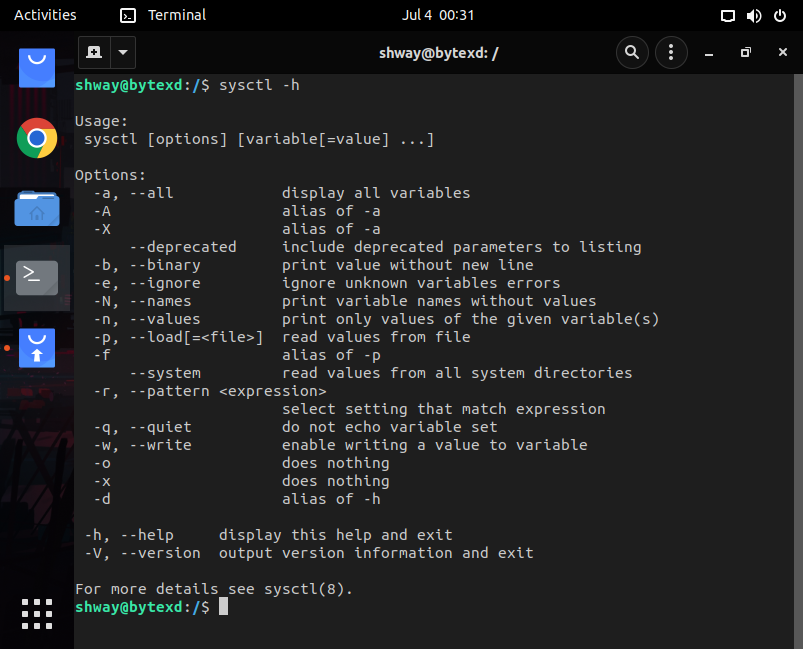
We will be using the sysctl command to deal with the kernel parameters, but first thing first. Let’s view the sysctl command help. To do this, we need to type the following command and press Enter:
sysctl -h
Viewing All Configured Kernel Parameters
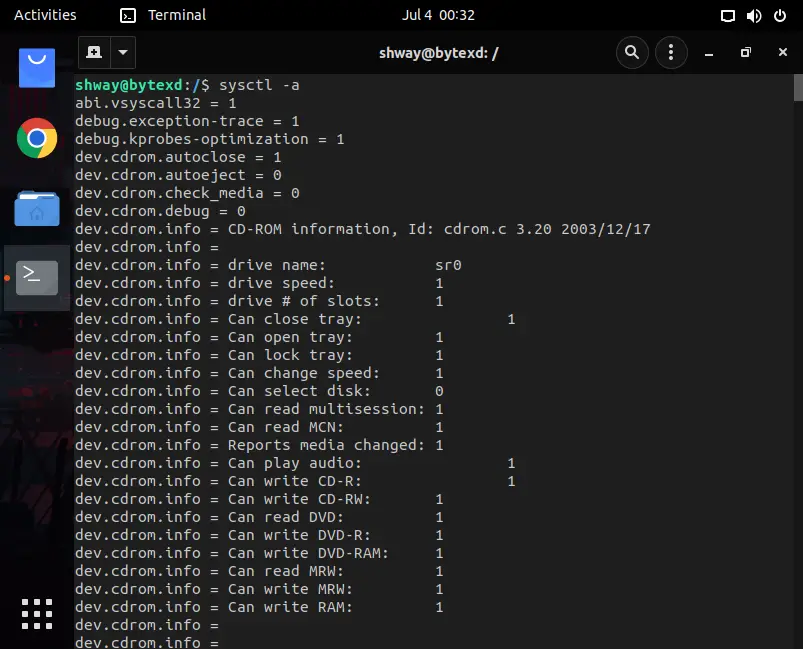
Using the sysctl command, we can view all configured kernel parameters. Let’s run the sysctl command with the -a parameter, which will provide the list of configured kernel parameters. Type the following command and press Enter:
sysctl -a
Notice that the output displays a long list of configured parameters.
- Both -A and -a parameters provide the same output.
- The -X parameter also provides the same output. However, -x does not provide the same output.
- All users in Linux can view the kernel parameters. However, to be able to change any parameter, we need to be the root user.
Viewing a Single Kernel Parameter
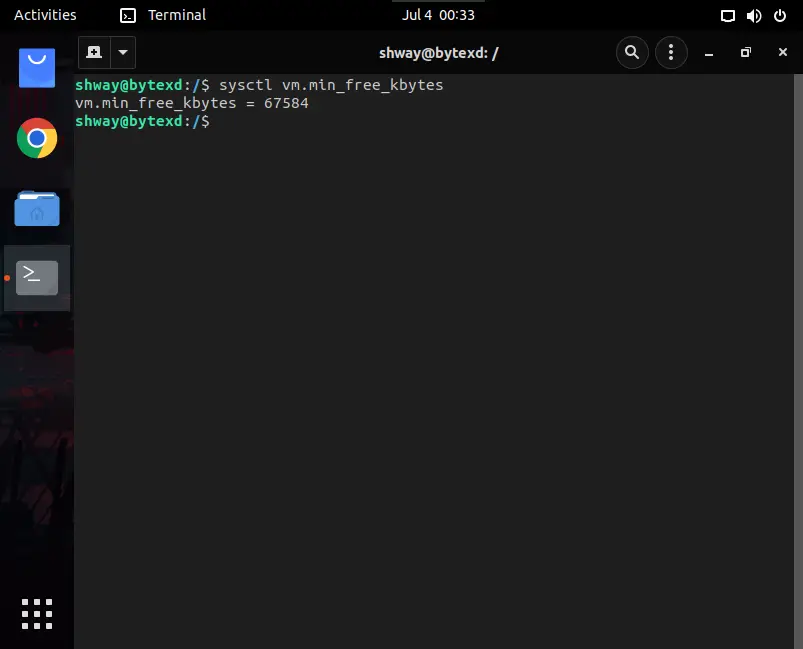
Instead of reading through all parameters, we can find the value of a single configured parameter. We need to know the name of the parameter. Let’s take an example of vm.min_free_kbytes, which makes a specific amount, which is mentioned as the value for the variable, to be instantly available when there is a memory constraint.
The command to view a single parameter is simple. We need to mention the parameter name with the sysctl command. For example:
sysctl vm.min_free_kbytes
Notice that the output displays the value set for the vm.min_free_kbytes parameter.
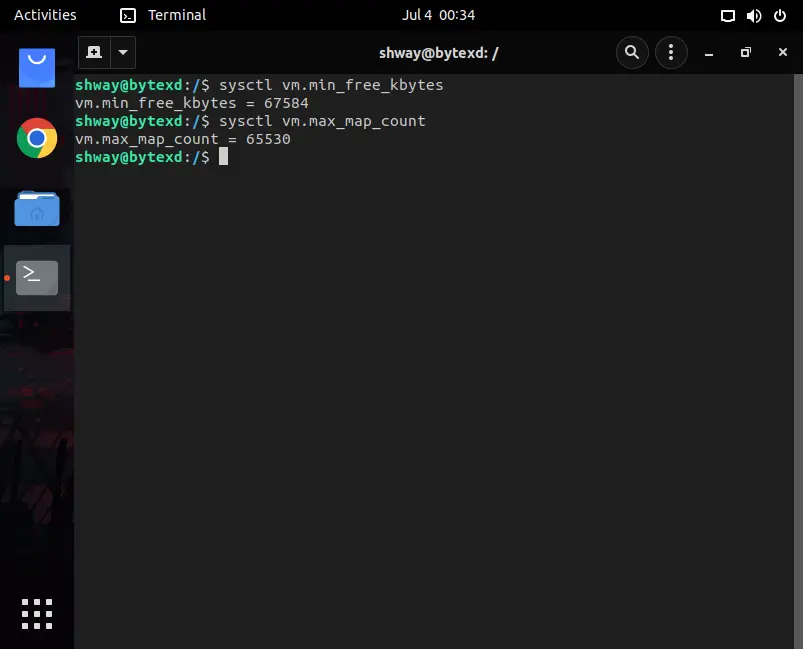
sysctl vm.max_map_count
Notice that the output displays the value set for the vm.max_map_count parameter.
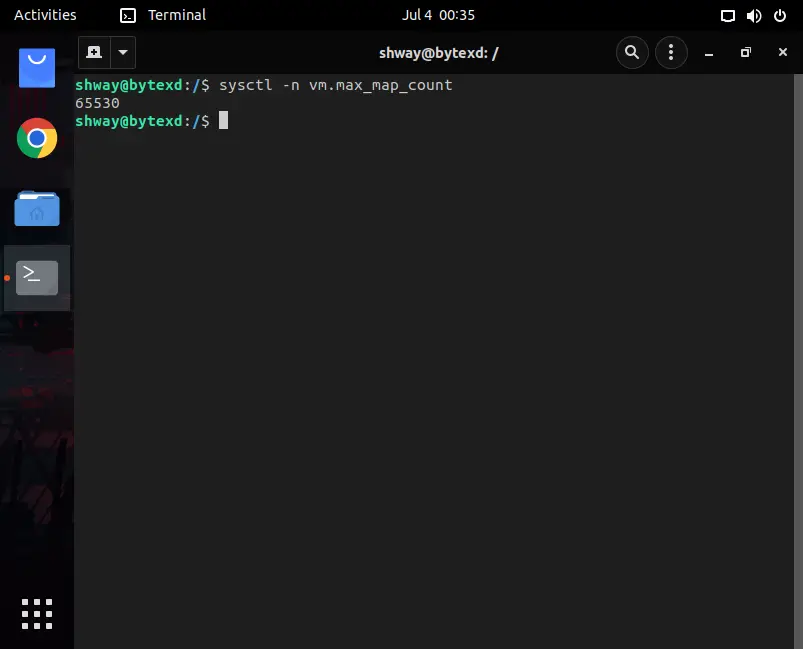
sysctl -n vm.max_map_count
Notice that the output displays only the value that is set for the vm.max_map_count parameter.
Viewing a Specific Set of Parameters
Let’s assume that we do not know the parameter’s name, and we don’t want to scan through the long output generated with the -a parameter. We can still find the parameters that match a specific search string that we define with the sysctl command.
The sysctl command alone cannot filter the parameters to display. We need to combine it with the grep command to filter the output based on our search string.
The command needs to be in two parts:
- The first part contains the sysctl command with the -a parameter.
- The second part contains the grep command with the search string.
Let’s take an example:
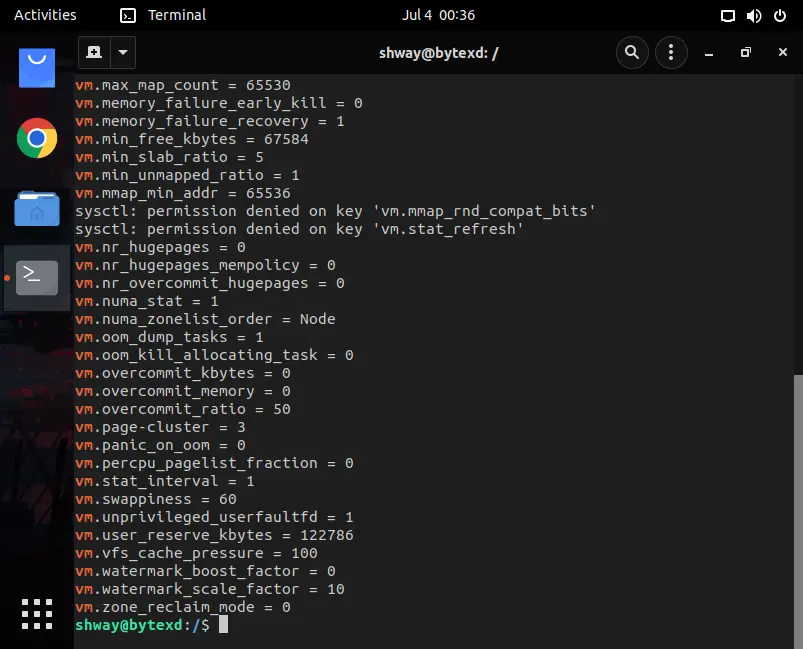
sysctl -a | grep vm
Notice that the output all parameters that contain the search string vm.
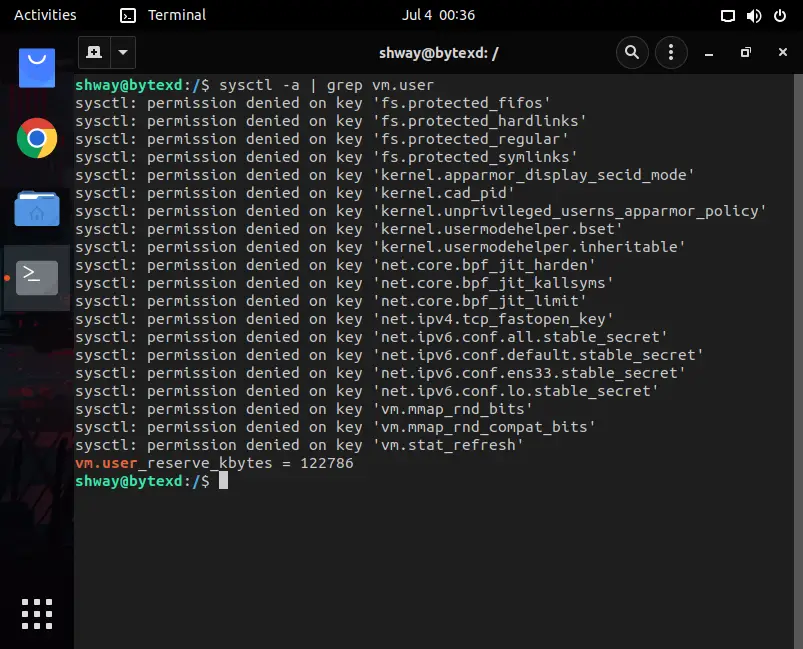
sysctl -a | grep vm.user
Notice that the console displays the output. There are several permissions denied errors and then the actual parameter that we were searching for. The permission denied errors are due to insufficient permissions.
Setting a Parameter’s Value
In this article, we have seen different methods to view the parameters and their values. We have learned to:
- List all parameters
- A single parameter with its value
- Only the value of a parameter
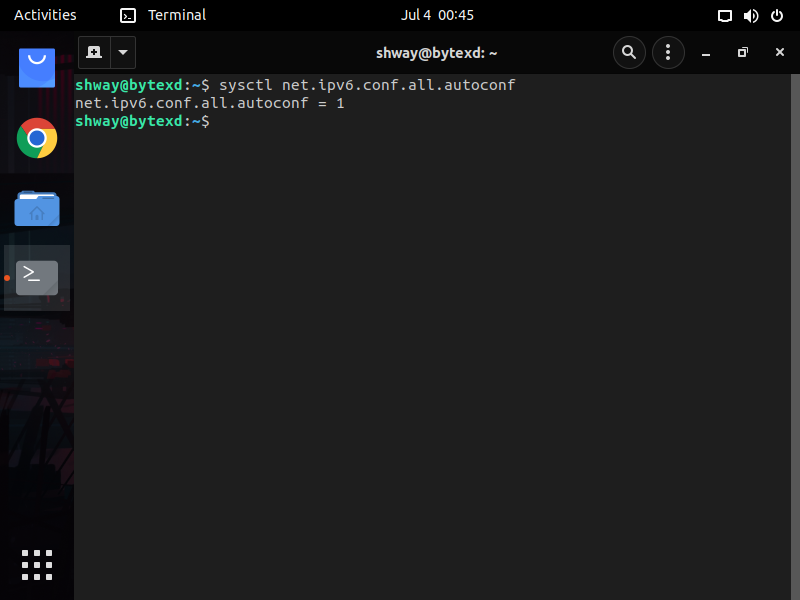
Let’s now focus on setting a value for a parameter. The parameter we’ll use is net.ipv6.conf.autoconf which is currently equal to 1.
A value can be set either temporarily or permanently.
We will first look at a temporary method to set a value. For this method, we will use the -w parameter.
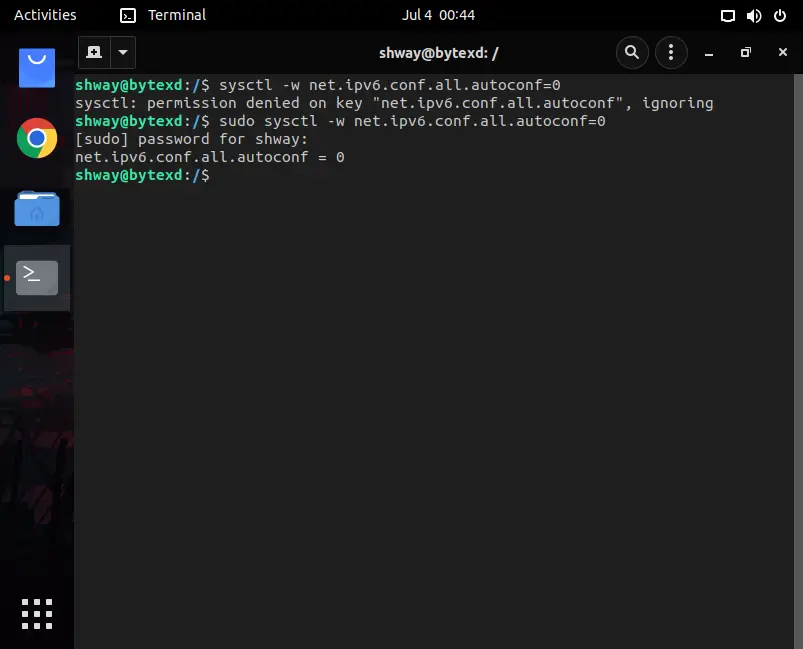
To use sysctl to set the value for a parameter we’ll have to use sudo, otherwise we get permission denied.
Let’s now try the same command with sudo.
sudo sysctl -w net.ipv6.conf.all.autoconf=0
Notice the output this time. It confirms that net.ipv6.conf.all.autoconf has been now set to 0.
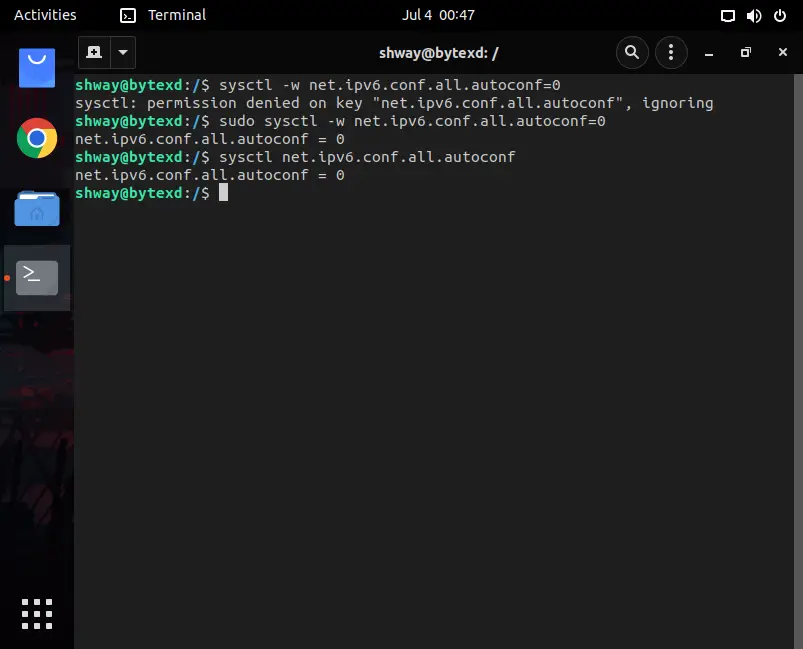
sysctl net.ipv6.conf.all.autoconf
Notice that before we execute the command, this parameter was set to 1. Now, it is set to 0.
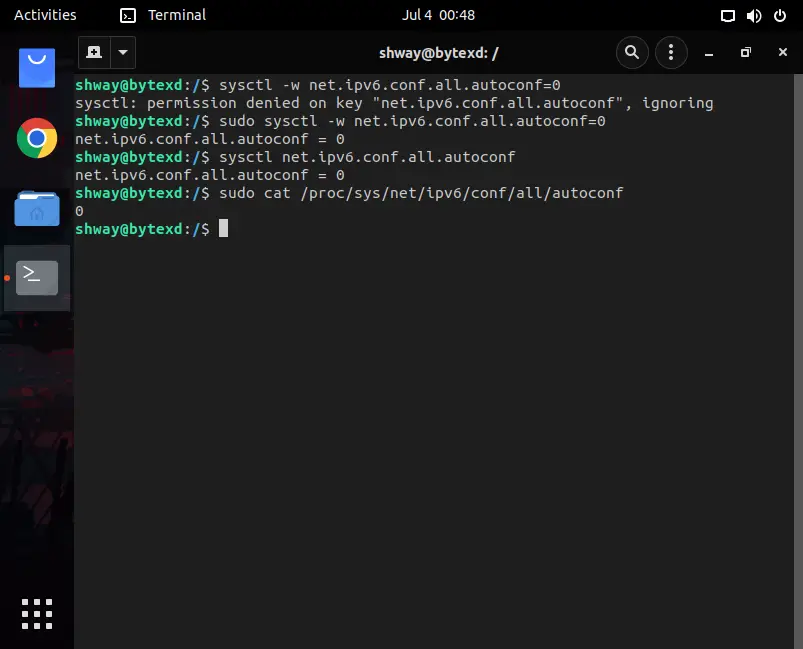
sudo cat /proc/sys/net/ipv6/conf/all/autoconf
Notice that before we execute the command, this parameter was set to 1. Now, it is set to 0.
/etc/sysctl.conf/etc/sysctl.d/99-custom.conf
If these files do not exist, we can create them on our own. One critical point that we have to remember is that we need to open these files with the sudo permissions. If we don’t use sudo, then the file will open in the read-only mode. We can still make changes, but they will not be saved in the same file. While attempting to save the file, we will be prompted to either discard the changes or save the file as a new file. After the changes are saved, they are loaded at the boot time. We can also load the changes immediately, and we will just learn to do that a little later after making the changes.
Let’s go ahead and edit the /etc/sysctl.conf file. Before we edit the file, we can use any text editor. We can use a command line-based editor, such as vi, or use a Graphical User Interface (GUI)-based article, such as gedit. In this tutorial, we are going to use gedit.
Let’s enter the following command at the command line:
sudo gedit /etc/sysctl.conf
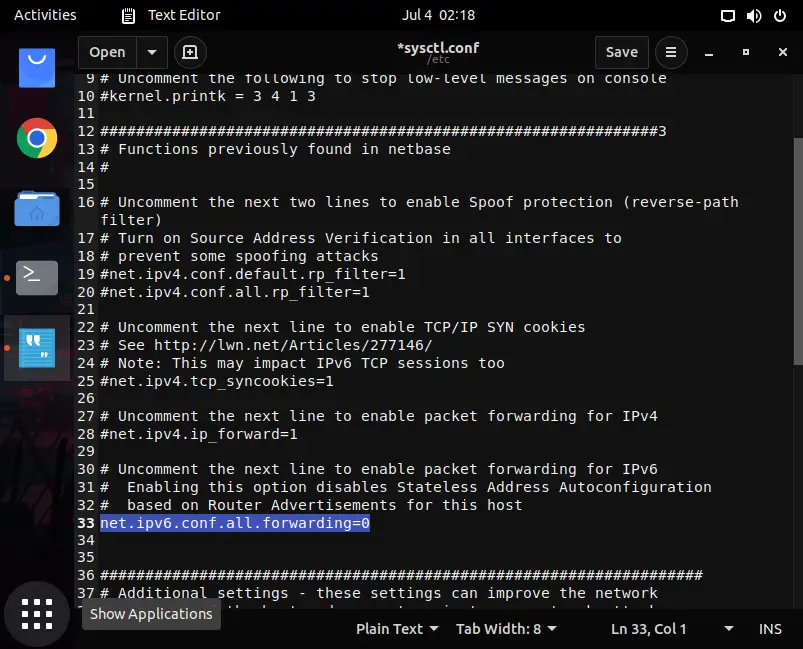
Notice that as we enter the command, the /etc/sysctl.conf file is now opened in gedit.
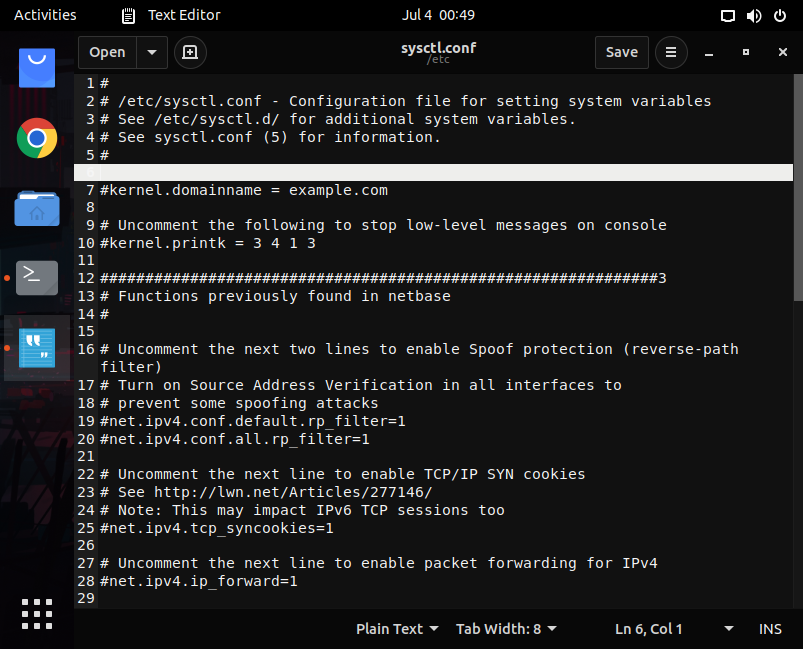
#net.ipv6.conf.all.forwarding=1
We will make changes by removing #, which is used for commenting the entire line, and then changing the value of 1 to 0.
Press Ctrl + C to save the file and then close it.
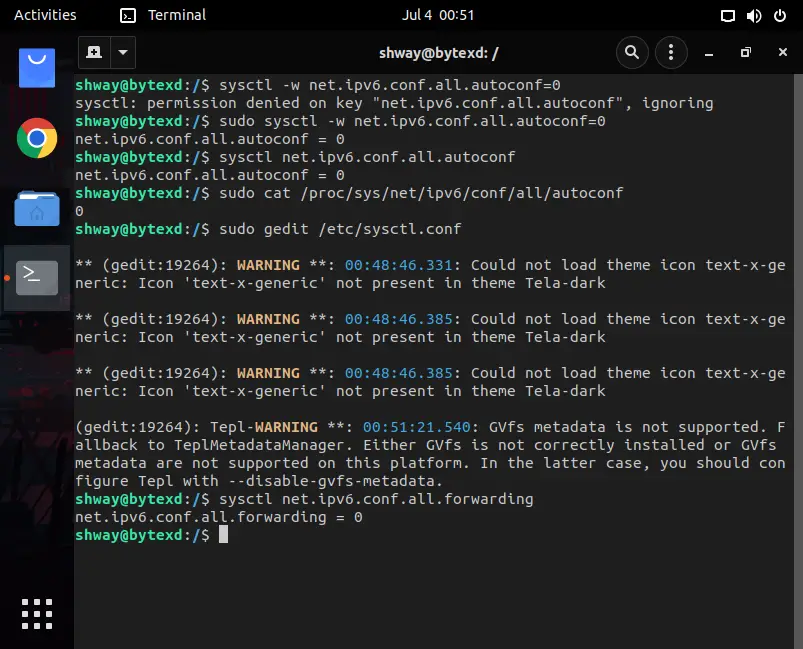
sysctl net.ipv6.conf.all.forwarding
Notice that the value is now set to 0.
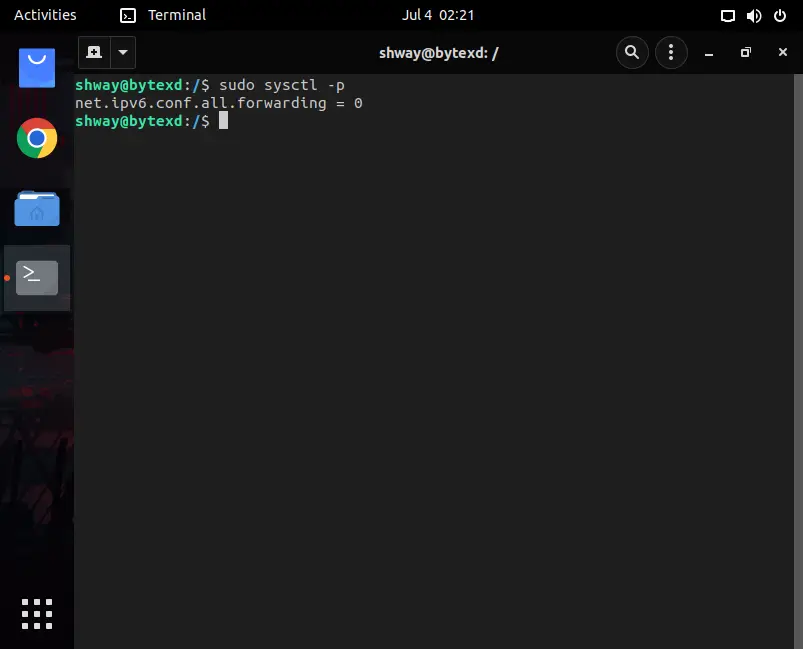
sudo sysctl -p
The parameter’s name is also displayed along with its value, which is now set to 0.
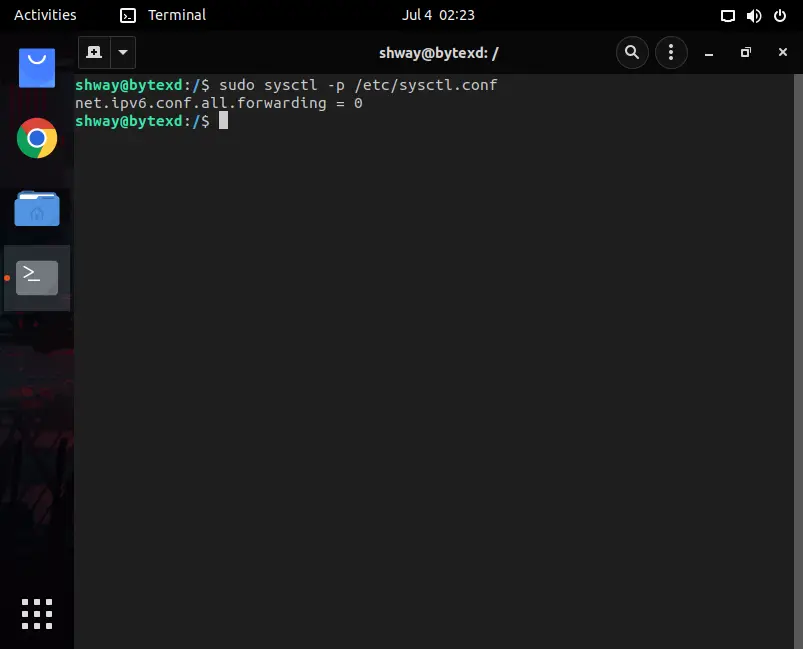
sudo sysctl -p /etc/sysctl.conf
The parameter’s name is also displayed along with its value, which is now set to 0.
Conclusion
Well done. Hopefully, this tutorial helped us understand the fundamentals of the sysctl command in Ubuntu 20.x. If we encountered any issues, please feel free to leave a comment or contact us, and we’ll get back to we as soon as we can.
