A network comprises different types of traffic, including legitimate and malicious traffic. A network can also have various types of issues. To handle the network traffic-related issues, we can use the tcpdump command.
The tcpdump tool can capture traffic from various protocols, such as TCP, UDP, ARP, and ICMP. It can help us monitor, capture, and analyze network traffic. It can help us filter the traffic, which helps to speed up the traffic analysis.
It can help to determine the type of traffic floating on a network and help us determine the source of the problem that may have occurred.
Some other activities that we can perform are:
- Capture network packets from a specific network interface
- Capture all or a specific number of packets
- View all network interfaces on a system
- Save packets into a .pcap file for later review
- Read the .pcap file
- Capture packets for a specific protocol, such as TCP
In this tutorial, we will learn to use the tcpdump command through examples and beginner friendly explanations.
Table of Contents
Using the tcpdump Command
The tcpdump command is used in the Linux and UNIX environments. In several distributions, we need to install tcpdump. In other distributions like Ubuntu, it is available by default.
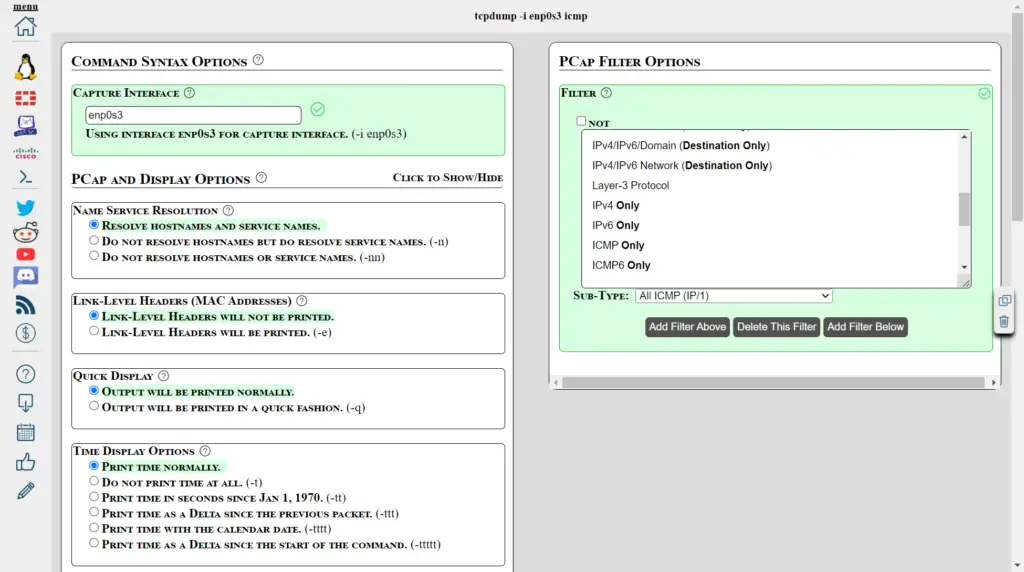
You can verify its existence by executing the command to check the version:
tcpdump --version
The output displays the version of the tcpdump command. If this command exists in the Linux system, it will display the version. If it does not, then there is a command not found error. However, we get version 4.9.3, which means that it is installed by default.
Capture Network Packets from a Specific Network Interface
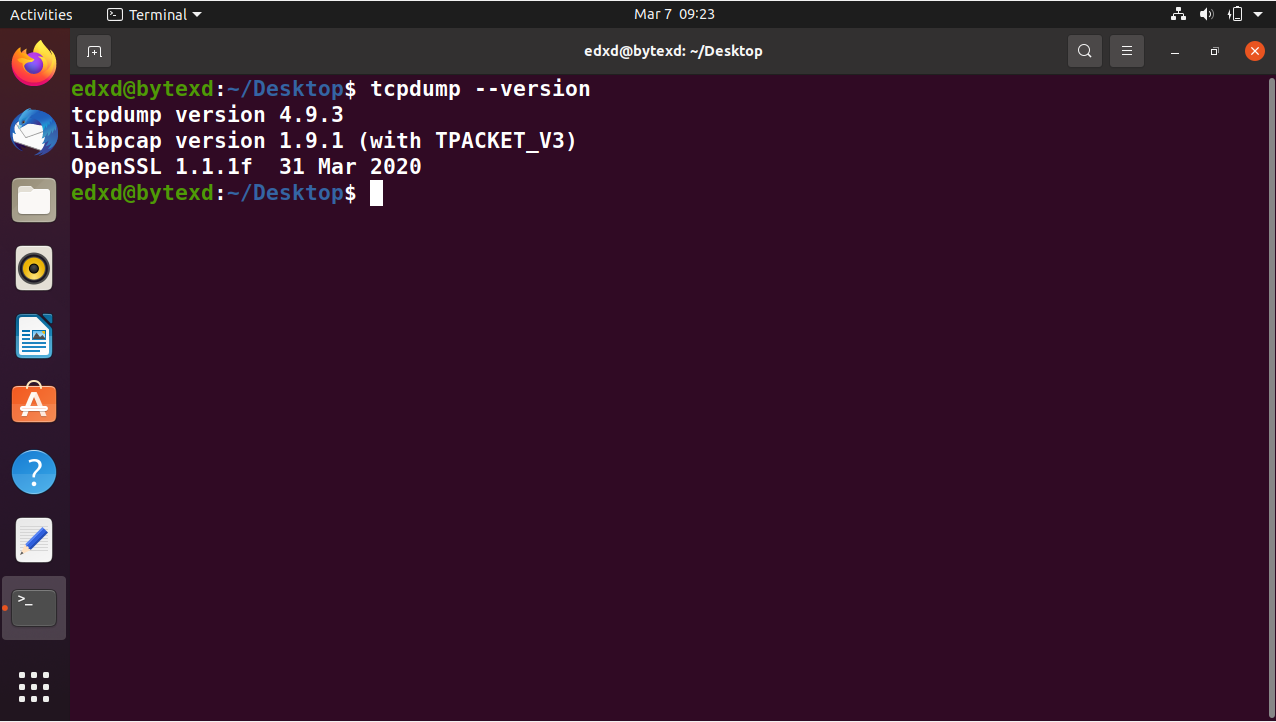
If you do not specify an interface, the tcpdump command, by default, will capture packets using all available network interfaces. However, we will specify the network interface with the -i parameter.
tcpdump -i enp0s3
Notice that there is an error. You are using a non-administrative account. To execute the tcpdump command, we must have administrative privileges or use the sudo command.
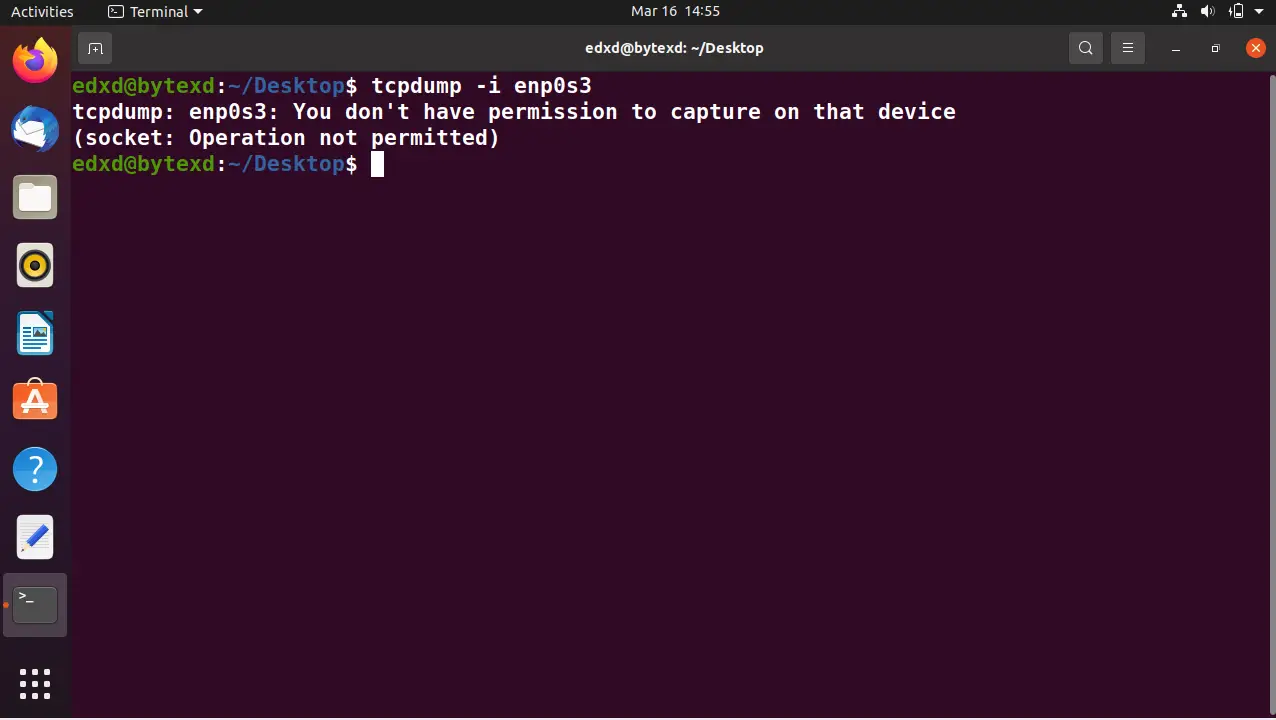
Let’s now try it with the sudo command.
sudo tcpdump -i enp0s3
If we have used the sudo command in the last 15 minutes, we will not be prompted with the password to execute the sudo command. After we have executed the command, the packet capture starts immediately.
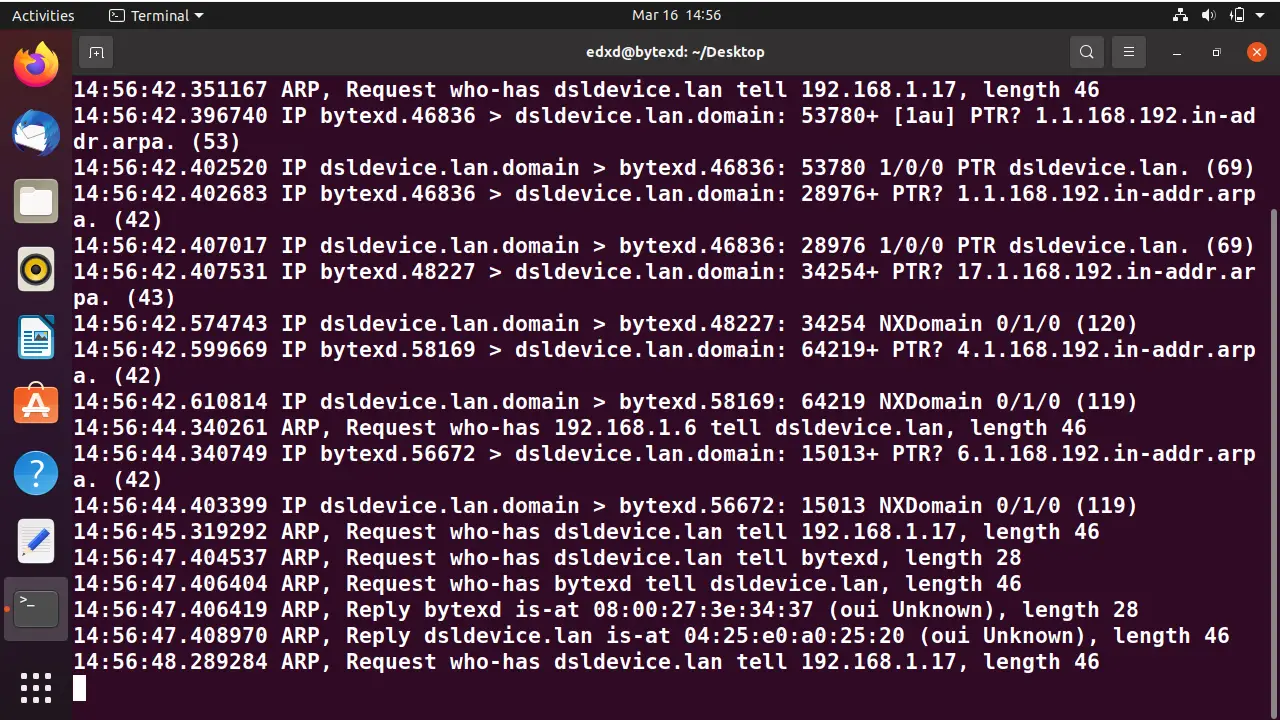
For the time being, we can terminate the tcpdump command by pressing Ctrl + C command. Notice that there were 28 packets captured.
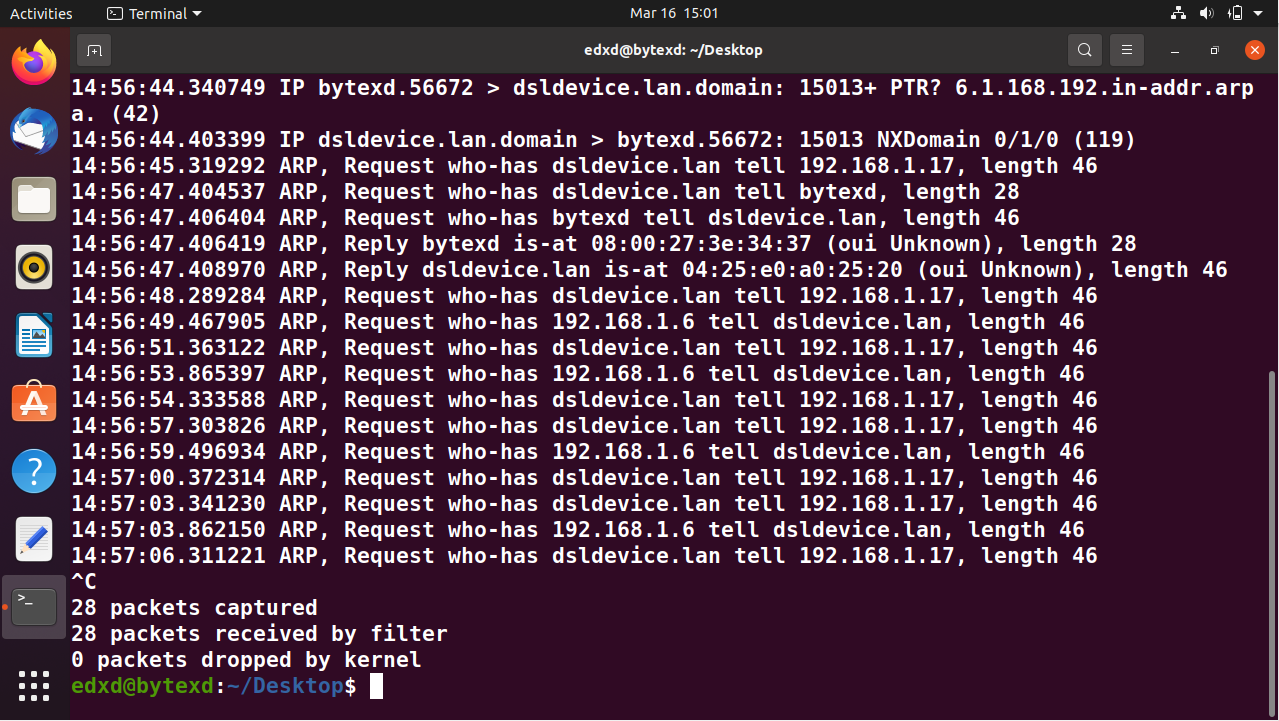
Capture all or Specific Number of Packets
By default, if we use a specific network interface, the tcpdump command will start capturing packets, which will continue until you manually terminate it. An alternate method is to capture only a limited number of packets. For example, we want to capture the 10 packets and then terminate the command automatically. We can specify the number of packets with the -c parameter. To do this, let’s enter the following command:
sudo tcpdump -c 10 -i enp0s3
The tcpdump command starts, captures 10 packets, and then terminates automatically.

View all Network Interfaces on a System
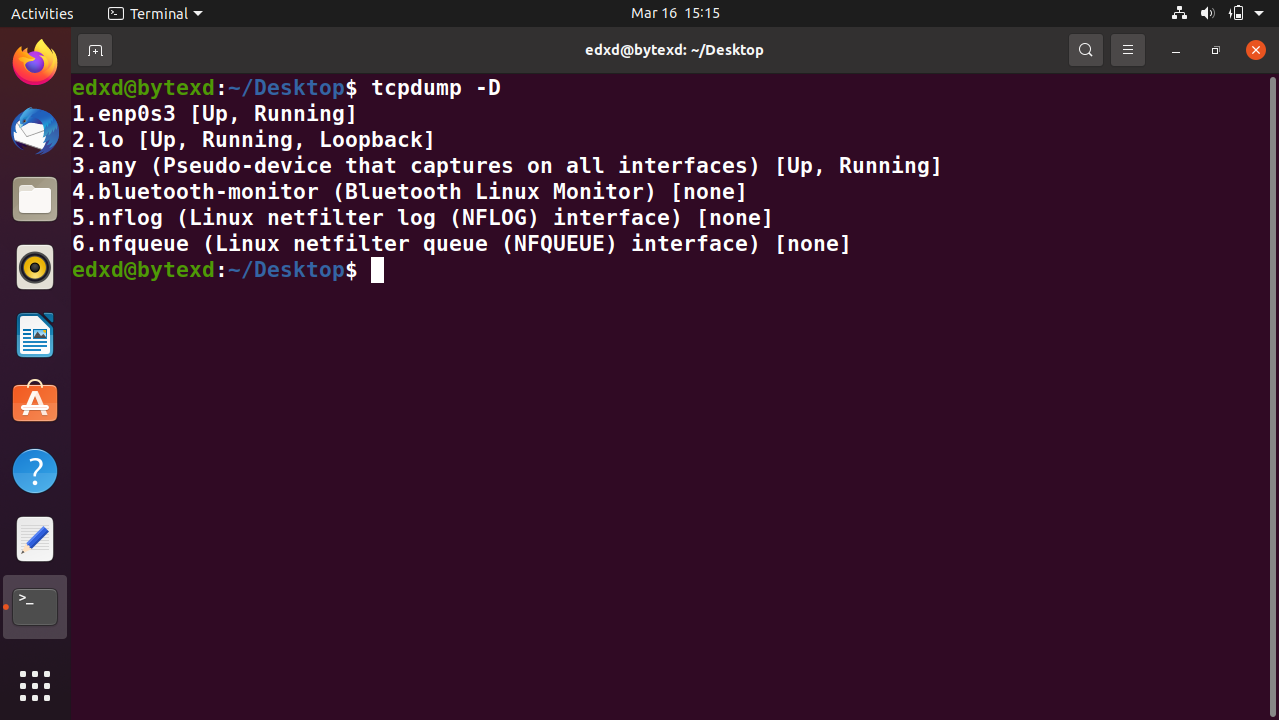
A system can have several interfaces listed with the -D parameter.
tcpdump -D
Notice that the tcpdump command lists all the available interfaces. The output also includes enp0s3 and lo interfaces.
Save Packets into a .pcap File for Later Review
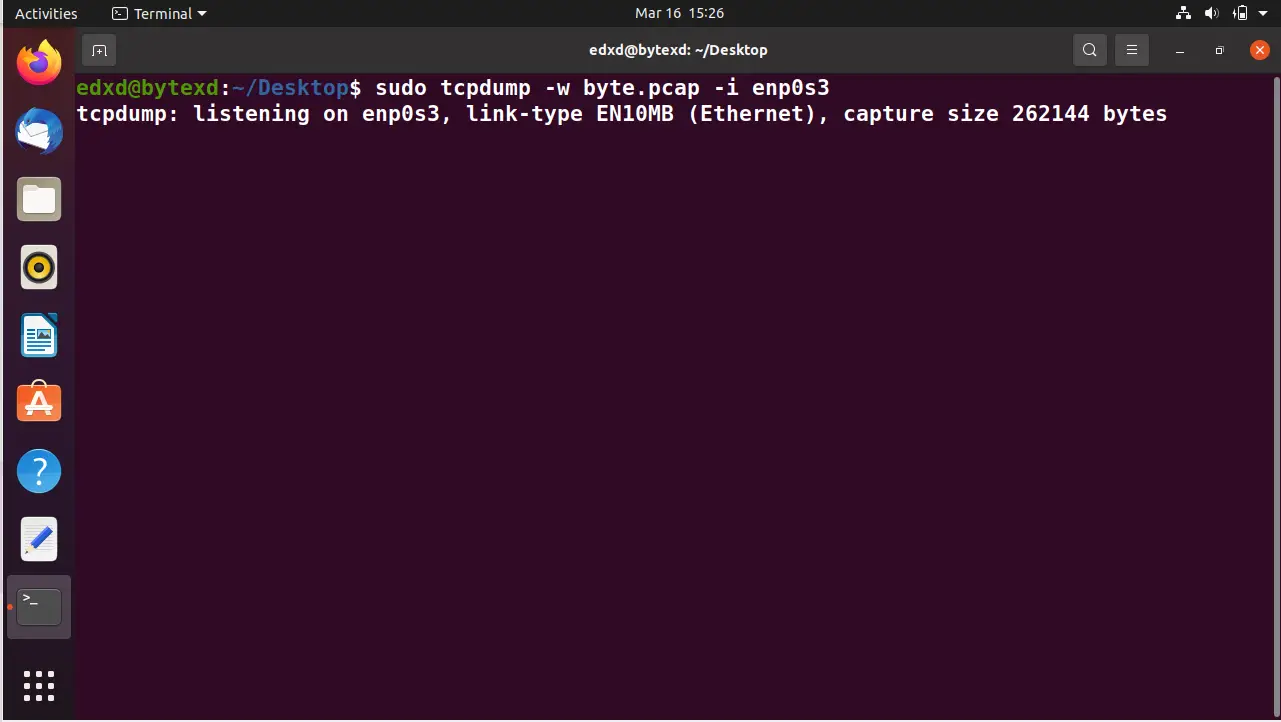
The tcpdump command captures packets in real-time. However, it may always be not possible to review or analyze the packets in real-time. You can capture the packets into a file and save the file for review later to solve this problem. To save the packets in a file, we need to use the -w parameter.
sudo tcpdump -w byte.pcap -i enp0s3
Notice that the packet capturing is not being displayed on the screen.
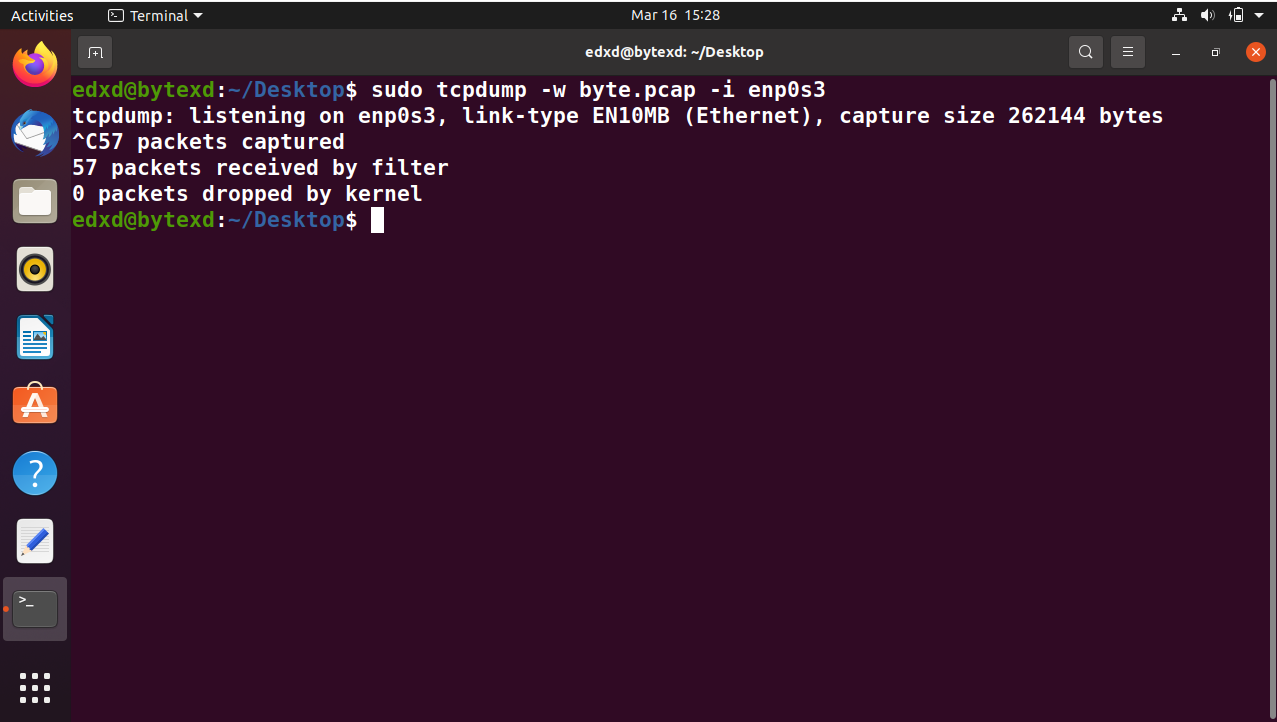
For the time being, we can terminate the tcpdump command by pressing Ctrl + C command. Notice that there were 57 packets captured.
Read the .pcap file
After we have saved the packet capture in the byte.pcap file, we can now access it for reading. To do this, we need to use the -r parameter. Enter the following command:
sudo tcpdump -r byte.pcap
Notice that we did not specify the interface this time because we are reading the contents from a file.

Capture Packets for a Specific Protocol, such as TCP
By default, tcpdump will capture all types of packets. However, we can filter the packet capture to a specific protocol. For example, we can filter and capture only the TCP packets. We need to use the interface and specify the protocol name, TCP.
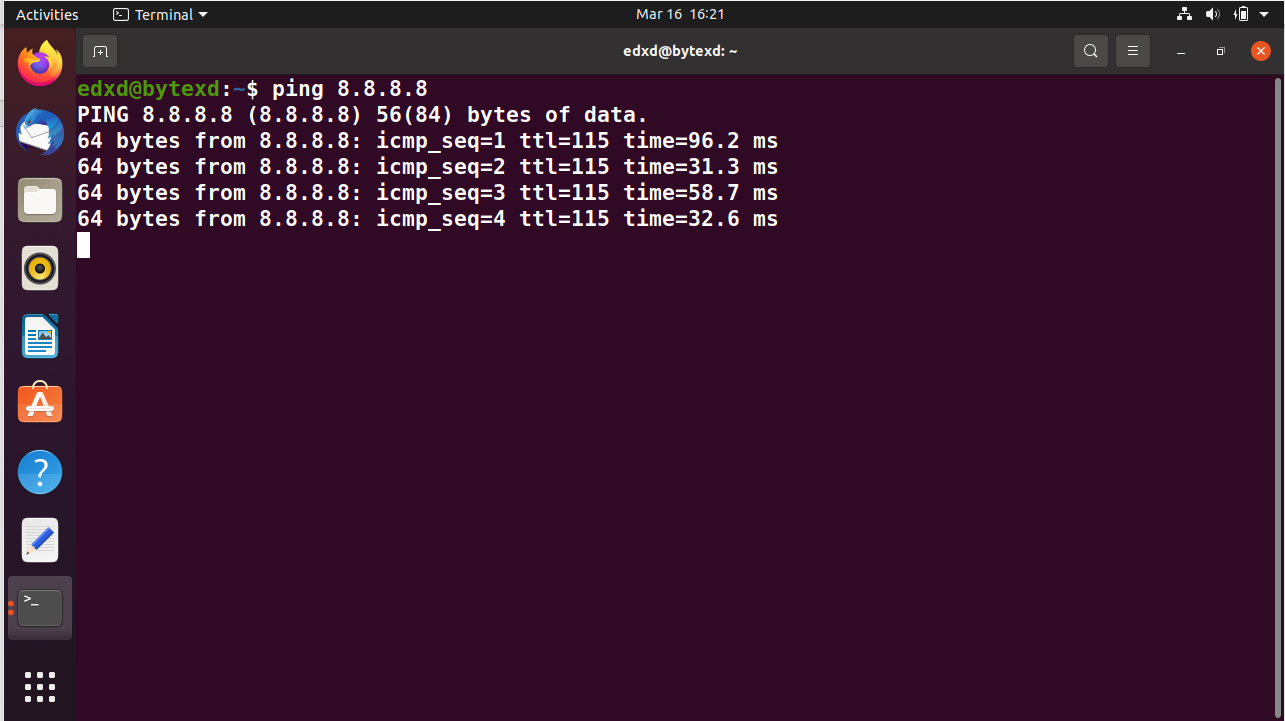
Let’s try capturing the ICMP packets. We will open a new terminal window and ping Google’s DNS server, 8.8.8.8. Then, we will capture the same packets using tcpdump.
Open a new terminal window and enter the following ping command:
ping 8.8.8.8
Notice that the ping command starts.
Let’s switch over to the previous terminal window and execute the following command:
sudo tcpdump -i enp0s3 icmp
Notice that the packet capture for ICMP starts.
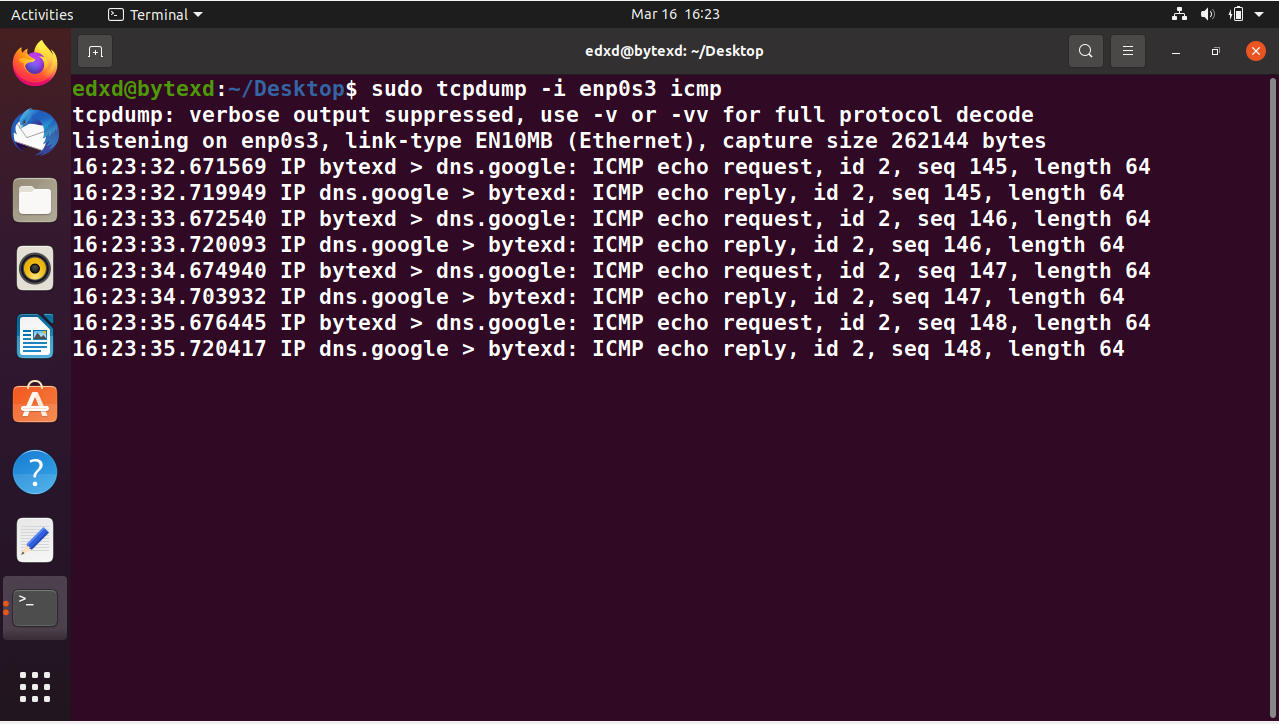
The packet capture for ICMP will continue as long as we keep the ping running. When we switch over to the terminal window with the ping command, we press Ctrl + C to terminate it. The moment we terminate it and switch to the previous terminal window, we will see the tcpdump command in a pause mode. It is expecting more ICMP traffic, which is no longer there.

There are various other parameters that you can use with the tcpdump command. For example, you can use the port parameter to capture port-specific traffic. You need to provide the port number as an argument. You can also capture the traffic from a source IP address by using the src parameter and the IP address. It will capture all traffic generated from the source IP address. Similarly, you can also capture the traffic meant for a specific destination by using the dst parameter. You need to pass the destination IP address to the dst parameter as an argument.
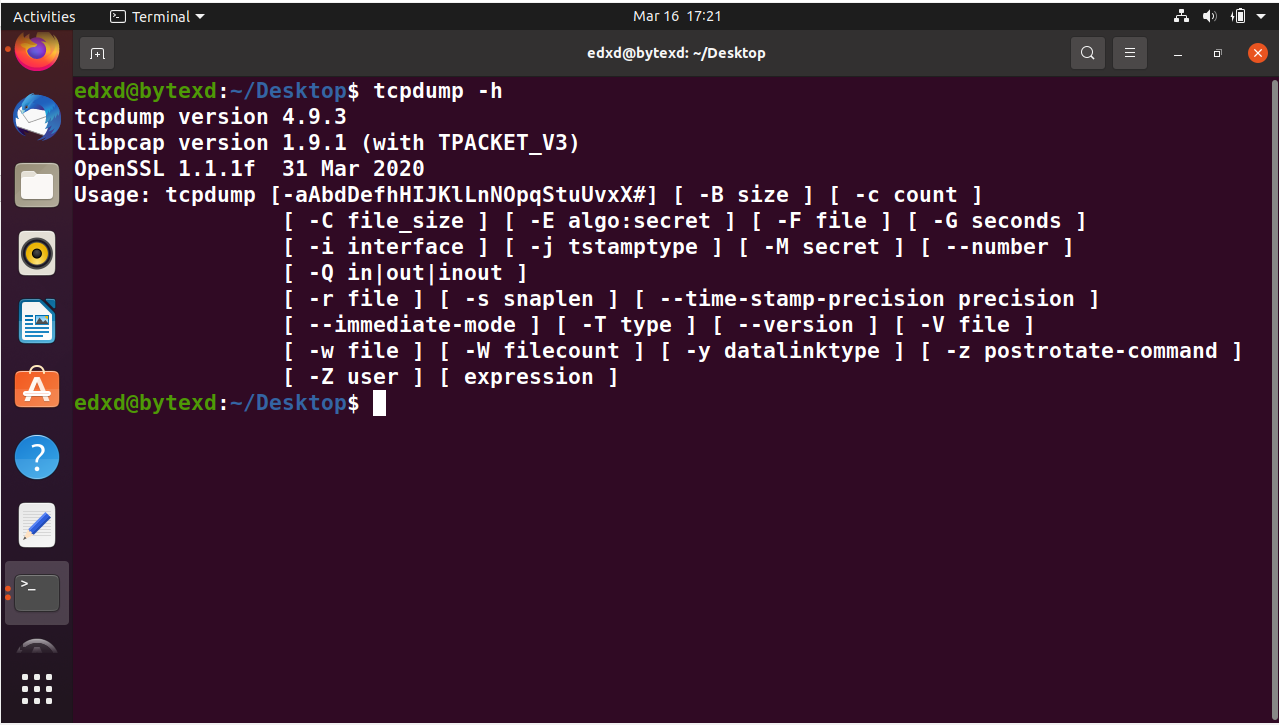
To get more information on tcpdump, we can always get help by using the -h parameter in the following manner:
tcpdump -h
The output displays the list of parameters that can be used with the tcpdump command.
Conclusion
Well done. Hopefully, this tutorial helped you learn to use the tcpdump command. If you encountered any issues, please feel free to leave a comment, and we’ll get back to we as soon as we can.
