Knowing how to write to a CSV file in Python is essential for handling excel-related files and automating repetitive tasks. This tutorial shows you how to write to CSV file with (A) local data and (B) data scraped from a third-party website.
Let’s get started.
How to Read from and Write to a CSV File
The the csv library simplifies writing to and reading from a CSV file. The library has writer() and reader() methods for writing to and reading from a CSV file, respectively.
Assume we want to save the following employees list to a CSV file.
employees = [
    {'username': 'Lorem', 'email': 'loremipsum@company.com', 'role': 'sys admin'},
    {'username': 'Jane', 'email': 'janedoe@gmail.com', 'role': 'UX developer'},
    {'username': 'Sam', 'email': 'samsmith@companyz.net', 'role': 'Db admin'}
]
We can do that using these steps:
Steps to Write to a CSV File
Step 1: Import the CSV Library
import csv
Step 2: Open a CSV File for Writing
Writing or reading a file using Python starts by opening the file. You can open the file with (with keyword) or without a context manager.
The benefit of opening a file using a context manager is that a context manager automatically closes the opened file. That prevents memory leaks that could arise when you forget to close an opened file. Also, a context manager handles most file reading or writing exceptions.
All related actions must be nested inside the block if you decide to use a context manager. That is why handling file objects without a context manager is sometimes more convenient.
file = open('users.csv', 'w')
We open the 'users.csv' file for writing and store the opened reference in the file variable. The 'w' after the file path denotes that we opened the file for writing. Here is a summary of the common modes.
'r': read.'w‘: write.'a': append.'r+': read and write.'rb': read bytes.
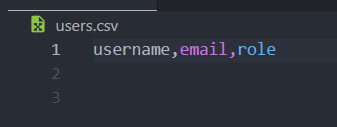
Note: opening a file creates the file. For example, the users.py file now exists.
Step 3: Create a CSV Writer Instance
writer = csv.writer(file)
We then create a CSV writer instance for writing data to the CSV file.
Step 4: Write the Fieldnames
When writing data to a CSV file, you start by describing the table headings. The table headings are often referred to as fieldnames.
writer.writerow(['username', 'email', 'role'])
Using the instance’s writerow() method, we write the (iterable) fieldnames to opened CSV file.
Step 5: Write Rows to the CSV File
for employee in employees:
    username = employee['username']
    email = employee['email']
    role = employee['role']

    writer.writerow([username, email, role])
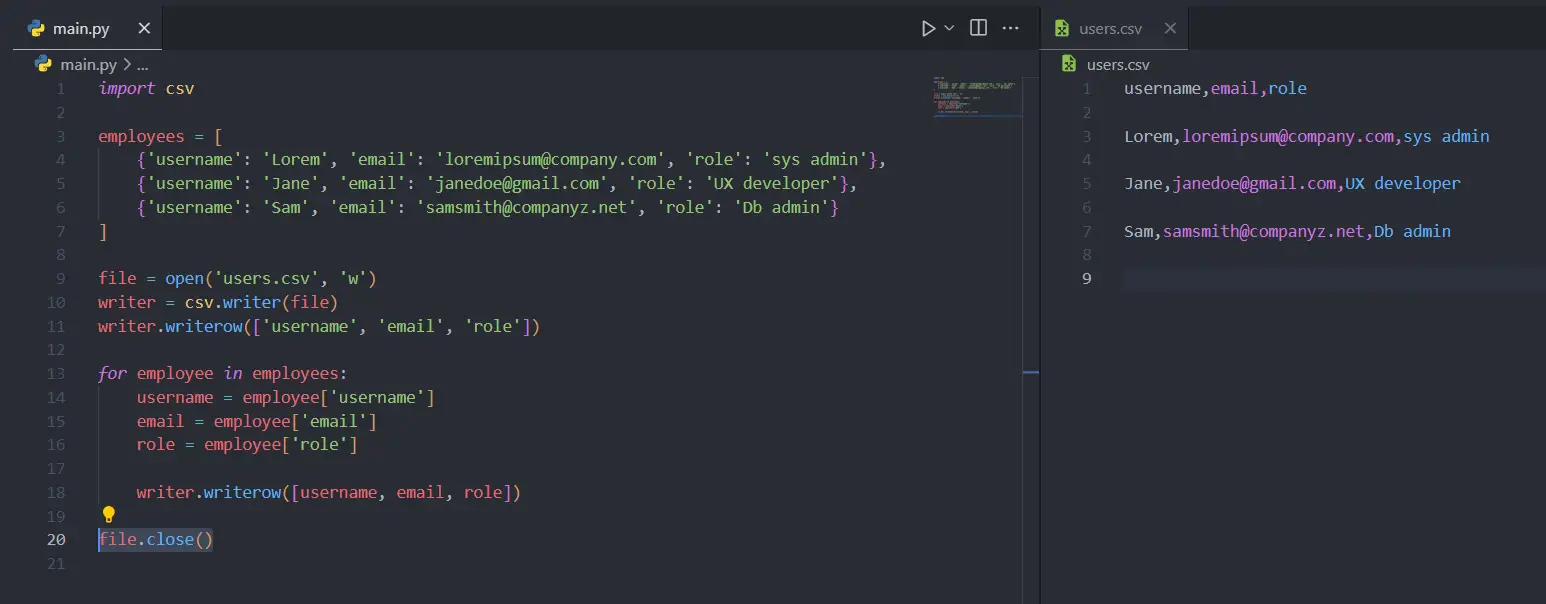
We then loop through the employees list and write each dictionary to the CSV file. Lastly, we can close the opened file before running the script file.
file.close()
The details were appended to the CSV file.
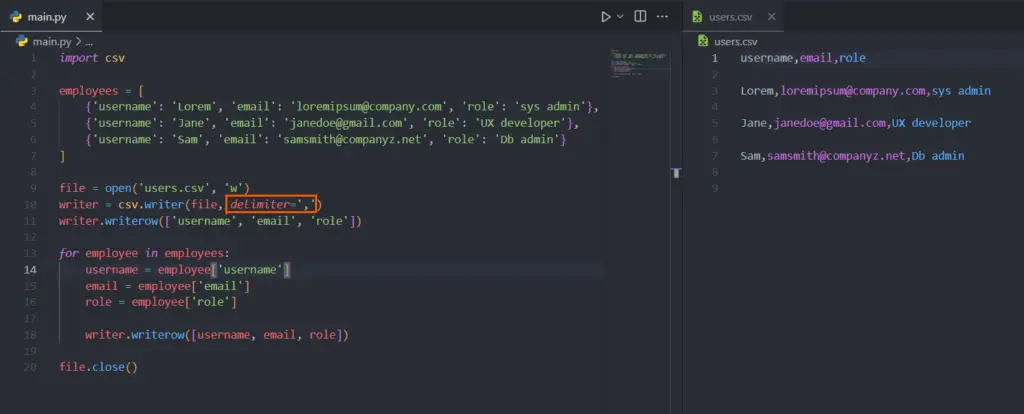
We could control the structure of the CSV file using optional parameters like delimiter.
Using Common Delimiters
The delimiter determines the structure of the CSV file. The most used delimiters are:
Commas ','
Comma is the default delimiter.
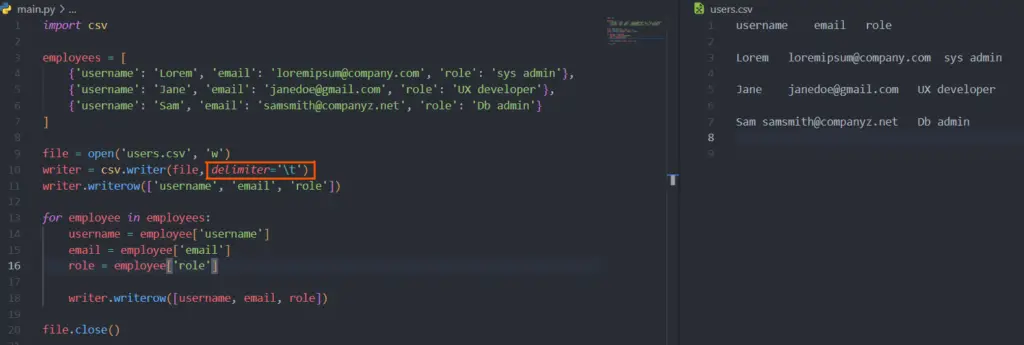
Tabs '\t'
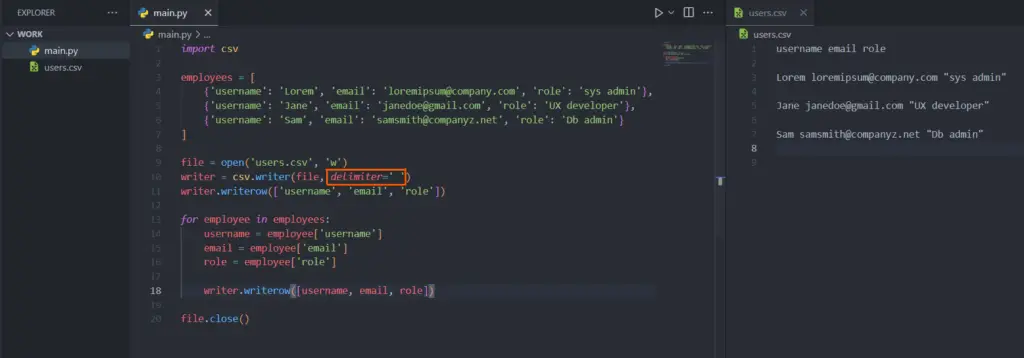
Empty Strings ' '
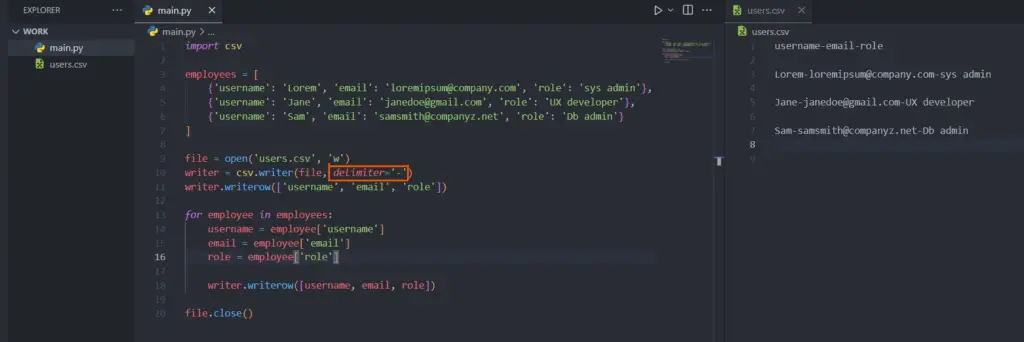
Hyphens and dashes '-'
It would be best to use the same delimiter for reading as in the saved file. Otherwise, you may a key error KeyError.
Using DictReader and DictWriter methods
You can also write to and read from the CSV file using DictWriter() and DictReader() methods.
The main advantage of the DictWriter() and DictReader() over writer() and reader() methods is that they give you more control over the input and output. For example, you can choose to read or write the fieldnames.
Let’s read and save the usernames and emails in another CSV file using DictReader() and DictWriter() methods.
import csv

with open('users.csv', 'r') as rf:
    reader = csv.DictReader(rf, delimiter='\t')

    with open('users_copy.csv', 'w') as wf:
        headings = ['username', 'email']
        writer = csv.DictWriter(wf, fieldnames=headings, delimiter=',')
        # include fieldnames
        writer.writeheader()

        for line in reader:
            # delete the 'role' fieldname because we don't need it.
            del line['role']
            writer.writerow(line)

Before we wrap up this tutorial, let me show you a practical way to get external data and write it to a CSV file.
Saving Externally Scraped Data
Let’s scrape the kitchenware from the Vue Store front website and save it to a CSV file.
"""
Install requests, bs4, and lxml => pip3 install requests beautifulsoup4 lxml
requests: make HTTP requests
bs4: scrape details
lxml: parse HTML
"""
# import the libraries
import requests
from bs4 import BeautifulSoup
import csv

# request the page
req = requests.get('https://demo.vuestorefront.io/c/kitchen').text

# parse the HTML using 'lxml' parser
soup = BeautifulSoup(req, 'lxml')

# Open CSV file for writing
csv_file = open('kitchenware.csv', 'w')
# instantiate a writer
csv_writer = csv.writer(csv_file)
# writer fieldnames
csv_writer.writerow(['image_url', 'title', 'price'])

# grab the target elements
products = soup.find_all('div', class_='sf-product-card products__product-card')

# loop through the elements, find and clean the image, title, and price
for product in products:

    cover_image =  product.find('img', class_='sf-image sf-image-loaded')['src']
    title = product.find('span', class_='sf-product-card__title').text.strip()
    price =  product.find('span', class_='sf-price__regular').text.strip()

    # Append each chuck to the CSV file
    csv_writer.writerow([cover_image, title, price])

# don't forget to close the opened file
csv_file.close()
image_url,title,price

https://cdn11.bigcommerce.com/s-s4zoaccduv/images/stencil/250x250/products/97/325/tieredbasket.1646132423.jpg,[Sample] Tiered Wire Basket,$119.21

https://cdn11.bigcommerce.com/s-s4zoaccduv/images/stencil/250x250/products/94/314/oakcheesegrater2.1646132423.jpg,[Sample] Oak Cheese Grater,$34.73

https://cdn11.bigcommerce.com/s-s4zoaccduv/images/stencil/250x250/products/93/313/leparfaitmedium1.1646132423.jpg,[Sample] 1 L Le Parfait Jar,$6.96

https://cdn11.bigcommerce.com/s-s4zoaccduv/images/stencil/250x250/products/88/292/3cupchemex5.1646132423.jpg,[Sample] Chemex Coffeemaker 3 Cup,$49.19

https://cdn11.bigcommerce.com/s-s4zoaccduv/images/stencil/250x250/products/86/286/ablebrewingsystem4.1646132423.jpg,[Sample] Able Brewing System,$223.61
Summary
Congratulations on reaching this far! Now you know how to handle the filesystem, write to and read from files. Most importantly, you can work with CSV files with local and remotely fetched data.
