What is IonCube?
IonCube is a code encryption tool, created in 2003. It was introduced to protect codes written in PHP language so that an unlicensed user could not view, change or run the file. It secures the file through the encryption/decryption method.
Table of Contents
Pre-Requisites
Firstly, we need to have a few things to get started on IonCube loader installation. We will need the following:
- Ubuntu 20.4 OS
- PHP installed
Note: PHP is not pre-installed in Ubuntu 20.4, but it does have a repository of php7.4 as of now.
PHP Installation
To install PHP, type the following command on your terminal:
sudo apt update
Now we will install PHP. We first updated our system so that our repositories are up to date.
sudo apt install php
Now to confirm that PHP is installed successfully, type the following command:
php -version

Downloading IonCube
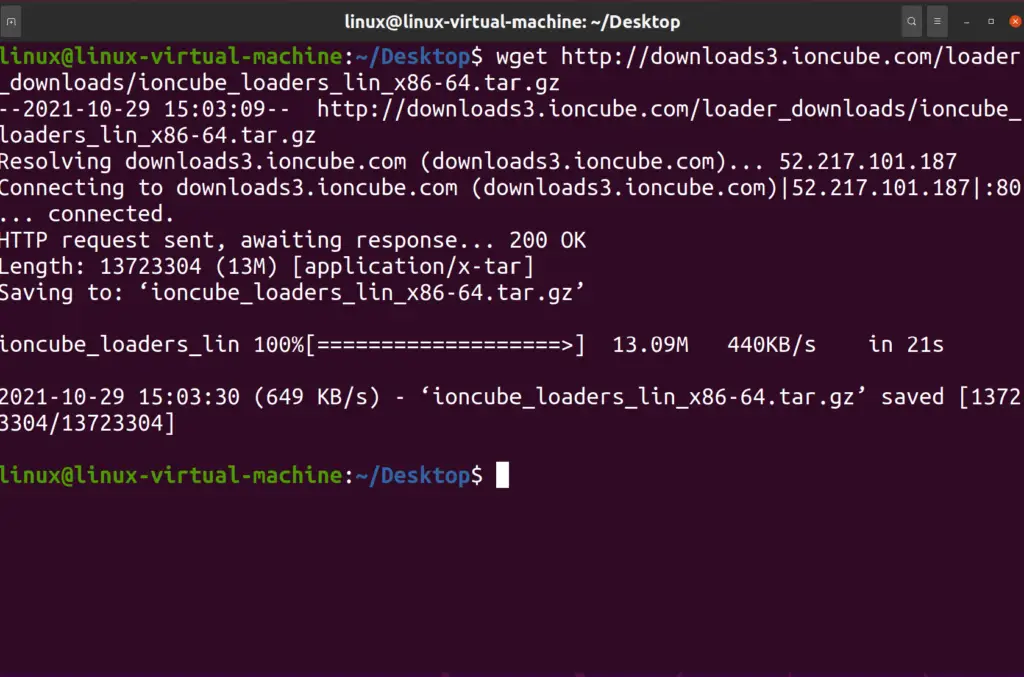
To download the ionCube loader, type the following command on the terminal:
wget http://downloads3.ioncube.com/loader_downloads/ioncube_loaders_lin_x86-64.tar.gz
Your output will look something like this
Extracting tar file
The file that we have downloaded is in tar format. Now to proceed further, we need first to extract the file.
To extract the file, type the following command:
sudo tar xzf ioncube_loaders_lin_x86-64.tar.gz -C /usr/local

You can verify that the file has been unzipped by typing the following command:
ls /usr/local/ioncube
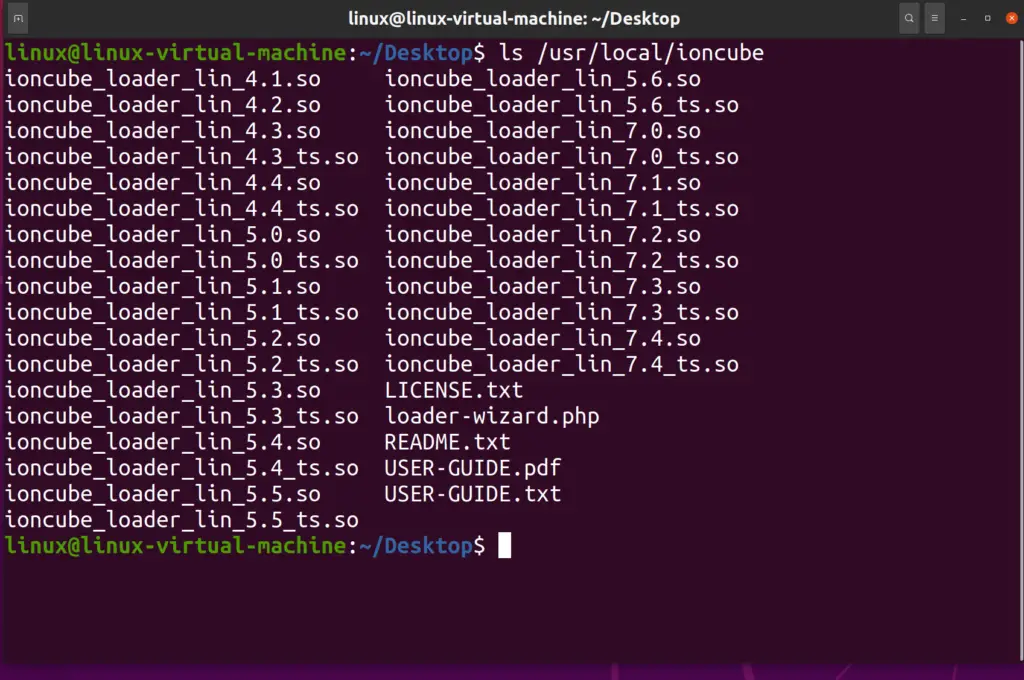
You can see that all the versions of the ionCube loader are there. You only need the understanding that you have PHP installed. In my case, it will be php7.4
Furthermore, now that ionCube loader has been installed, you don’t need the zip file anymore so that you can remove it by the following command:
sudo rm <file path>
In my case, that was /home/linux/Desktop/ioncube_loaders_lin_x86-64.tar.gz

PHP Configuration File
It is important to note that you only have to add an ionCube loader for the specific PHP configuration file. However, you can add an ionCube loader in all the configuration files if you want to.
If you want to be specific, you can check which PHP configuration is working by typing the following command:
php -i | grep php.ini
By default, PHP configuration files are stored in the following directories; Your output will look something like this

- /etc/php/7.4/cli/php.ini (For PHP CLI)
- /etc/php/7.4/apache2/php.ini (For PHP with Apache2)
You can verify this by listing the PHP file as shown below.

Add the ionCube extension to PHP
We have to add ionCube in the PHP configuration file(PHP.ini). All you have to do is add a command at the end of the file.
To add the extension to PHP, type the following command:
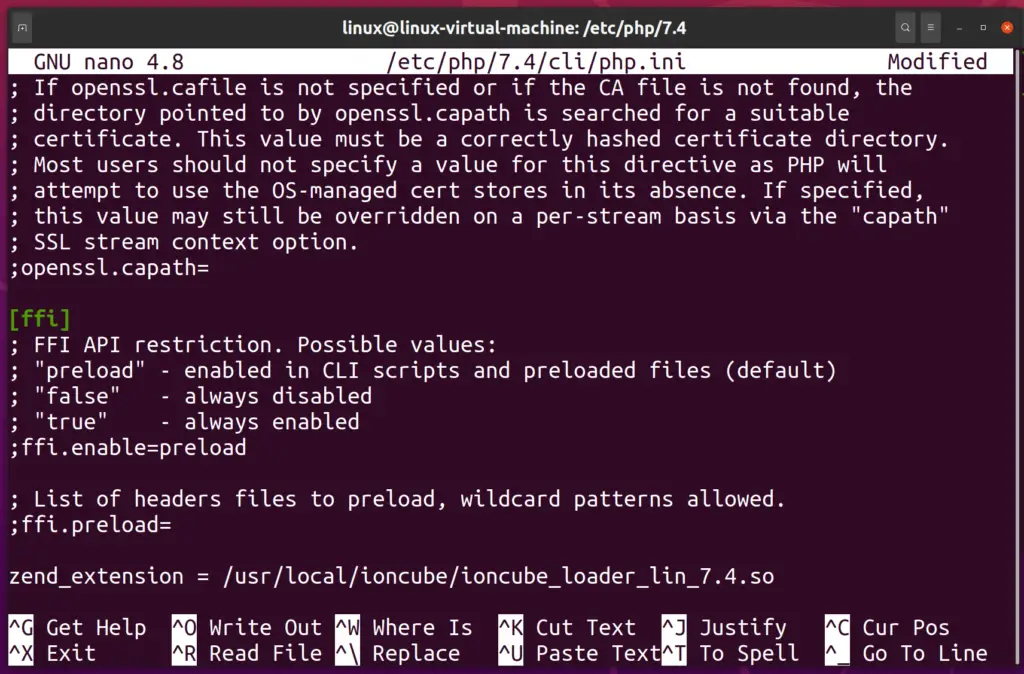
sudo nano /etc/php/7.4/cli/php.ini
Go at the bottom and type the following command:
zend_extension = /usr/local/ioncube/ioncube_loader_lin_7.4.so
Make sure that the file path is correct. It may differ according to your PHP version. But if you are using default Ubuntu 20.4 repositories, you don’t need to worry about that.
Also, make sure to select the ioncube_loader version that matches your PHP version.
Now Save and Exit the file.
Confirming IonCube Configuration
To check that IonCube loader is installed successfully, type the following command on the terminal:
php -v

Now your output will look like this
Conclusion
Now you know how to install and configure ionCube loader in PHP on Ubuntu 20.04
If you know any better way or experience any issue while following our tutorial, please feel free to comment below.





thank you so much i hope you have a great day and health God bless you ! I spent at least a few hours looking for this…. And finally was able to install ioncube