When you install a package on Linux, that package has to be kept somewhere on the system to be used for installation.
The installation is a complete process that:
- downloads a package
- stores the package
- uses it for installation
- and keeps it for later reference
Can these downloaded packages be tracked or deleted?
The answer is yes, and we can use the apt clean command to do so:
sudo apt clean
In this tutorial we’ll learn about the APT cache, and how to use the apt clean command to clear it.
Table of Contents
Prerequisites
- Access to a machine running a Ubuntu or a Debian based system
- Acting as a non-root sudo user to ensure a secure environment
Introduction to apt cache
Before clearing the apt cache, we need to understand what it is and how it works.
When we trigger an installation command, the APT Package Manager (Advanced Packaging Tool) downloads the required package and then installs it on the local system.
So, where is the file stored when it is downloaded? It is stored in the /var/cache/apt/archives/ directory.
Let’s go ahead and verify if we have any files stored on our local apt cache. To do this, we need to execute the ls command to view the files in the /var/cache/apt/archives/ directory.
ls /var/cache/apt/archives
We get a long listing of files. You can scroll up to see the list of files from the start.

When the command is executed, not only the package but its dependencies are downloaded automatically.
All these are then stored in the /var/cache/apt/archives folder, which keeps the files that have been downloaded completely.
However, some files might still be getting downloaded.
These are stored in the /var/cache/apt/archives/partial directory.

Currently there are no files in my /archives/partial directory.
However, two key points about these files:
- There is no separate command to list the partial files.
- After the download of a file is complete, it is moved from the /archives/partial to the /archives directory.
To conclude, after the installation of a package is complete, the installer is kept in the /archives folder.
We can consider two scenarios before proceeding further.
-
- Scenario 1 : This is a fresh installation of a package that we don’t have on the local system. The APT Package Manager searches the local apt cache and then downloads the file from the repositories.
- Scenario 2 : We uninstall an existing package and then execute the apt command to re-install it. The APT Package Manager searches the cache first. Since the package was previously installed, it finds the installer, verifies its version with the version in the remote repository, and if both are the same, it uses the package from the cache instead of downloading it again.
Keeping the Cache
The apt cache can grow quite large. But, do we need to retain the apt cache? The answer depends on a few things.
If we are running out of space on a system, we can clean the apt cache. This will delete all package files in the /archives directory.
Before we go ahead and clean the apt cache, we should check the size of it using the du command:
sudo du -sh /var/cache/apt/archives
As you can see in the screenshot below, the current apt cache size is 428MB, which is not large for my hard drive, but deleting it might help reclaim the space. Because we are executing a system command, we need the administrative privileges we use sudo.

There is no harm in deleting the apt cache. There is no impact on the system’s performance or stability. The only impact is that installing a package will take a little longer, but this may also be handled with a fast and reliable Internet connection.
The Apt Clean Command
The command to clean the apt cache is simple. We need to use the clean parameter with the apt command:
sudo apt clean
We can even use the apt command with the clean parameter. Results are the same in both cases.

After executing this command, the apt cache is cleaned, and all residual package files are deleted. To verify this, we execute the ls command once again to verify the files in the /archives directory:
ls /var/cache/apt/archives
Notice that no packages are residing in the /archives directory.

Since the /archives directory is now empty, we can go ahead and install a package named sqlite using the apt command for testing purposes.
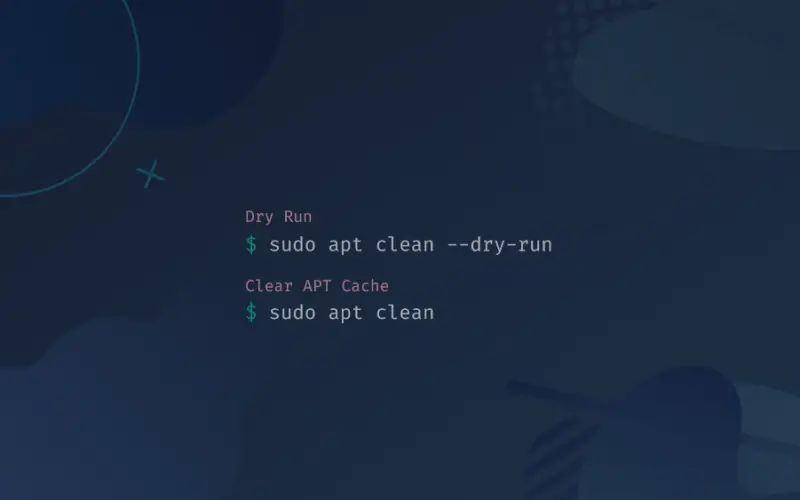
Even though we have cleaned the /archives directory, we can figure out what will be deleted by using the –dry-run parameter. This parameter does not delete any file but lists the files that are going to be deleted.
sudo apt clean --dry-run
The output is now showing only three packages.

If we again use the ls command, we will see that the files are still there, as using --dry-run made it into just a simulation.
Conclusion
Well done. Hopefully, this tutorial helped us understand the apt clean command in a Ubuntu or Debian-based system. If you encountered any issues or have any feedback, please feel free to leave a comment or contact us, and we’ll get back to we as soon as we can.


