EasyEngine is a free and open-source Linux command line tool for managing WordPress sites on Ubuntu and Debian servers. It enables you to deploy single or multisite WordPress installations with various configurations, such as caching, SSL with different configs, different WordPress versions, database configurations, different PHP versions, and more. You can check out the full configuration options for WordPress here.
It’s a Python based tool that can be used to manage WordPress, MariaDB, Nginx, and PHP using the command line.
EasyEngine can be installed on all Debian-based distributions.
Other methods of installing WordPress can be time-consuming as most of the steps have to be manually performed.
EasyEngine uses Docker containers to manage WordPress websites. It uses Docker because it is easy to deploy and manage multiple WordPress websites on a single server.
Some users may not be familiar with Docker and not want to invest the time to learn it, or they may simply not prefer using Docker. If you also would prefer not to use Docker, also check out our tutorial on setting up WordPress automatically using WordOps, which is a fork of EasyEngine but doesn’t use Docker, or by using Slickstack, which is not related to either of them.
In this tutorial, we will install EasyEngine on an Ubuntu 22.04 server, and then use it to set up a WordPress website running on LEMP stack (Linux, Nginx, MariaDB, PHP) with SSL via LetsEncrypt, caching with FastCGI Cache, and Redis.
Table of Contents
Why Use Automatic WordPress Installation
The reason for using EasyEngine is that it streamlines the process of WordPress installation where you don’t have to worry about which server to use and also do not need to labor through several configuration files. This automated script will do all this for you.
This script can various software including but not limited to LEMP, WordPress, Redis, WP-CLI, and HHVM. The site creation command that we used to create install WordPress and create our site gives you the option to install various WordPress installations depending on your needs. With minor tweaks in the command, you can install various caching plugins, install in subdirectories, creating/deleting multisite installations.
You can visit the official page to learn more about EasyEngine and the options available with its command.
Another good thing about this script is that it is transparent so if you don’t like something and want to change it, you can change it in the script’s configuration file. This script is amazingly fast which is another reason for using it. You can easily deploy a site in seconds using EasyEngine.
Also, site installations made with this script can handle an great amount of load.
This seems to be due to the developers being busy with working on the software and not the documentation. To confirm this you can also check out this Slack thread where I asked the dev about this.
“Right now, we are planning to keep working on the features for a while. Documentation is very important for us but we required some features and fixes asap. Once done, we’ll focus on documentation.”
Requirements
Before proceeding further, make sure that you have fulfilled all these pre-requisites
- A fresh machine running Ubuntu 22.04
- A domain name pointing at your machine. Here’s an example of how mine’s set up for this tutorial.

- A user with
sudoprivileges. Preferably a non-root sudo user, because acting as root is dangerous. The reason for this is that when you’re logged in as root, you can easily damage your whole system if you’re not careful.
EasyEngine should be installed on a fresh server, that does not already have a webserver or MySQL installed, to prevent any potential issues.
Installing EasyEngine
First we are going to configure EasyEngine on our system and then we will use it to install WordPress automatically.
Updating Server Packages
The first step is to update all our server packages so that we do not face any errors while configuring EasyEngine or WordPress on our system.
Execute the following commands one by one in the same order as they are written, to update all server packages.
sudo apt update
sudo apt upgrade
First execute the update command and then execute the upgrade command to download and install all the latest available updates.
Installing EasyEngine
EasyEngine can be installed using an installer script. Execute the following command to download and run the EasyEngine installer script.
sudo wget -qO ee https://rt.cx/ee4 && sudo bash ee
When executed, EasyEngine should start installing. The installation will take some time as it also downloads and configures Docker and Docker Compose.
After the it command finishes installing EasyEngine and all its dependencies, the final output should look something like this:
...
ee successfully setup.
+-------------------+------------------------------------------------------+
| OS                | Linux 5.15.0-23-generic #23-Ubuntu SMP Fri Mar 11 ...|
|                   | 2022 x86_64                                          |
| Shell             | /bin/bash                                            |
| PHP binary        | /usr/bin/php8.0                                      |
| PHP version       | 8.0.21                                               |
| php.ini used      | /etc/php/8.0/cli/php.ini                             |
| EE root dir       | phar://ee.phar                                       |
| EE vendor dir     | phar://ee.phar/vendor                                |
| EE phar path      | /home/edxd                                           |
| EE packages dir   |                                                      |
| EE global config  |                                                      |
| EE project config |                                                      |
| EE version        | 4.5.6                                                |
+-------------------+------------------------------------------------------+
/usr/sbin/cron
/usr/bin/crontab
-----> Adding ssl-renew cron
no crontab for root
-----> Run "ee help site" for more information on how to create a site.
Run the following command to verify that the installation was successful.
sudo ee --version
As the latest version of EasyEngine is 4.5.6, you should get the following output in correspondence to the above command.
EE 4.5.6
If you wish to see a list of all downloaded docker images, run the following command.
docker images
You will get the following output when the above command is executed.
REPOSITORY               TAG       IMAGE ID       CREATED         SIZE
easyengine/nginx         v4.5.4    0cd46e47e767   3 months ago    85.4MB
easyengine/php           v4.5.4    2ce510d22ad0   3 months ago    817MB
easyengine/nginx-proxy   v4.5.0    3c505cd5efb3   7 months ago    151MB
easyengine/redis         v4.4.3    29230cea13c8   8 months ago    113MB
easyengine/postfix       v4.1.5    f5ac5c1276af   23 months ago   475MB
easyengine/mariadb       v4.1.3    580f7d75d8d5   2 years ago     407MB
easyengine/cron          v4.0.0    e86e4f2e4e9a   3 years ago     8.83MB
easyengine/mailhog       v4.0.0    789b9de98747   3 years ago     19.3MB
After making sure that everything is in order, proceed to the next step.
Note: In some cases docker service fails to start or might be getting blocked by some other service. You can execute the following service to make sure that Docker is up and running.
sudo service docker start
Installing WordPress
Now that EasyEngine has been installed on the server, we can proceed further and install WordPress using EasyEngine.
To install WordPress using EasyEngine execute the following command. The below command will run EasyEngine which will automatically install WordPress on our server. Just make sure to replace mrtestweb.site with your actual domain name.
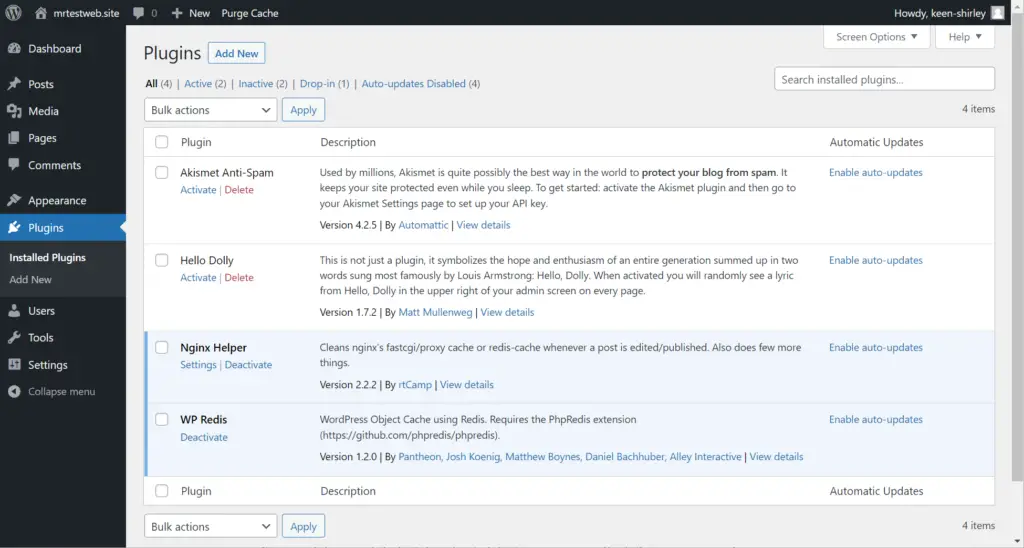
The following command will set up a WordPress website (--wp) with the domain mrtestweb.site with FastCGI Cache for caching, Redis Cache for PHP (--cache), and with SSL via LetsEncrypt enabled (--ssl=le). It will also install Nginx Helper and WP Redis to manage caching.
sudo ee site create mrtestweb.site --type=wp --cache --ssl=le
The process of site creation will start as soon as you execute the above command.
As soon as it finishes installing it will also display a table in the command-line, with the relevant configuration and authentication details.
Starting site creation.
Configuring project.
Creating WordPress site mrtestweb.site
Copying configuration files.
Starting site's services.
Downloading and configuring WordPress.
Moved /var/www/htdocs/wp-config.php to /var/www/wp-config.php successfully
Checking and verifying site-up status. This may take some time.

Installing WordPress site.
Success: https://mrtestweb.site has been created successfully!
Starting SSL verification.
The authorization check was successful!
Executing first request.
Requesting first certificate for domain mrtestweb.site.
Certificate received
Certificate stored
Success: SSL verification completed.
Starting site's services.
Site entry created.
Creating cron entry
Success: Cron created successfully
+--------------------+--------------------------------------+
| Site               | https://mrtestweb.site               |
+--------------------+--------------------------------------+
| Site Root          | /opt/easyengine/sites/mrtestweb.site |
+--------------------+--------------------------------------+
| Site Title         | mrtestweb.site                       |
+--------------------+--------------------------------------+
| WordPress Username | keen-shirley                         |
+--------------------+--------------------------------------+
| WordPress Password | d8ZG3IHVUU6p8odEUv                   |
+--------------------+--------------------------------------+
| Alias Domains      | None                                 |
+--------------------+--------------------------------------+
| DB Host            | global-db                            |
+--------------------+--------------------------------------+
| DB Name            | mrtestweb_site                       |
+--------------------+--------------------------------------+
| DB User            | mrtestweb.site-ac7636                |
+--------------------+--------------------------------------+
| DB Password        | qrNfMo8SRqtL                         |
+--------------------+--------------------------------------+
| E-Mail             | admin@mrtestweb.site                 |
+--------------------+--------------------------------------+
| SSL                | Enabled                              |
+--------------------+--------------------------------------+
| SSL Wildcard       | No                                   |
+--------------------+--------------------------------------+
| Cache              | Enabled                              |
+--------------------+--------------------------------------+
| Proxy Cache        | Off                                  |
+--------------------+--------------------------------------+
The above script will start all associated containers like MariaDB, Nginx, PHP, and Redis. It will create a database for the site and configure WordPress.
All the important information related to your site like site URL, admin username, password, database name, etc is displayed in the output above.
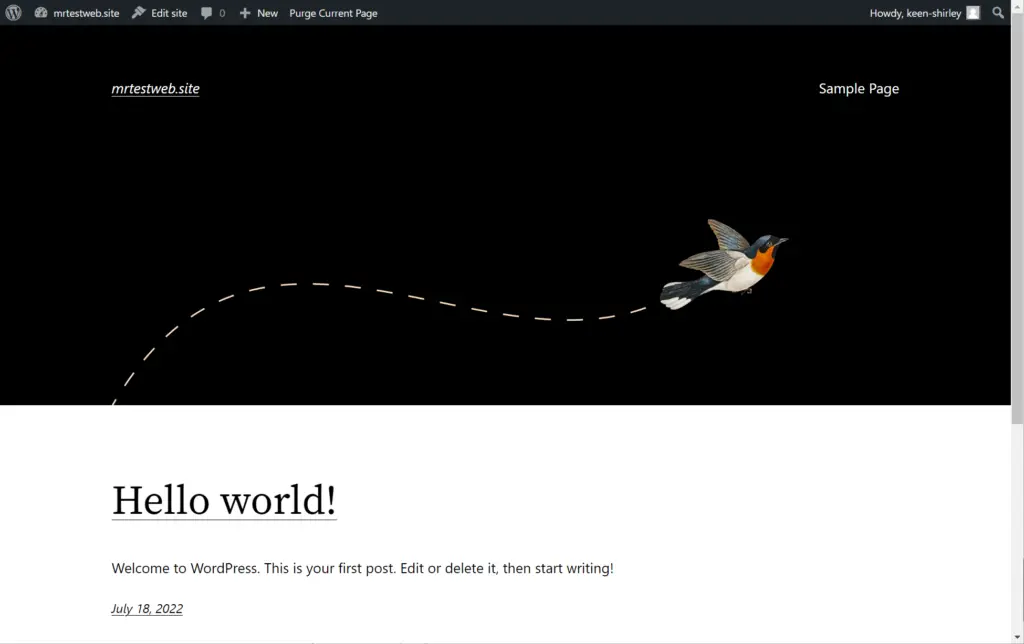
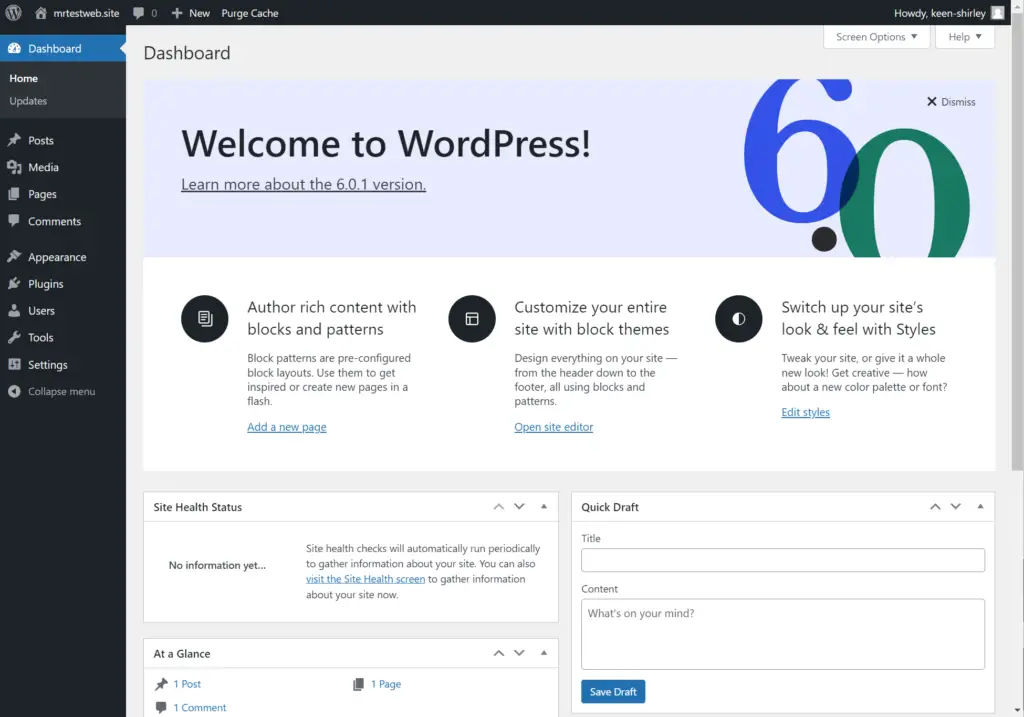
Our WordPress website has been created.
Conclusion
In this tutorial we learned what EasyEngine is and how to configure it on our system. Then we automatically installed and configured WordPress on our server using EasyEngine. We also went through some of the reasons why you would or would not prefer EasyEngine over other WordPress installation methods.




How do you uninstall everything ?