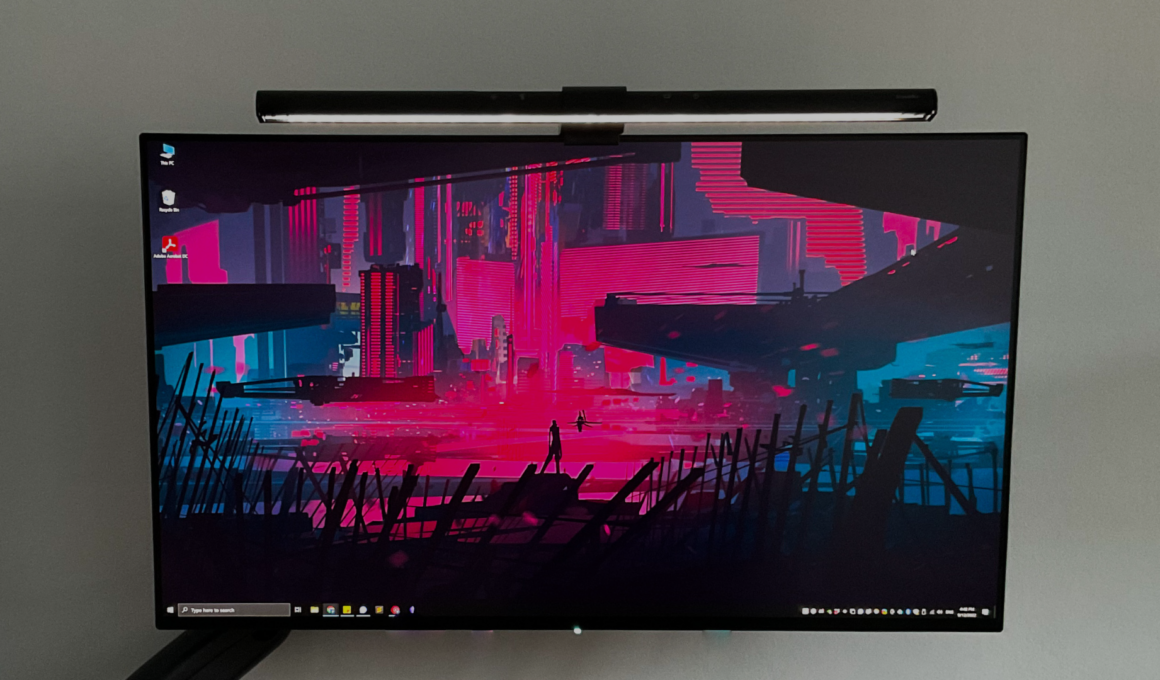
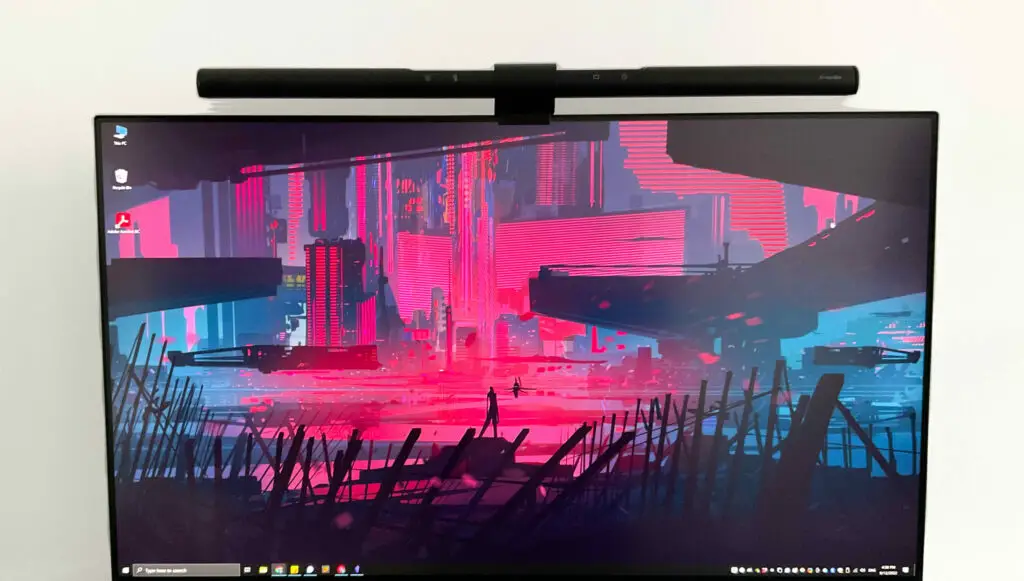
The BenQ ScreenBar is a great tool for people who spend a lot of time in front of the computer. It’s a handy, lightweight gadget that attaches to the top of your monitor (using up zero space on your desk) and provides adjustable, focused light that won’t strain your eyes.
After spending hours in front of the computer, your eyes can start to feel strained and tired. If you’re looking for a way to reduce eye fatigue, the BenQ ScreenBar might be a good option for you.
In this review, we’ll take a close look at the features of the ScreenBar and see how it can help you stay focused and comfortable while working.
Table of Contents
- Initial Impressions. Initially, I was skeptical because I was content with a regular lamp, and I use screen shader apps.
- tl;dr Conclusion. After a month, I’m sold, and I’ve made the switch to the BenQ ScreenBar. I even use it during the day when having to do work involving a lot of reading and I’m having a slow day. I still recommend reading this section to make sure the ScreenBar is compatible with your monitor.
- Setup. You’ll be up and running in a minute. Just connect the bar to the clip, place it on top of your monitor, and connect it to a power source.
- Settings. Short presentation of the BenQ ScreenBar’s settings – 15 levels of brightness, 8 levels of temperature, auto dimmer.
- Build. The ScreenBar is sturdy, sleek, and aesthetic, with a matte black finish. I think looks great with any setup.
- Connectivity. It’s powered through a USB-C to USB 3.0 cable.
- Overall Conclusion. I love it. If you can afford it I’d recommend the BenQ ScreenBar Halo. It has a remote and the counterweight also lights up in the back of the monitor. My partner has it, and I’m jealous.
Initial Impressions
I’ve been using the ScreenBar for more than a month now, and I’m really impressed with it.
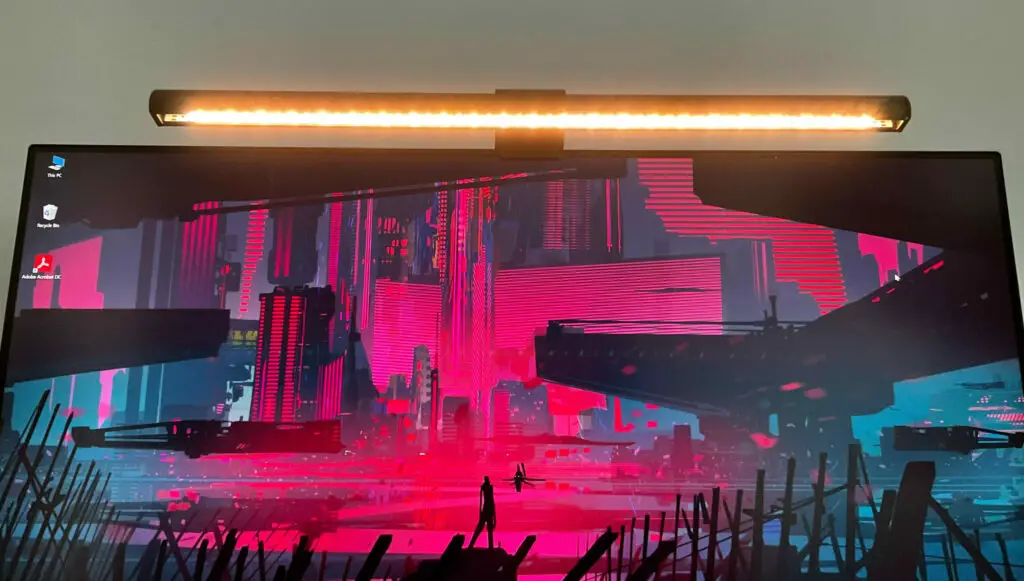
The light brightness and temperature are adjustable, so you can find the perfect level of illumination for your needs. I like having my monitor on cool light at night and having the ScreenBar on warm temperature light. It just feels like I’m plugged in while the vibe is still cozy. It also takes up virtually no space on your desk.
BenQ contacted us with the proposal of sending the ScreenBar for review. Although I had seen some news about it online and have heard from acquaintances that after using it, they don’t want to go back without it, I was still skeptical.
The reasons I was skeptical initially are:
- I like having a lamp. I have an IKEA RANARP Work lamp on my desk, with a Mi Smart LED Bulb, which allows for color changing, that’s usually set on a warm color.
- I use Screen Shader Apps. I use Redshift on Linux and f.lux on Windows. They can help reduce the strain that you feel after looking at screens for extended periods of time. They work by either filtering out the blue light or by providing a tinted overlay that changes the color of the screen.
I didn’t see the necessity, given that I was already content with my current setup.
tl;dr Conclusion
If you don’t have time to read the entire review, here’s the tl;dr:
After a month+ of using the BenQ ScreenBar, I can confidently say it’s an excellent bang-for-buck investment into improving comfort while working at your computer.
I’ve made the switch from my lamp. Even though I love my lamp because it’s cozy, I find the ScreenBar feels more natural, and it’s easier to adjust the light to my needs.
I recommend it primarily for the following reasons:
- It takes up
0(zero) space on your desk. If you’ve got a small desk, are short on space, need a lamp, and have an available USB 3.0 port near the back of your monitor, the ScreenBar is definitely for you. - I feel it does help with eye strain. Not everyone is bothered by a super bright screen set to a cool temperature. At times I’m totally fine, no matter the light. Other times I’m tired all the time, my eyes hurt, and I have trouble focusing. For those times, I really enjoy using the BenQ ScreenBar set to a warm temperature.
- It’s cozy. It creates a cozy atmosphere in your workspace, and the cozy feeling helps me focus. I feel like I’m in my cozy space and separated from the rest of the room.
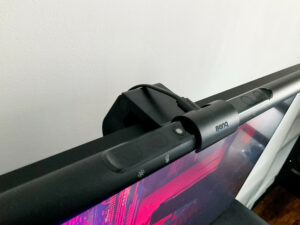
- It has adjustable brightness and adjustable temperature. You can use the touch controls at the top of the ScreenBar to choose between 15 brightness levels and 8 temperature levels. Additionally, it has an Auto Dimming control which detects the light in the room and adjusts the temperature accordingly. It often gets it right, for me, at least.

BenQ ScreenBar Controls - Bonus. It shows you how dusty your monitor really is and reminds you to clean it…heh.
There are also a few situations where the ScreenBar may not be for you. This has to do with compatibility with your monitor.
I don’t recommend it if:
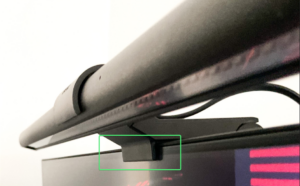
- Your monitor has a “hump” that’s too high up on its backside. There are some monitors that come with a “hump” on their backside that’s too high up. Since the ScreenBar uses a counterweight mechanism, where the counterweight hangs in the back of the monitor, that hump will prevent the counterweight from staying put. For example, I have an LG 27GL850-B monitor, which has one of those humps.

The ScreenBar Clip won’t be able to grip if the monitor has a hump that’s high up. - Your monitor has very thin bezels. This is because the ScreenBar has a small clamp that it uses to hang on the front of the monitor. This is usually fine, but some monitors have an exceptionally small top bezel. For example, the Spectrum 4K 144Hz. This causes the clamp to cover the top of the screen a bit.

The covers the screen a bit if you have extremely thin bezels. - You don’t have a USB 3.0 port readily available (in or near the back of the monitor or a USB hub). The ScreenBar is powered via USB 3.0 and has a 1.5m cable available.
Also, if you don’t mind paying extra, I’d recommend the BenQ ScreenBar Halo because the counterweight at the back of the monitor also lights up. My partner has it, and I’m jealous.
Initially, I thought the ScreenBar wasn’t for me because I have a narrow desk. This is because I would sometimes rest my head in my hand or slouch involuntarily, and when I’d do that, I’d end up staring directly into the LEDs at certain angles.
However, you can physically tilt it to avoid glare. This is extremely important because if the light couldn’t rotate, you’d be looking directly into the LEDs at certain angles.
Setup
The setup is very easy. I am disappointed to say I disposed of the box without taking pictures of it.
In the box, you get the following components:
- The ScreenBar lamp
- The clip (clamp with counterweight)
- A 1.5m USB-C to USB 3.0 cable
To set it up, you just:
- Intuitively place the bar in the clip
- Place the clip at the top of your monitor
- Plug the cable in the USB-C port of the ScreenBar and the USB 3.0 end in the monitor or some other USB power source.
Settings
The ScreenBar comes with 3 settings that you can adjust using the touch controls at the top of the bar.
From left to right, we have the following settings.
- Brightness. The brightness setting is the leftmost control. You can switch between 15 levels of brightness by repeatedly tapping the touch control.
- Temperature. The temperature control is next to the brightness control. It has 8 levels that you can select from, from cool to warm. Speaking for myself, the temperature changes the mood of your setup. The warmer ones give a cozy fireplace-like vibe, and the cooler temperature makes me open up my eyes and get plugged in and ready to work.
- There was a time when I did not care about details such as light temperature because I wanted to be a working machine no matter my environment. However, these details do matter to me now, and light temperature matters to me.
- Auto-Dimming. The ScreenBar comes with a light sensor used by the auto dimmer. The auto dimmer control has a rectangle icon next to it. When you tap it, it will read the room’s light and adjust the ScreenBar’s light to an appropriate level.
- If the light from the auto dimmer doesn’t suit you, then you can easily adjust it from there.
Build
I really love the overall look of the ScreenBar. Its sleek design is sure to complement any décor.
The bar is made of aluminum, which gives it a classy and sturdy look. It has a cool black finish, adding a touch of sophistication.
The clip is made from sturdy plastic and is rubberized on the inside. This allows it to hold onto your monitor gently. You can easily readjust or remove it at any time. And even though it sits gently on your monitor, it has a very secure grip.
Connectivity
The ScreenBar connects to your setup through USB 3.0, which means that you can either plug it into your monitor, computer, or some other USB plug to power it. It uses USB 3.0, and the power needed is 5V, 1A.
This works great for my setup, and I wouldn’t want to plug it into any outlet.
Some people may prefer the option of plugging it into a wall socket, however.
Also, some monitors don’t feature a USB port, so you should plan ahead if yours is one of them. The cable is 5ft (1.5m) long, so you can easily plug it into another device if needed.
Conclusion
The BenQ ScreenBar is a great alternative to a desk lamp. It has 15 levels of brightness and 8 levels of temperature, which helps you set the right vibe, whether in cozy mode or work mode. It’s also very portable and takes up zero space on your desk, which makes it perfect for small spaces. I’ve permanently made the switch from my lamp to the ScreenBar, and I don’t think I’m going back.
If you have extra money to spend, I do prefer the BenQ ScreenBar Halo. What I really like about it is that the counterweight also lights up the back of the monitor, which enhances the vibe of the workspace, in my opinion.


![Best Thunderbolt 4 Cables [2023] 10 best TB4 cable](https://bytexd.com/wp-content/uploads/2022/07/best-TB4-cable-560x336.jpg)

![Best Speakers For Mac Mini [2023] 13 reduced min speakers](https://bytexd.com/wp-content/uploads/2022/11/reduced_min_speakers-560x336.jpg)