Ubuntu can connect to OpenVPN from its Settings, but it is fiddly: config files, a separate VPN password, and no kill switch. This guide shows the quicker way: one command installs the VPNBaron app and its command-line client, and a minute later you are connected from either one.
Table of Contents
Prerequisites
- Ubuntu 24.04+, Debian 13+ or a distribution based on them.
- A user that can run
sudo. - A VPNBaron account with an active plan (plans).
Step 1: Install VPNBaron
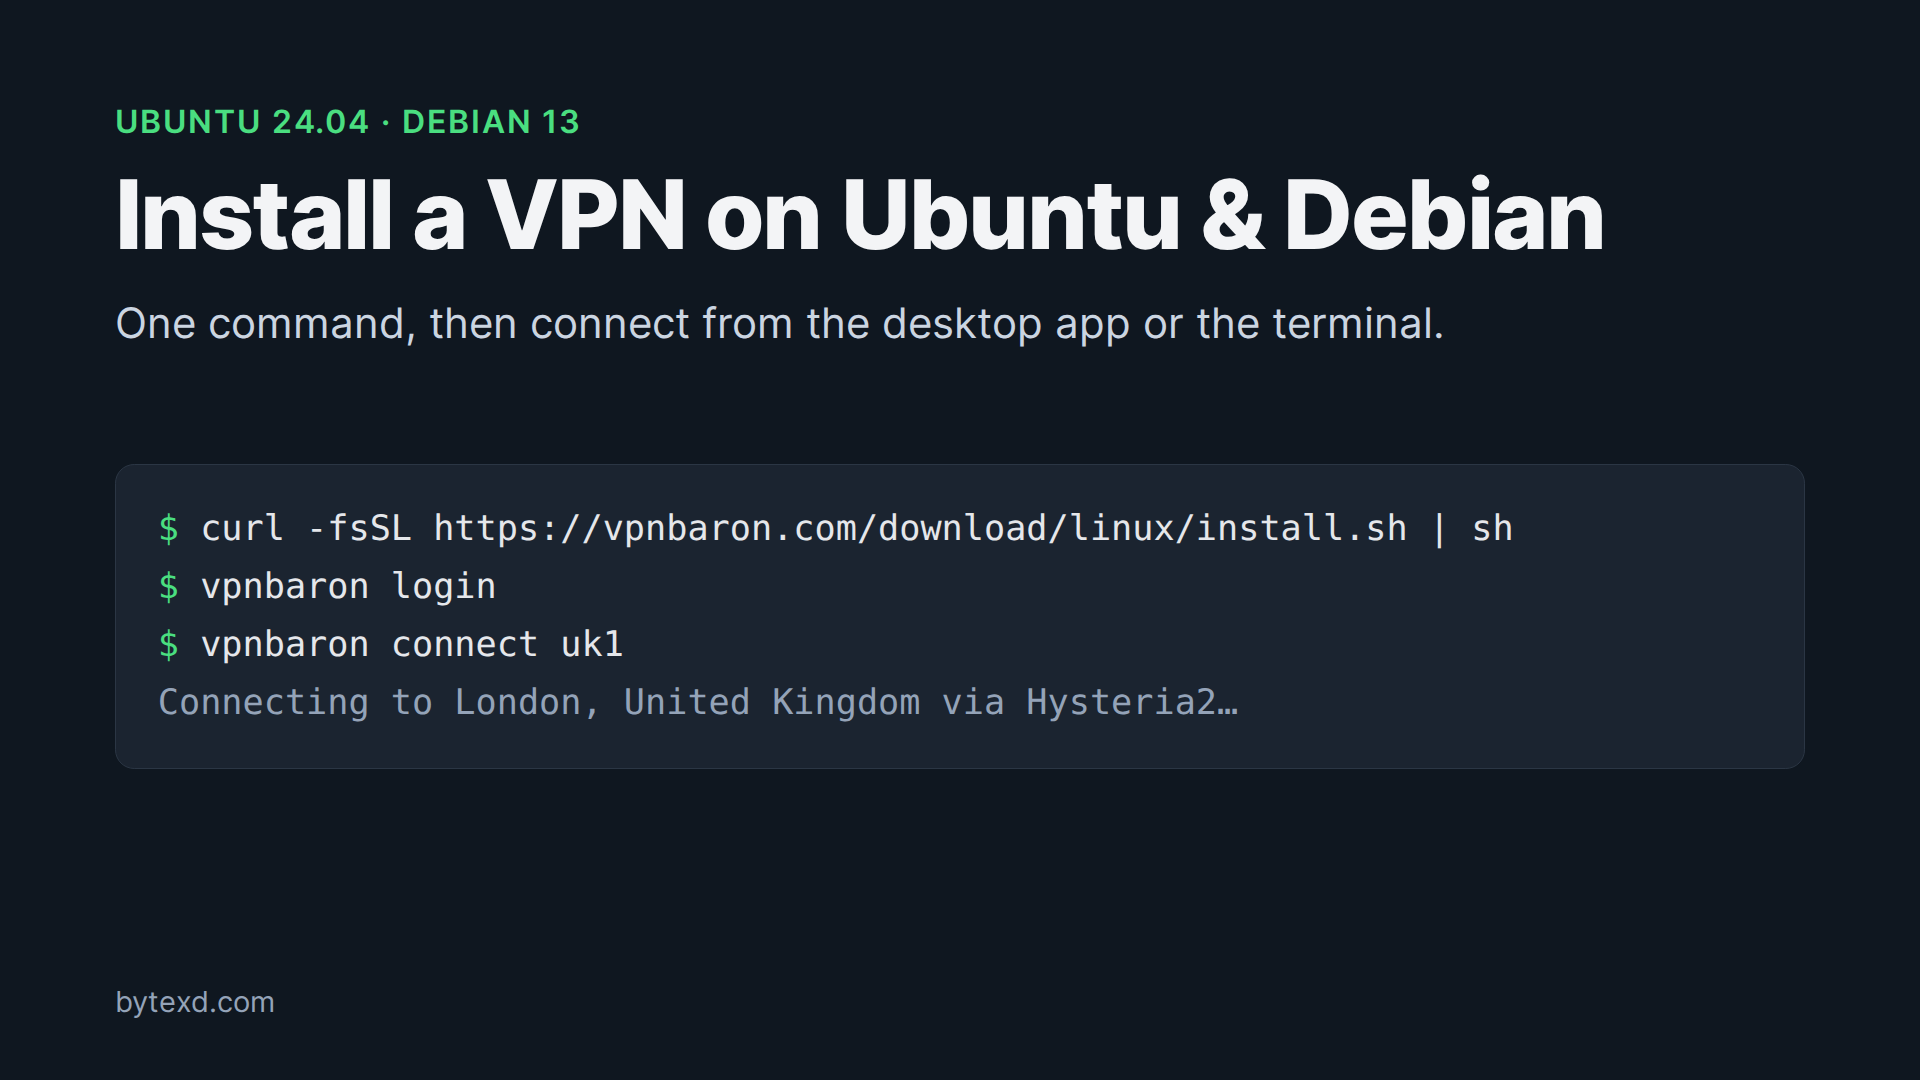
Open a terminal (Ctrl+Alt+T on Ubuntu) and run:
sudo apt install -y curl
curl -fsSL https://vpnbaron.com/download/linux/install.sh | sh
The script downloads the package for your computer (amd64 or arm64), checks that the download is intact, and installs it with apt together with everything it needs. Enter your password when asked. It finishes by telling you VPNBaron is installed.
sh? Download it first with curl -fsSL https://vpnbaron.com/download/linux/install.sh -o install.sh, read it, then run sh install.sh.You now have two things: the desktop app and the vpnbaron command. They share one connection, so connect in either and the other shows it.
Step 2: Connect with the desktop app
Open the app and sign in
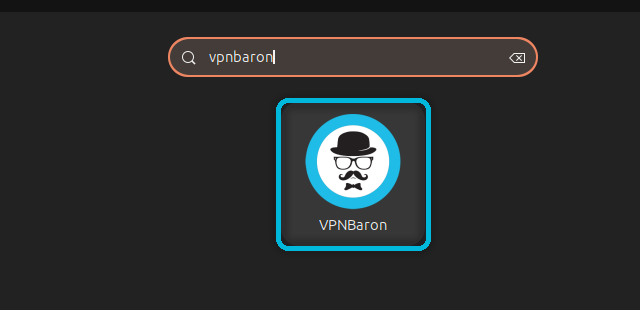
Open your apps (Activities on Ubuntu), type VPNBaron and open it.
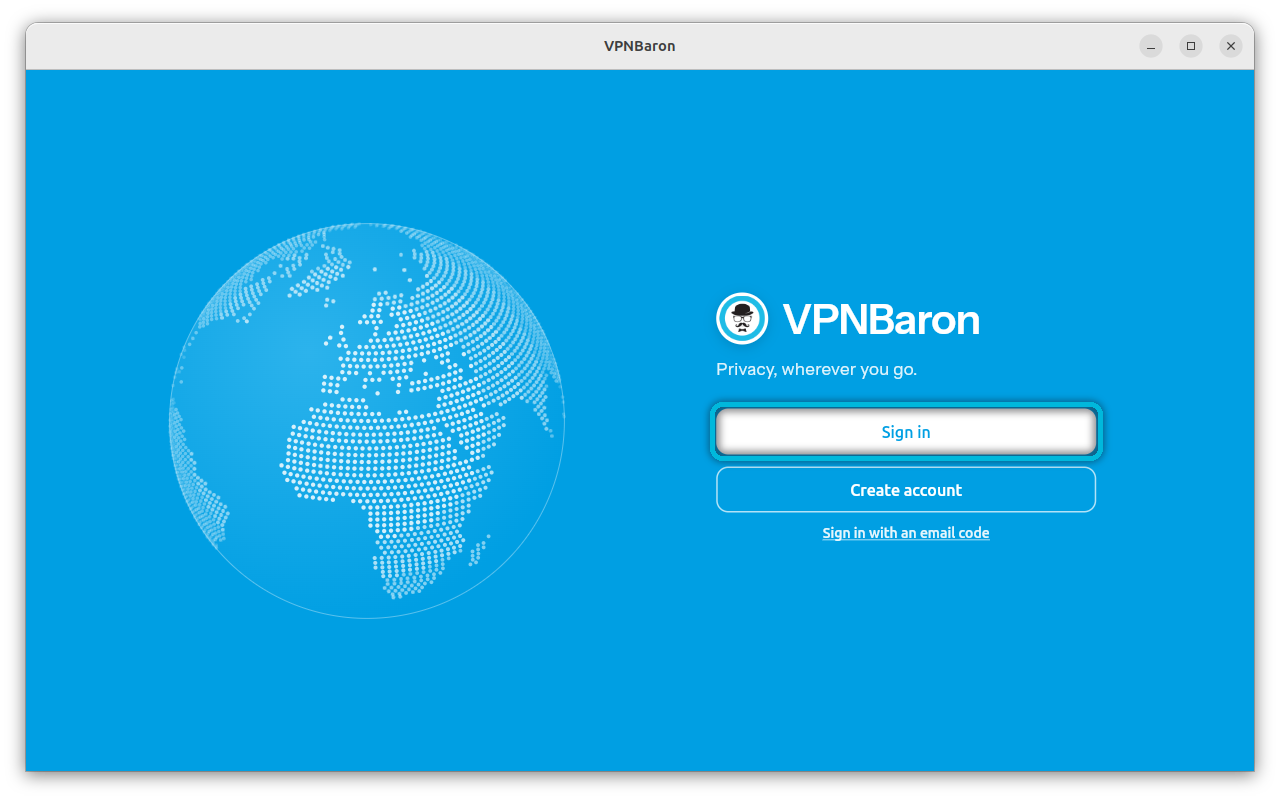
Select Sign in. Your browser opens the VPNBaron sign-in page, where you can use your email and password or continue with Google or Apple, and then it takes you back to the app.
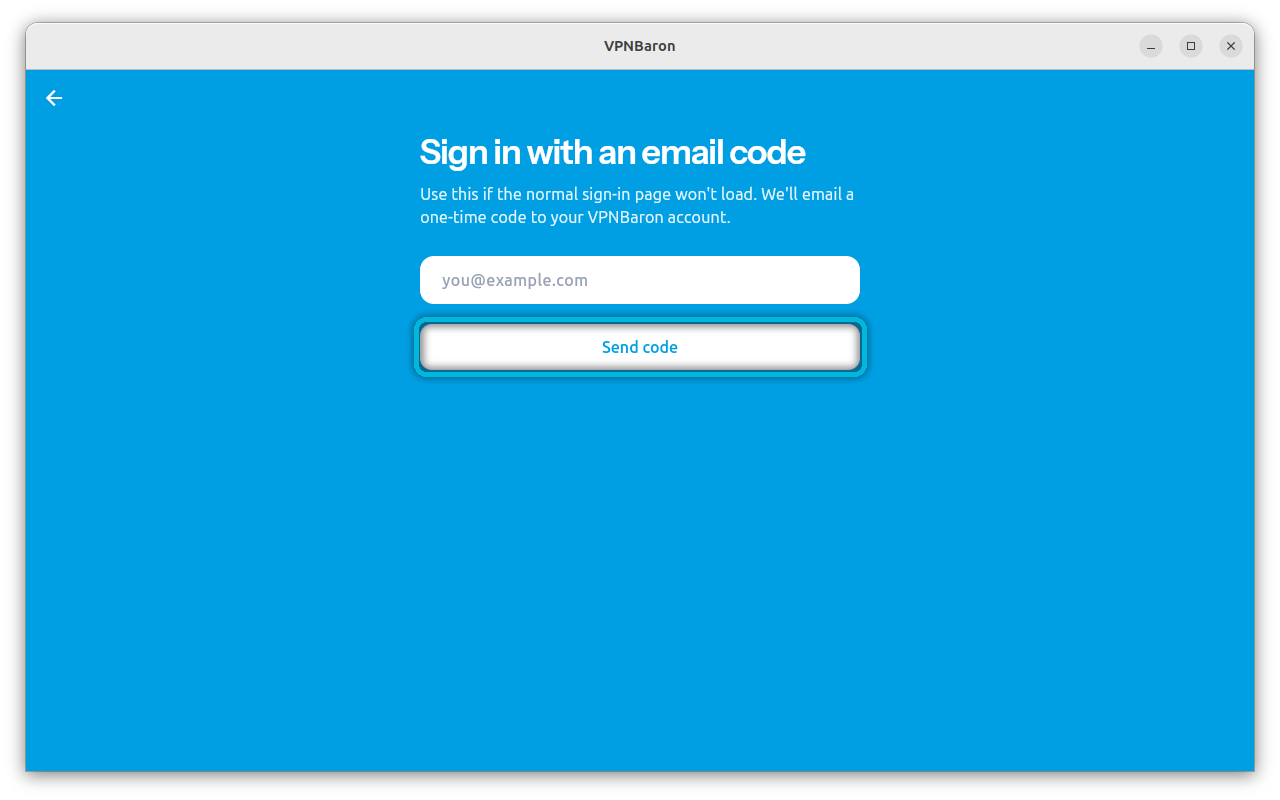
If the sign-in page won’t load (some networks block it), select Sign in with an email code instead and enter your account’s email address:
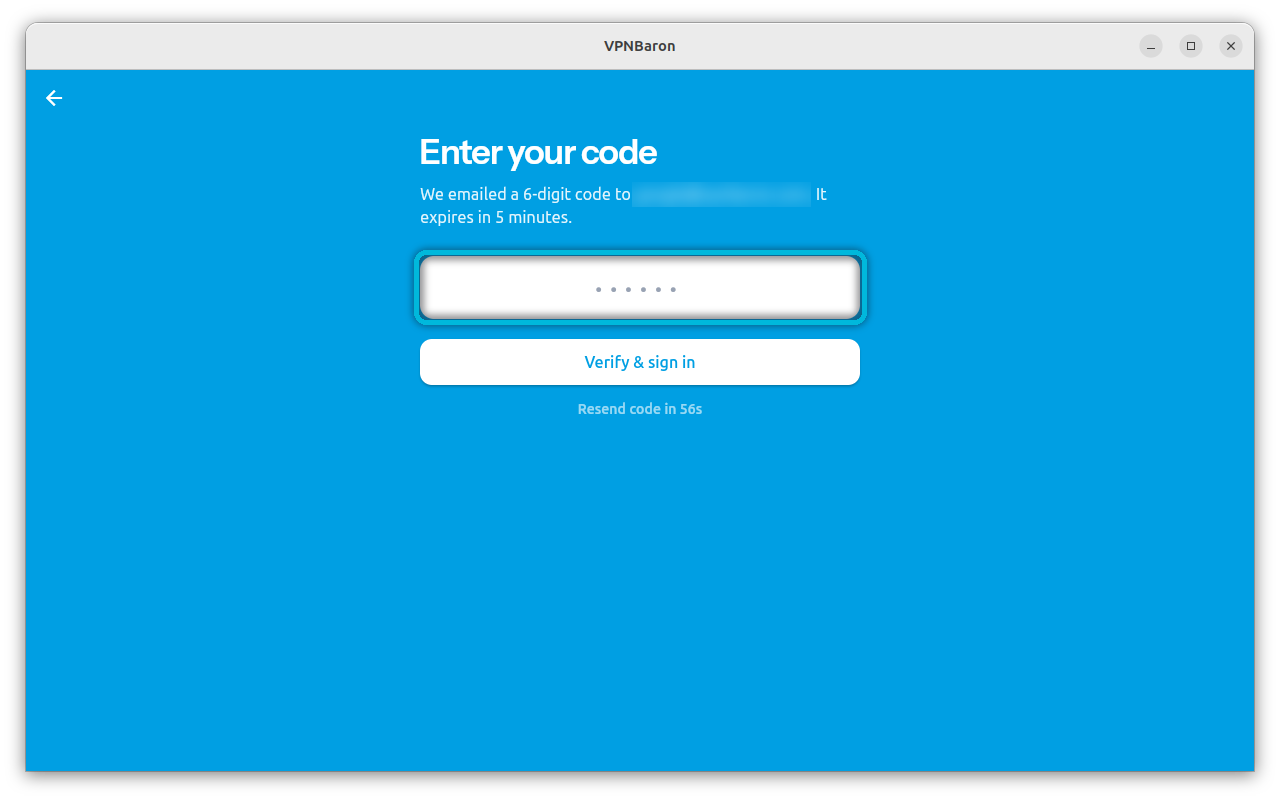
Type the 6-digit code from your email and select Verify & sign in. The code expires after 5 minutes.
Pick a location and connect
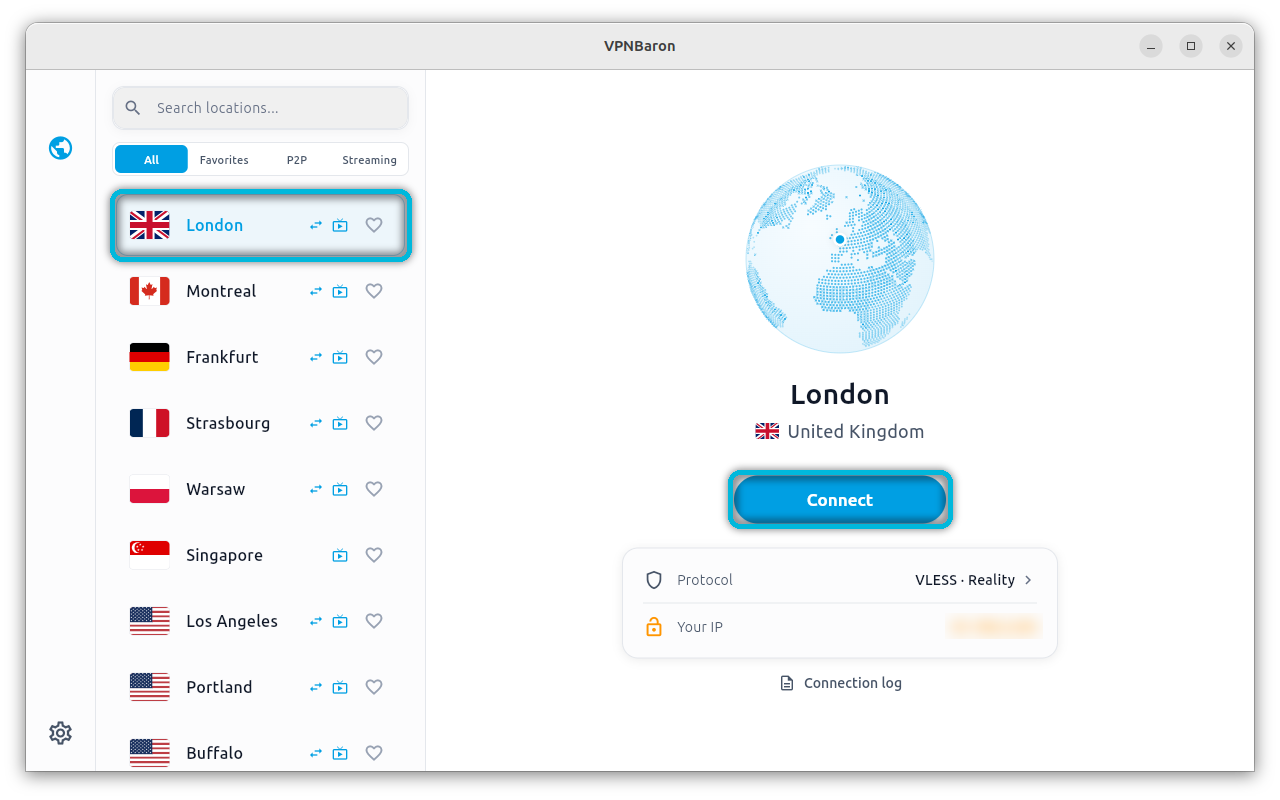
Pick a location from the list, or search for one, then select Connect. Connecting doesn’t ask for your password: a VPNBaron service running in the background handles it.
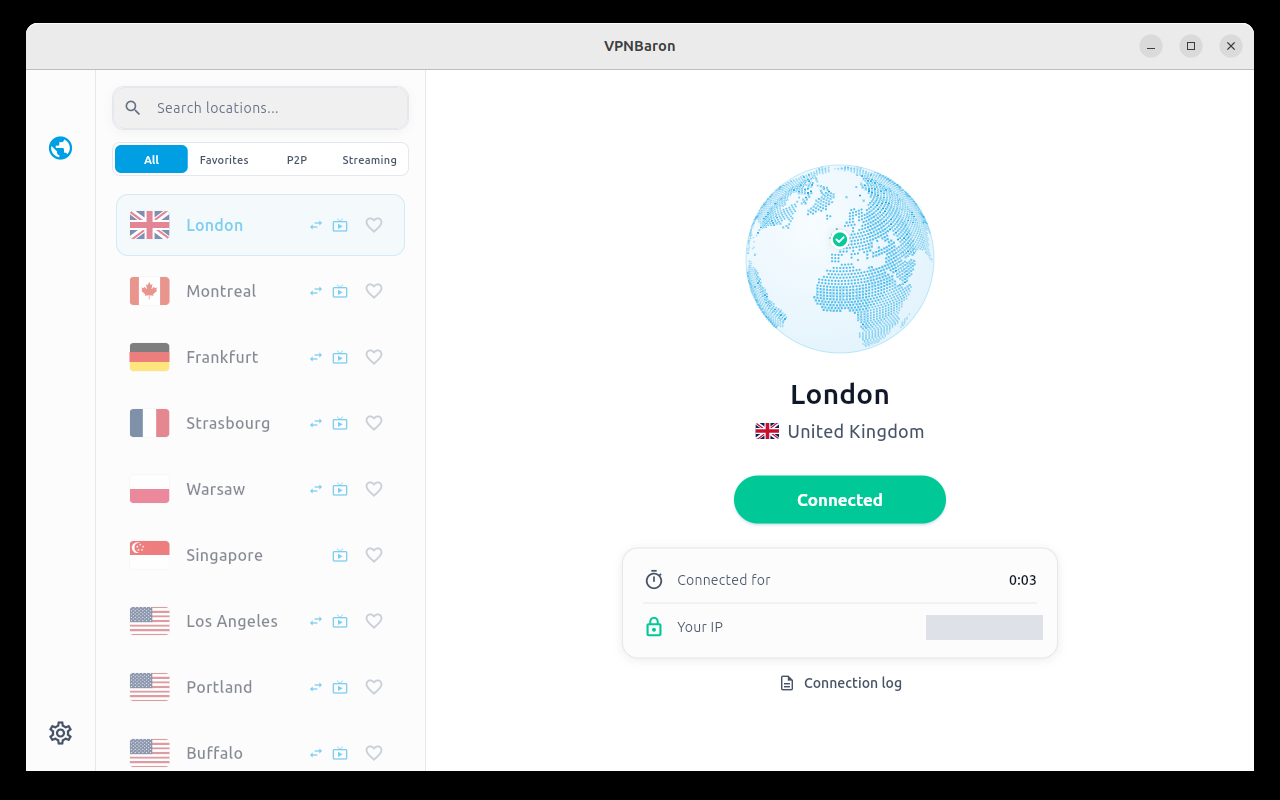
The button turns green and says Connected. Your IP is now the VPN server’s address (we hid it in the screenshot).
Choose a protocol
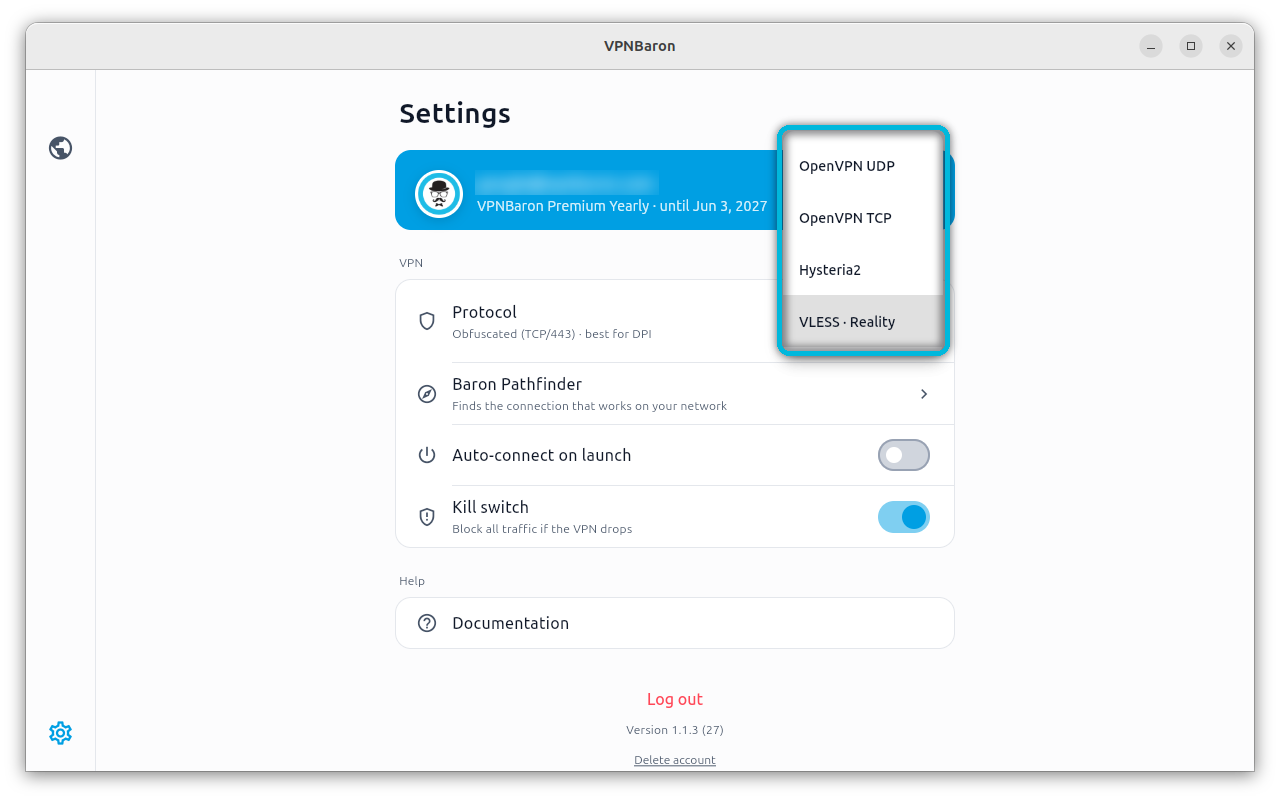
Open Settings (the gear at the bottom left) and disconnect first: the protocol can’t change while you are connected.
| Protocol | Best for |
|---|---|
| OpenVPN UDP | Everyday use on ordinary networks; the lightest on your computer |
| OpenVPN TCP | Networks that block OpenVPN UDP |
| Hysteria2 | Speed, especially over long distances or patchy connections |
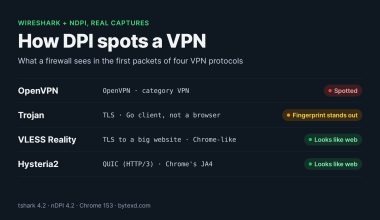
| VLESS Reality | Networks that block VPNs: it looks like ordinary web browsing |
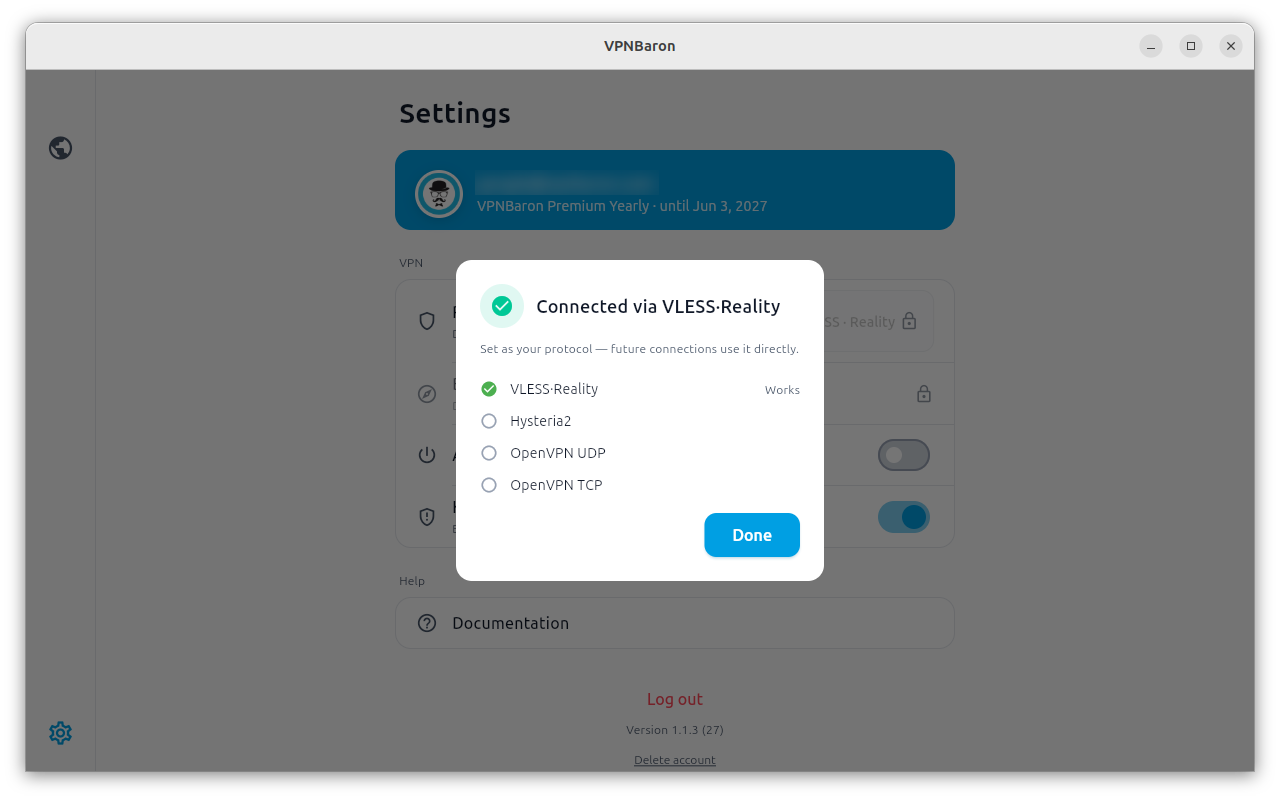
Or let Baron Pathfinder choose
Not sure which protocol works on your network? Select Baron Pathfinder in Settings, then Start. It tries the protocols on the location you picked and connects you through the one that works best. This can take up to a minute.
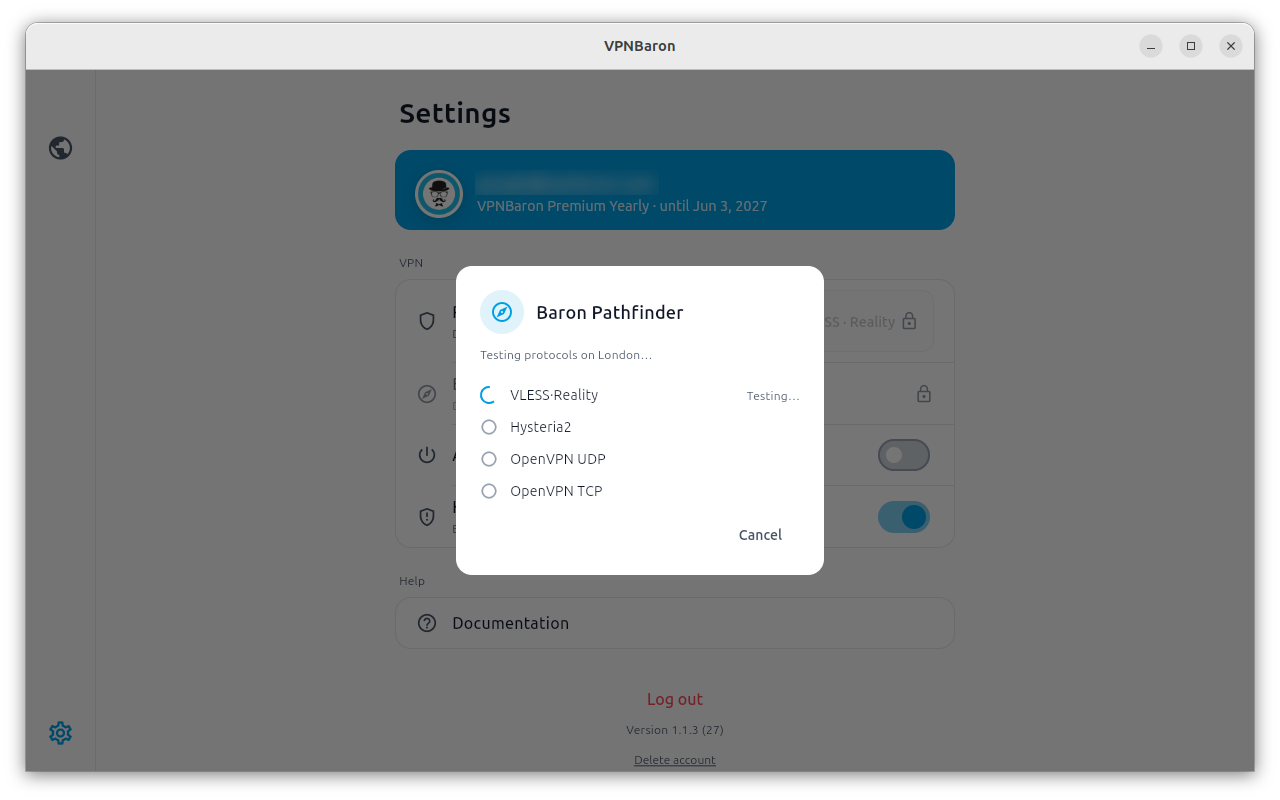
The protocol it finds stays your protocol for future connections.
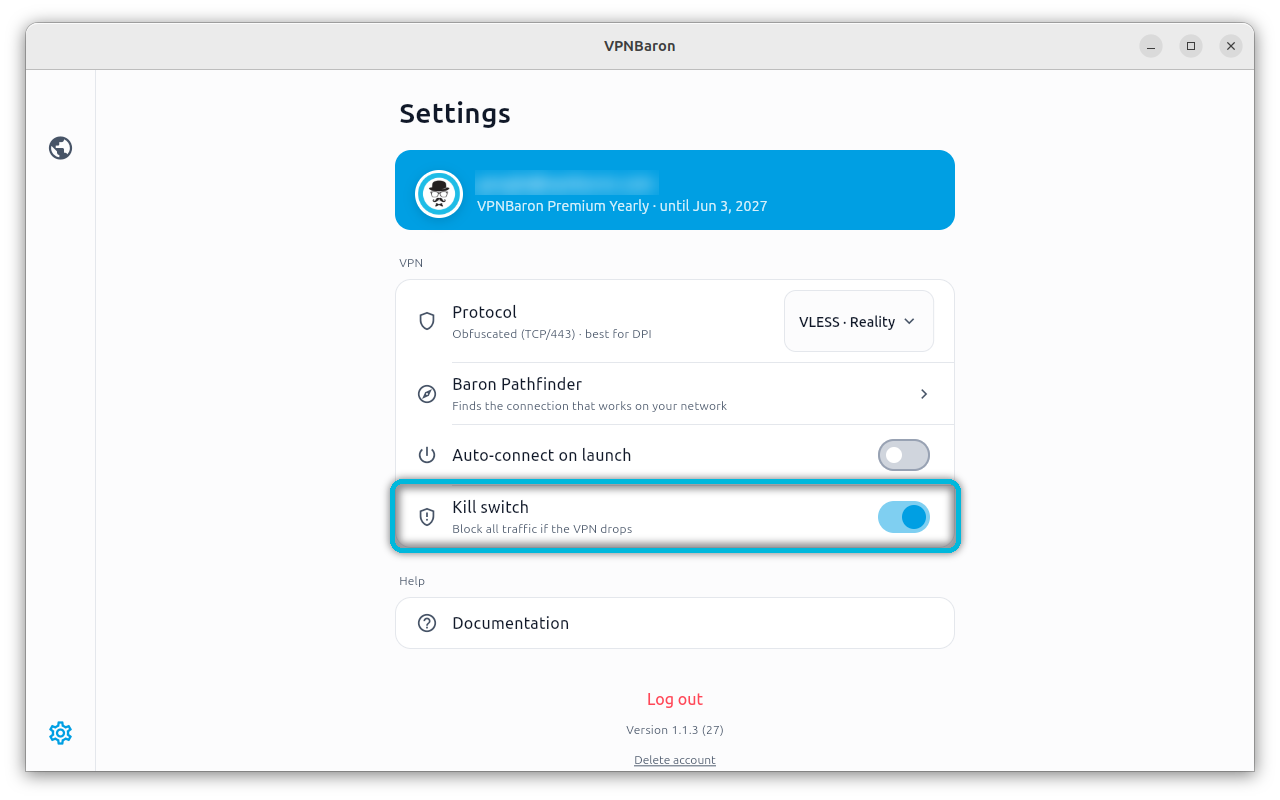
Turn on the kill switch
With the kill switch on, VPNBaron blocks all internet traffic if the VPN drops, so nothing leaves your computer without the VPN. Your local network (printers, file shares) keeps working.
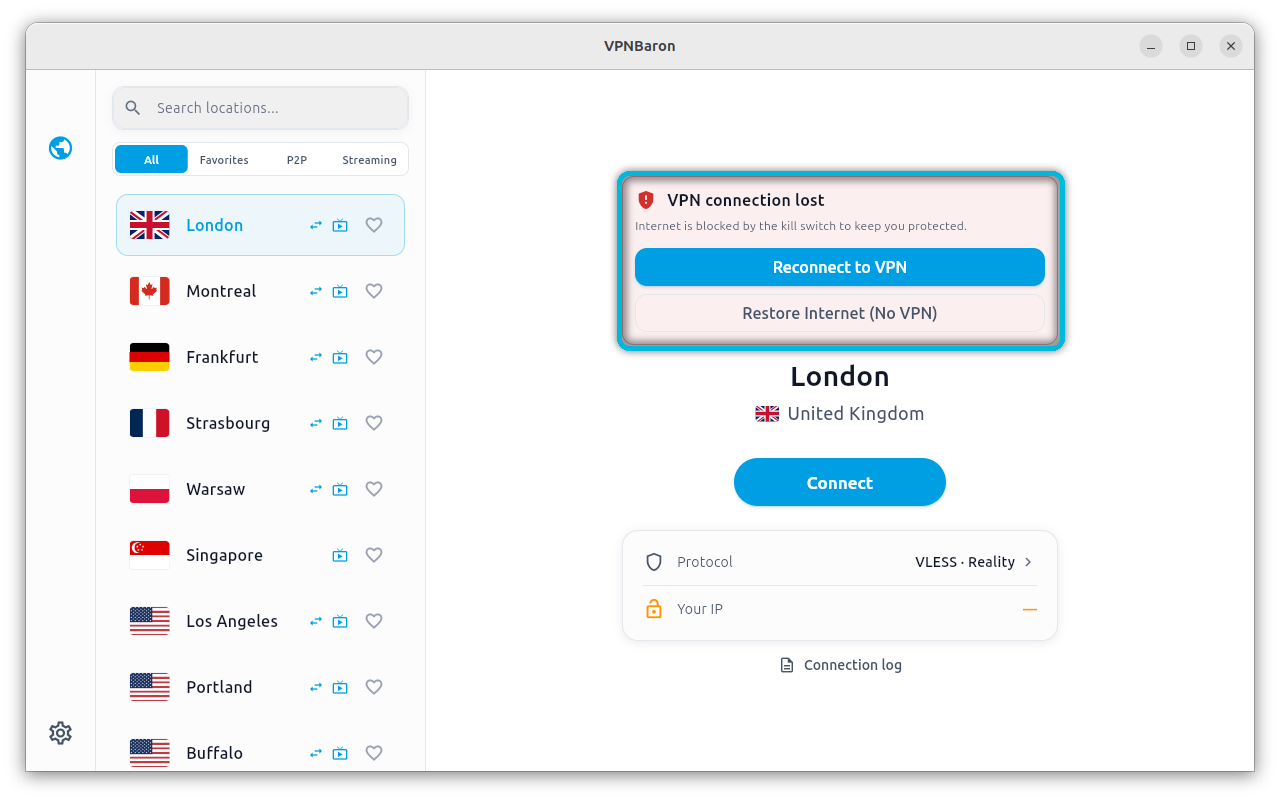
If the connection drops, the app tells you and offers Reconnect to VPN or Restore Internet (No VPN).
Closing vs quitting
Closing the window doesn’t disconnect: VPNBaron keeps running with its icon in the top bar, where you can show the window, disconnect or quit.
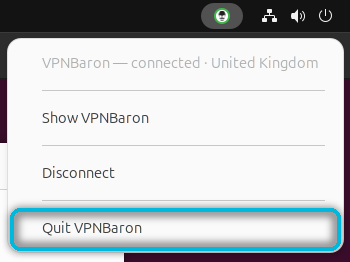
Ubuntu shows the icon out of the box. On other GNOME desktops, such as Debian’s, install the AppIndicator extension, then log out and back in:
sudo apt install gnome-shell-extension-appindicator
Step 3: Connect from the terminal
The vpnbaron command is a full VPN client, which is handy over SSH, on a server, or in scripts. Sign in once; there is no password, just a code sent to your email:
vpnbaron login
Email: [email protected]
We sent a 6-digit code to [email protected]. (Check spam if it doesn't arrive.)
Code: 123456
✓ Signed in as [email protected] — VPNBaron Premium Yearly until 2027-06-03
List the locations, connect to one by its ID, and check the status:
vpnbaron servers
vpnbaron connect uk1
vpnbaron status
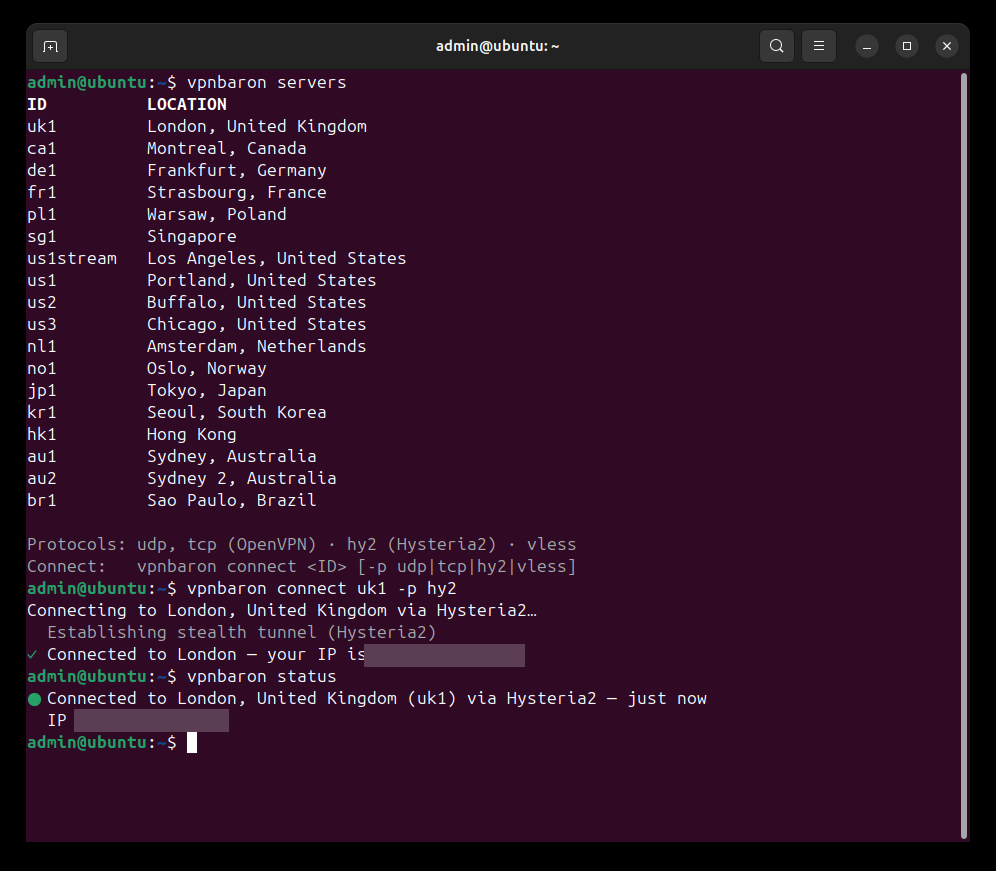
Instead of the ID you can type a city or a country: vpnbaron connect london or vpnbaron connect germany. Add -p to pick the protocol:
-p |
Protocol |
|---|---|
udp |
OpenVPN UDP |
tcp |
OpenVPN TCP |
hy2 |
Hysteria2 |
vless |
VLESS Reality |
Without -p, it uses the protocol that last worked (Hysteria2 the first time). If that doesn’t get through, it tries the stealth protocols, Hysteria2 and then VLESS Reality, by itself. To disconnect:
vpnbaron disconnect
In scripts, vpnbaron status exits with 0 when connected and 1 when not:
vpnbaron status >/dev/null && echo "protected"
Over SSH or on a server
When you are not at the computer’s own desktop, connecting asks for an administrator’s password. Or use sudo, which still uses your sign-in, not root’s:
sudo vpnbaron connect uk1
-p udp or -p tcp) sends the SSH replies through the VPN as well and freezes the session unless you add two routing rules first; this guide shows them. Try it first on a server you can also reach another way, such as your provider’s web console.Two more things: the kill switch is an app setting, so connections made with the CLI run without it. And the full connection log is in the system journal: sudo journalctl -u vpnbaron. Bash and zsh tab-complete commands, server IDs and protocols.
Updating and uninstalling
To update, run the install command again: it installs the latest version over the one you have. To uninstall the app and the CLI:
sudo apt remove vpnbaron
Not on Ubuntu or Debian?
On Fedora, Arch and other distributions you can still connect with OpenVPN through NetworkManager, using a config file from your VPNBaron account. Install the NetworkManager OpenVPN plugin first (NetworkManager-openvpn-gnome on Fedora, networkmanager-openvpn on Arch), then follow OpenVPN on Ubuntu with Settings: other GNOME desktops look the same. You won’t get the stealth protocols or the kill switch that way.
Troubleshooting
- No icon in the top bar: install the AppIndicator extension (above), then log out and back in.
- Works at home, not on hotel, office or campus Wi-Fi: those networks often block ordinary VPN traffic. Run Baron Pathfinder, or choose VLESS Reality yourself: it looks like ordinary HTTPS.
- The sign-in page won’t load: use Sign in with an email code, or sign in from the terminal with
vpnbaron login. - Something else: the Connection log link under the connection box in the app, or
sudo journalctl -u vpnbaron, usually says why.
Working from mainland China? See How to Use GitHub, Docker Hub, npm and pip in China for mirrors, proxy settings and which locations to pick.
Conclusion
One command gets you the app and the CLI; after that, connecting is one click or one vpnbaron connect. Use Pathfinder or VLESS Reality on networks that block VPNs, and keep the kill switch on if leaks matter to you. If you hit a snag on your distribution, tell us in the comments.