If you are just getting started with penetration testing and ethical hacking, you will need a penetration testing lab to practice your skills and test the different security tools available.
This post will give you a step-by-step guide on setting up your virtual penetration testing lab and install the various operating systems and vulnerable machines you can start with.
Table of Contents
Why Setup A Virtual Penetration Testing Lab
The most apparent reason you would need a penetration testing lab is to practice what you learn and test the different available security tools.
However, other than convenience, there are more reasons as to why you need a virtual lab.
1. Your safety
One is for your safety. Performing a penetration test on a system without permission from the owner is illegal and regarded as a computer crime. That can land you into trouble with the owner or even the authorities if issues escalate beyond control.
To avoid such problems and be on the safe side, you can host the various vulnerable machines available in your penetration testing lab and exploit them.
2. It’s isolated from the real-world environment
This is another reason why a penetration testing lab is necessary. Anything you perform in the lab does not affect the systems or people around you.
For example, if you are trying to get into malware analysis, you will deal with real viruses (the WannaCry ransomware). There is a high risk of this malware spreading through the computer network or even storage drives shared among people in a real-world scenario.
This virus will be isolated with a virtual testing lab and can only impact the installed virtual machine, whichs is much more manageable.
3. It’s a reliable testing platform
Finally, a virtual penetration testing lab is flexible and will provide you with a reliable platform for research and development.
You can develop new security tools, advanced exploitation tactics in a controlled environment without affecting any systems or networks around you.
Understanding Virtualization Technology
When setting up a penetration testing lab, you will have two options to choose from:
- Use locally-hosted virtualization technology (Recommended)
- Set up a home lab with additional computer devices and components available.
The latter (home lab) can be a little expensive and complicated to set up and manage. You will need to gather all computer devices and routers and use them to set up a lab. For example, you can have Computer A running your hacking distribution (say Kali Linux) and Computer B or C running your vulnerable machines (say DVWA or BWAPP). You will also need routers, switches, ethernet cables to manage the personal network.
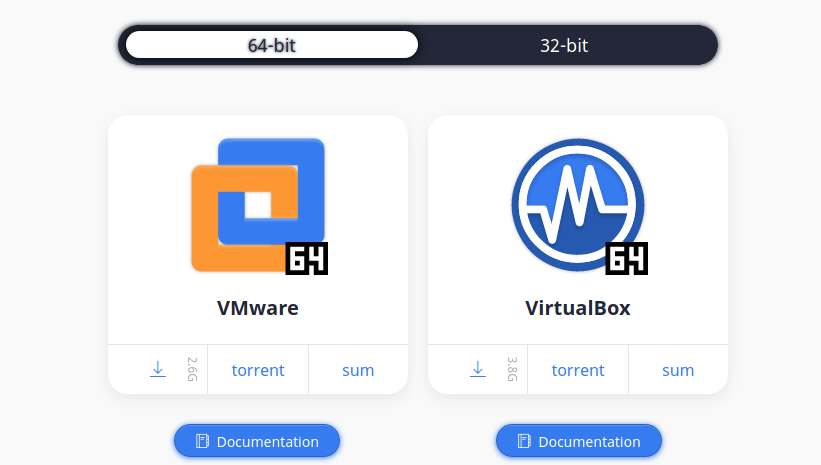
Locally-hosted virtualization is much easier to set up, manage and only requires you to have one powerful PC that supports virtualization technology. That is the method that we will use in this post. Essentially, virtualization allows you to run more than one operating system on your computer. You will need to install virtualization software and use it to run the additional operating systems to get started. Some of the most common softwares are VirtualBox and VMware.
VirtualBox is a free and open-source virtualization software developed by Oracle distributed under the GNU General Public License (GPL) version 2.
VMware, on the other hand, is a commercial software company and has several products to offer. The only free version is the VMware Workstation Player intended for home or personal use. To get many more advanced features, including snapshots, you will need to upgrade to VMware Workstation pro.
Up to this point, I believe you have a good understanding of a penetration testing lab and the technology you need to come up with one.
Let’s dive in and set up our lab. Our virtualization software of choice for this post is VirtualBox.
Step 1. Download and Install VirtualBox on your PC
To get started, you will need to install VirtualBox on your current operating system. That can be Windows, Linux, or macOS. Additionally, install the VirtualBox guest Addition, which consists of drivers and system applications that improve the performance of your virtual machines. Other advantages of guest additions include:
- Mouse pointer integration
- Shared folders
- Improved video support
- Generic host/guest communication channels
- Seamless window management
- Shared clipboard
- Time synchronization
- Automated logins
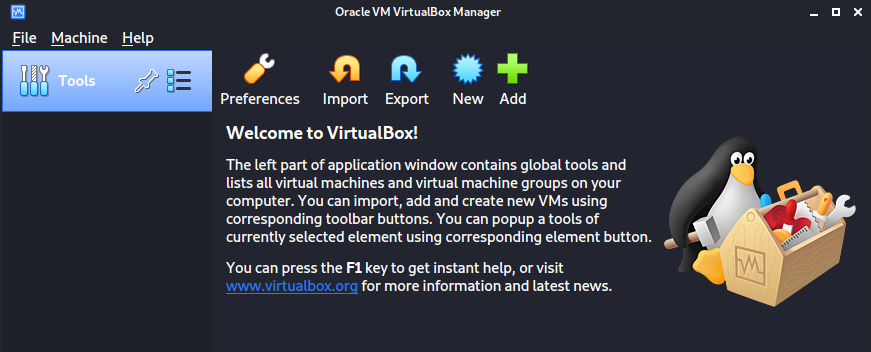
After a successful install, proceed to launch the virtual box from the application menu.
Step 2. Install Kali Linux on VirtualBox
Once you have VirtualBox installed and running, we can start installing our virtual machines. We will begin by installing the penetration testing distribution of our choice.
In this post, we will use Kali Linux. However, that should not limit you from using other security operating systems like BlackArch Linux, Parrot, etc.
To install Kali Linux virtual machine, we will not need to download the setup ISO file and configure everything from scratch. Nowadays, Kali Linux comes packaged in several formats.
- Bare Metal setup – used to install Kali Linux on your PC in a single boot or multi-boot setup.
- Virtual machines: This option provides you with pre-configured virtual machine images to install on your virtualization software. As of writing this post, the only supported virtualization platforms are VMware and VirtualBox.
- ARM setup: Used for ARM devices such as the Raspberry Pi.
- Cloud setup
- Container setup (Docker)
- Live Boot setup
- WSL (Windows Subsystem for Linux)
In this post, we will download the Kali Linux virtual machine setup for VirtualBox from the official Kali Linux download page. It is a `.ova` file.
After the download is complete, launch VirtualBox from your applications menu and follow the steps below:
- Click on the File menu and select Import Appliance. Alternatively, you can use the keyboard shortcut (Ctrl + I).
- A new window will open. Click on the file icon, select the `Kali Linux.ova` file you downloaded, and click Next.
- In the next window, you will see all the information about the virtual machine. Select the import option at the bottom to import the virtual machine.
After a successful import, you will see Kali Linux listed on your VirtualBox window, as shown in the image below.
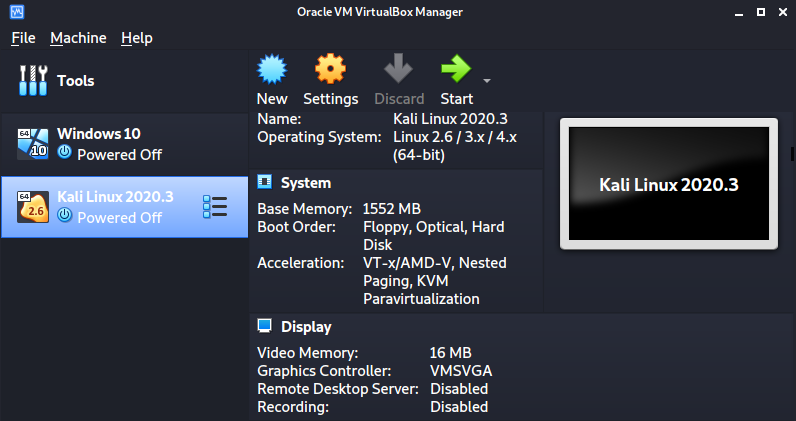
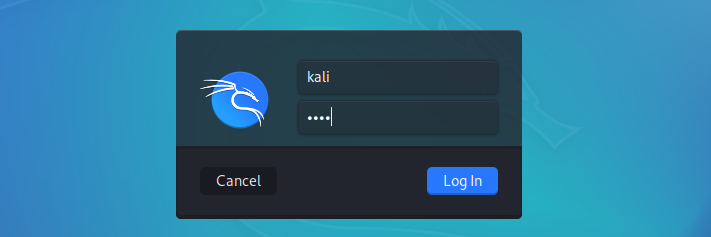
You can tweak the settings of the virtual machine depending on your system resources. When done, click Start to boot the virtual machine. You don’t need to perform any configurations, just sit and wait till you get to the Kali Linux login screen.
The default credentials are:
- Username: Kali
- Password: Kali
Step 3. Install Windows 10 on VirtualBox
Microsoft’s Windows is the most popular operating system used worldwide. As an ethical hacker, you need to understand how to exploit and find vulnerabilities on Windows systems and software. For that case, we will also need to install Windows as a virtual machine – specifically Windows 10. You can download Windows 10 ISO file from Microsoft Official website.
Launch VirtualBox and follow the steps below to install Windows 10
- Click New on the VirtualBox window
- A small window will open. Enter the name of your new operating system (for example, Windows 10). Click Next.
- Enter the memory size you wish to assign your new virtual machine and click Next.
- In the next window, select Create a virtual hard disk now and click Next.
- Select `VDI` (VirtualBox Disk Image)
- Select whether you want to use the Dynamically allocated or Fixed Size hard disk on the next screen. Click Next.
- Set the storage size of your Windows 10 virtual machine. Click Create.
That will create a Windows 10 virtual machine, as shown in the image below.
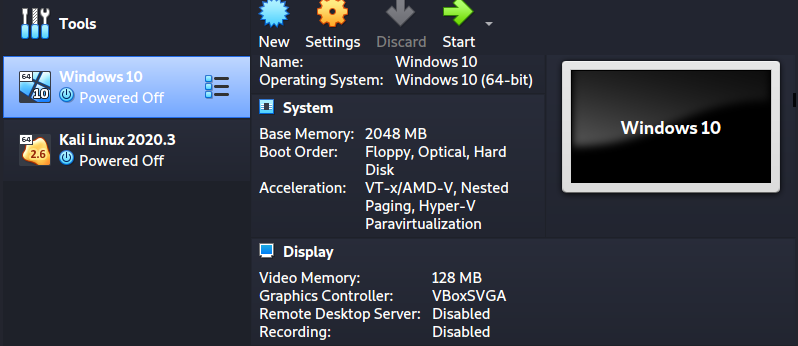
To install Windows 10 as a virtual machine, click the Start button on the VirtualBox window. A window will pop up and prompt you to select the Windows 10 ISO file you downloaded.
Click Start when done. After a few seconds, you will get to the Windows 10 installation screen.
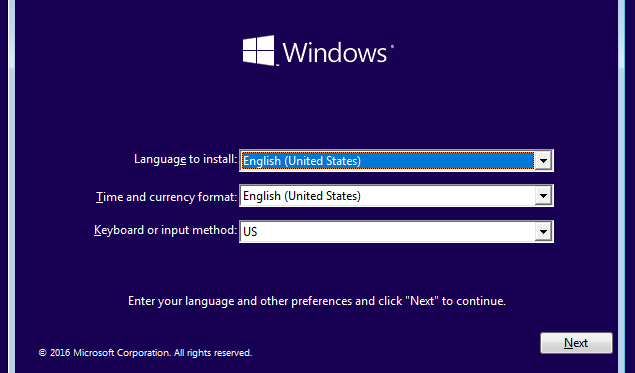
Continue with the installation process like you were installing Windows natively on your PC.
When done, you can proceed to install Metasploitable.
Step 4. Install Metasploitable
Metasploitable is an intentionally vulnerable Linux-based system used to practice penetration testing.
Like the Kali Linux virtual machine, Metasploitable comes in a pre-configured virtual machine, making the whole installation easier.
Head over to SourceForge and download the Metasploitable VM.
After a successful download, launch VirtualBox and follow the steps below:
- Click New on the VirtualBox window
- Set a name for your virtualization machine (for example, `Metasploitable-2`). Click Next.
- Set the memory (RAM) size. Metasploitable can run efficiently on 512 MB of RAM. Click Next.
- On the next window, select “Use an existing virtual hard disk file.”
- Click the file icon and select the Metasploitable VMDK file.
- Click Create
You should now see Metasploitale virtual machine on your VirtualBox window as shown in the image below:
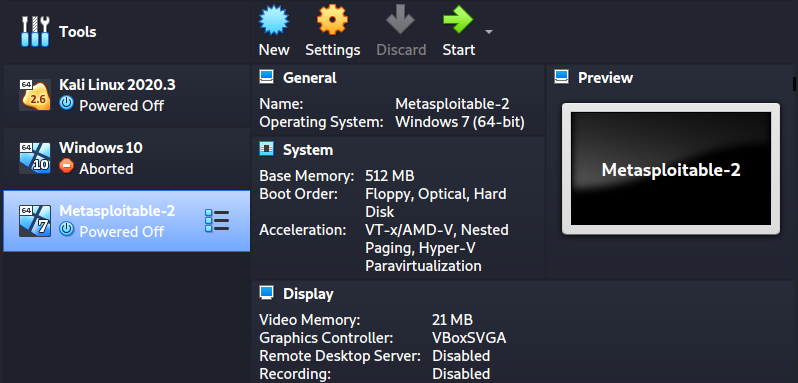
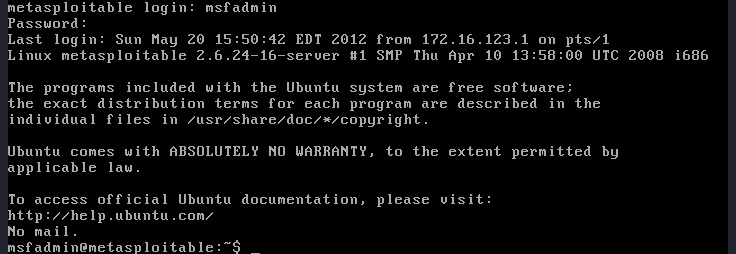
Click Start to launch Metasploitable.
This vulnerable machine doesn’t come with a Graphical User Interface (GUI). Therefore, when it’s fully booted, all you will see is a console. Use the following default credentials to log in:
- Username: msfadmin
- Password: msfadmin
Final Thoughts
This post has given you a step-by-step guide to setting up a virtual penetration testing guide. You can now use Kali Linux to exploit your target machines (Windows or Metapsploitable). However, that shouldn’t be the end. You can install more vulnerable machines like the Buggy Web Application (bWAPP), Bee Box, OWASP Broken Web Apps, and much more.
Additionally, depending on the field you want to specialize in, you can consider adding more advanced penetration testing systems. For example, if you’re going to specialize in web application security, try using the Samurai Web Testing Framework. Did you come across any issues, or do you have any additional information for our readers? Please, feel free to let us know in the comments and we’ll get back to you as soon as we can.
